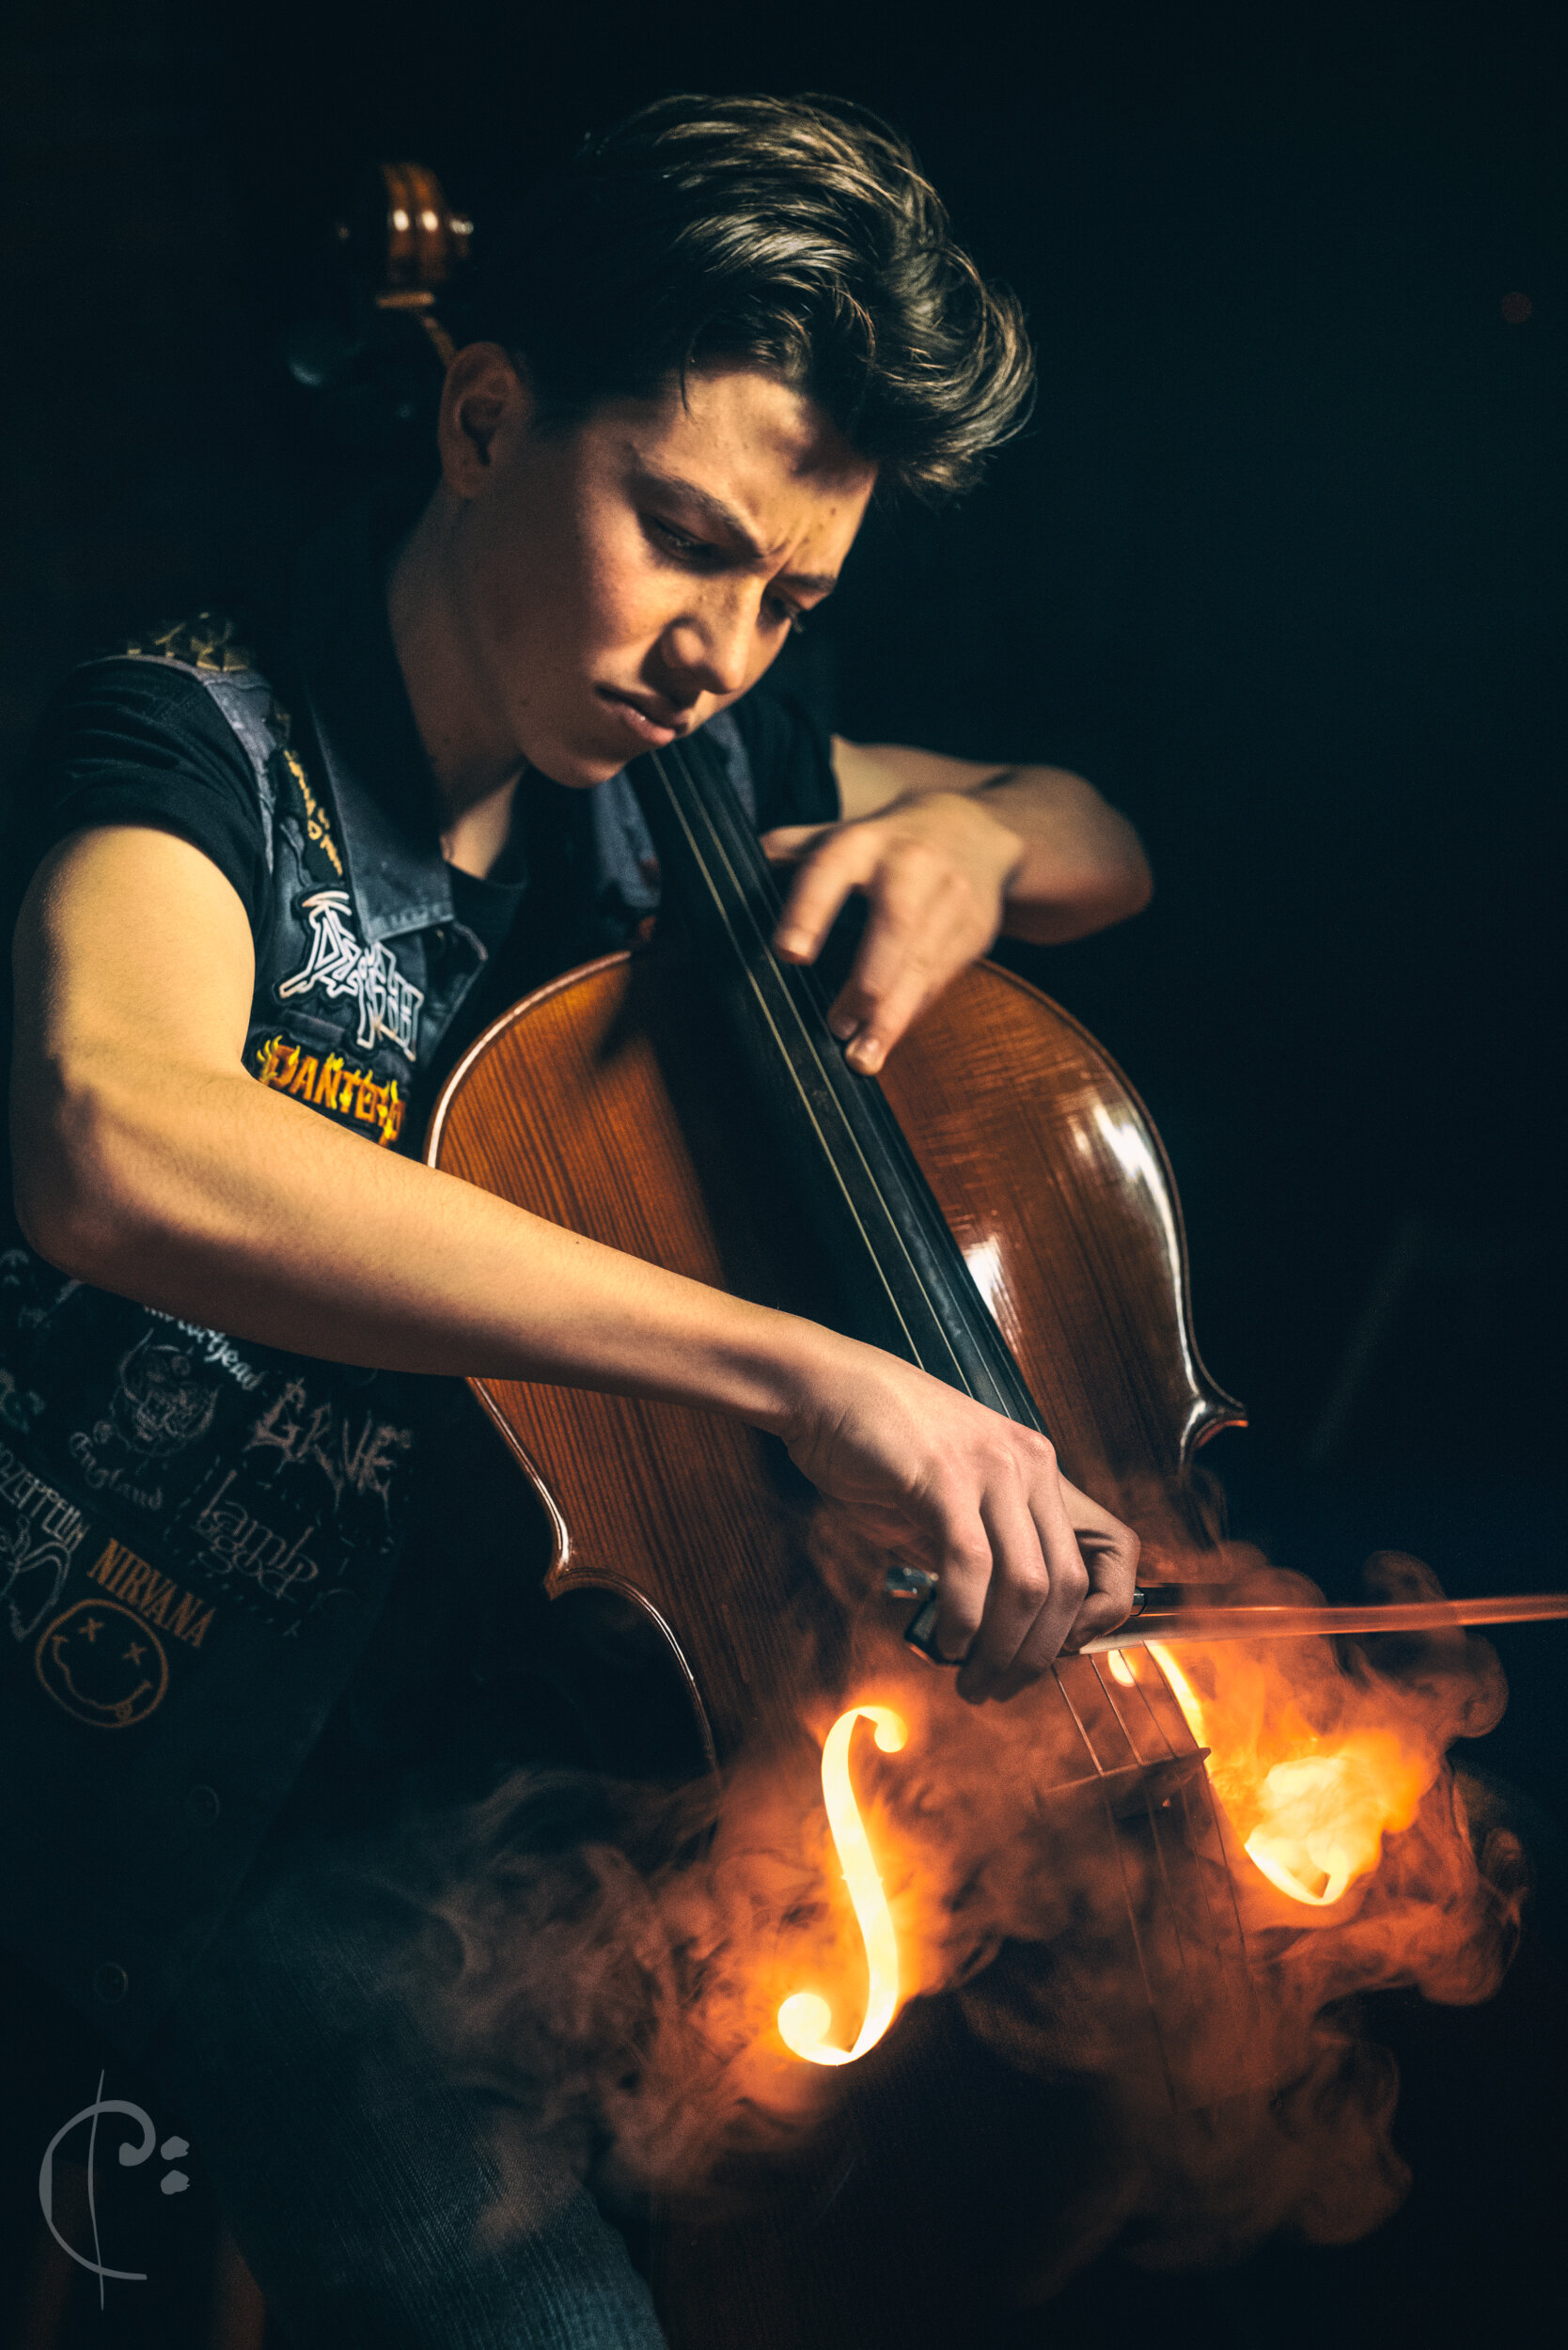
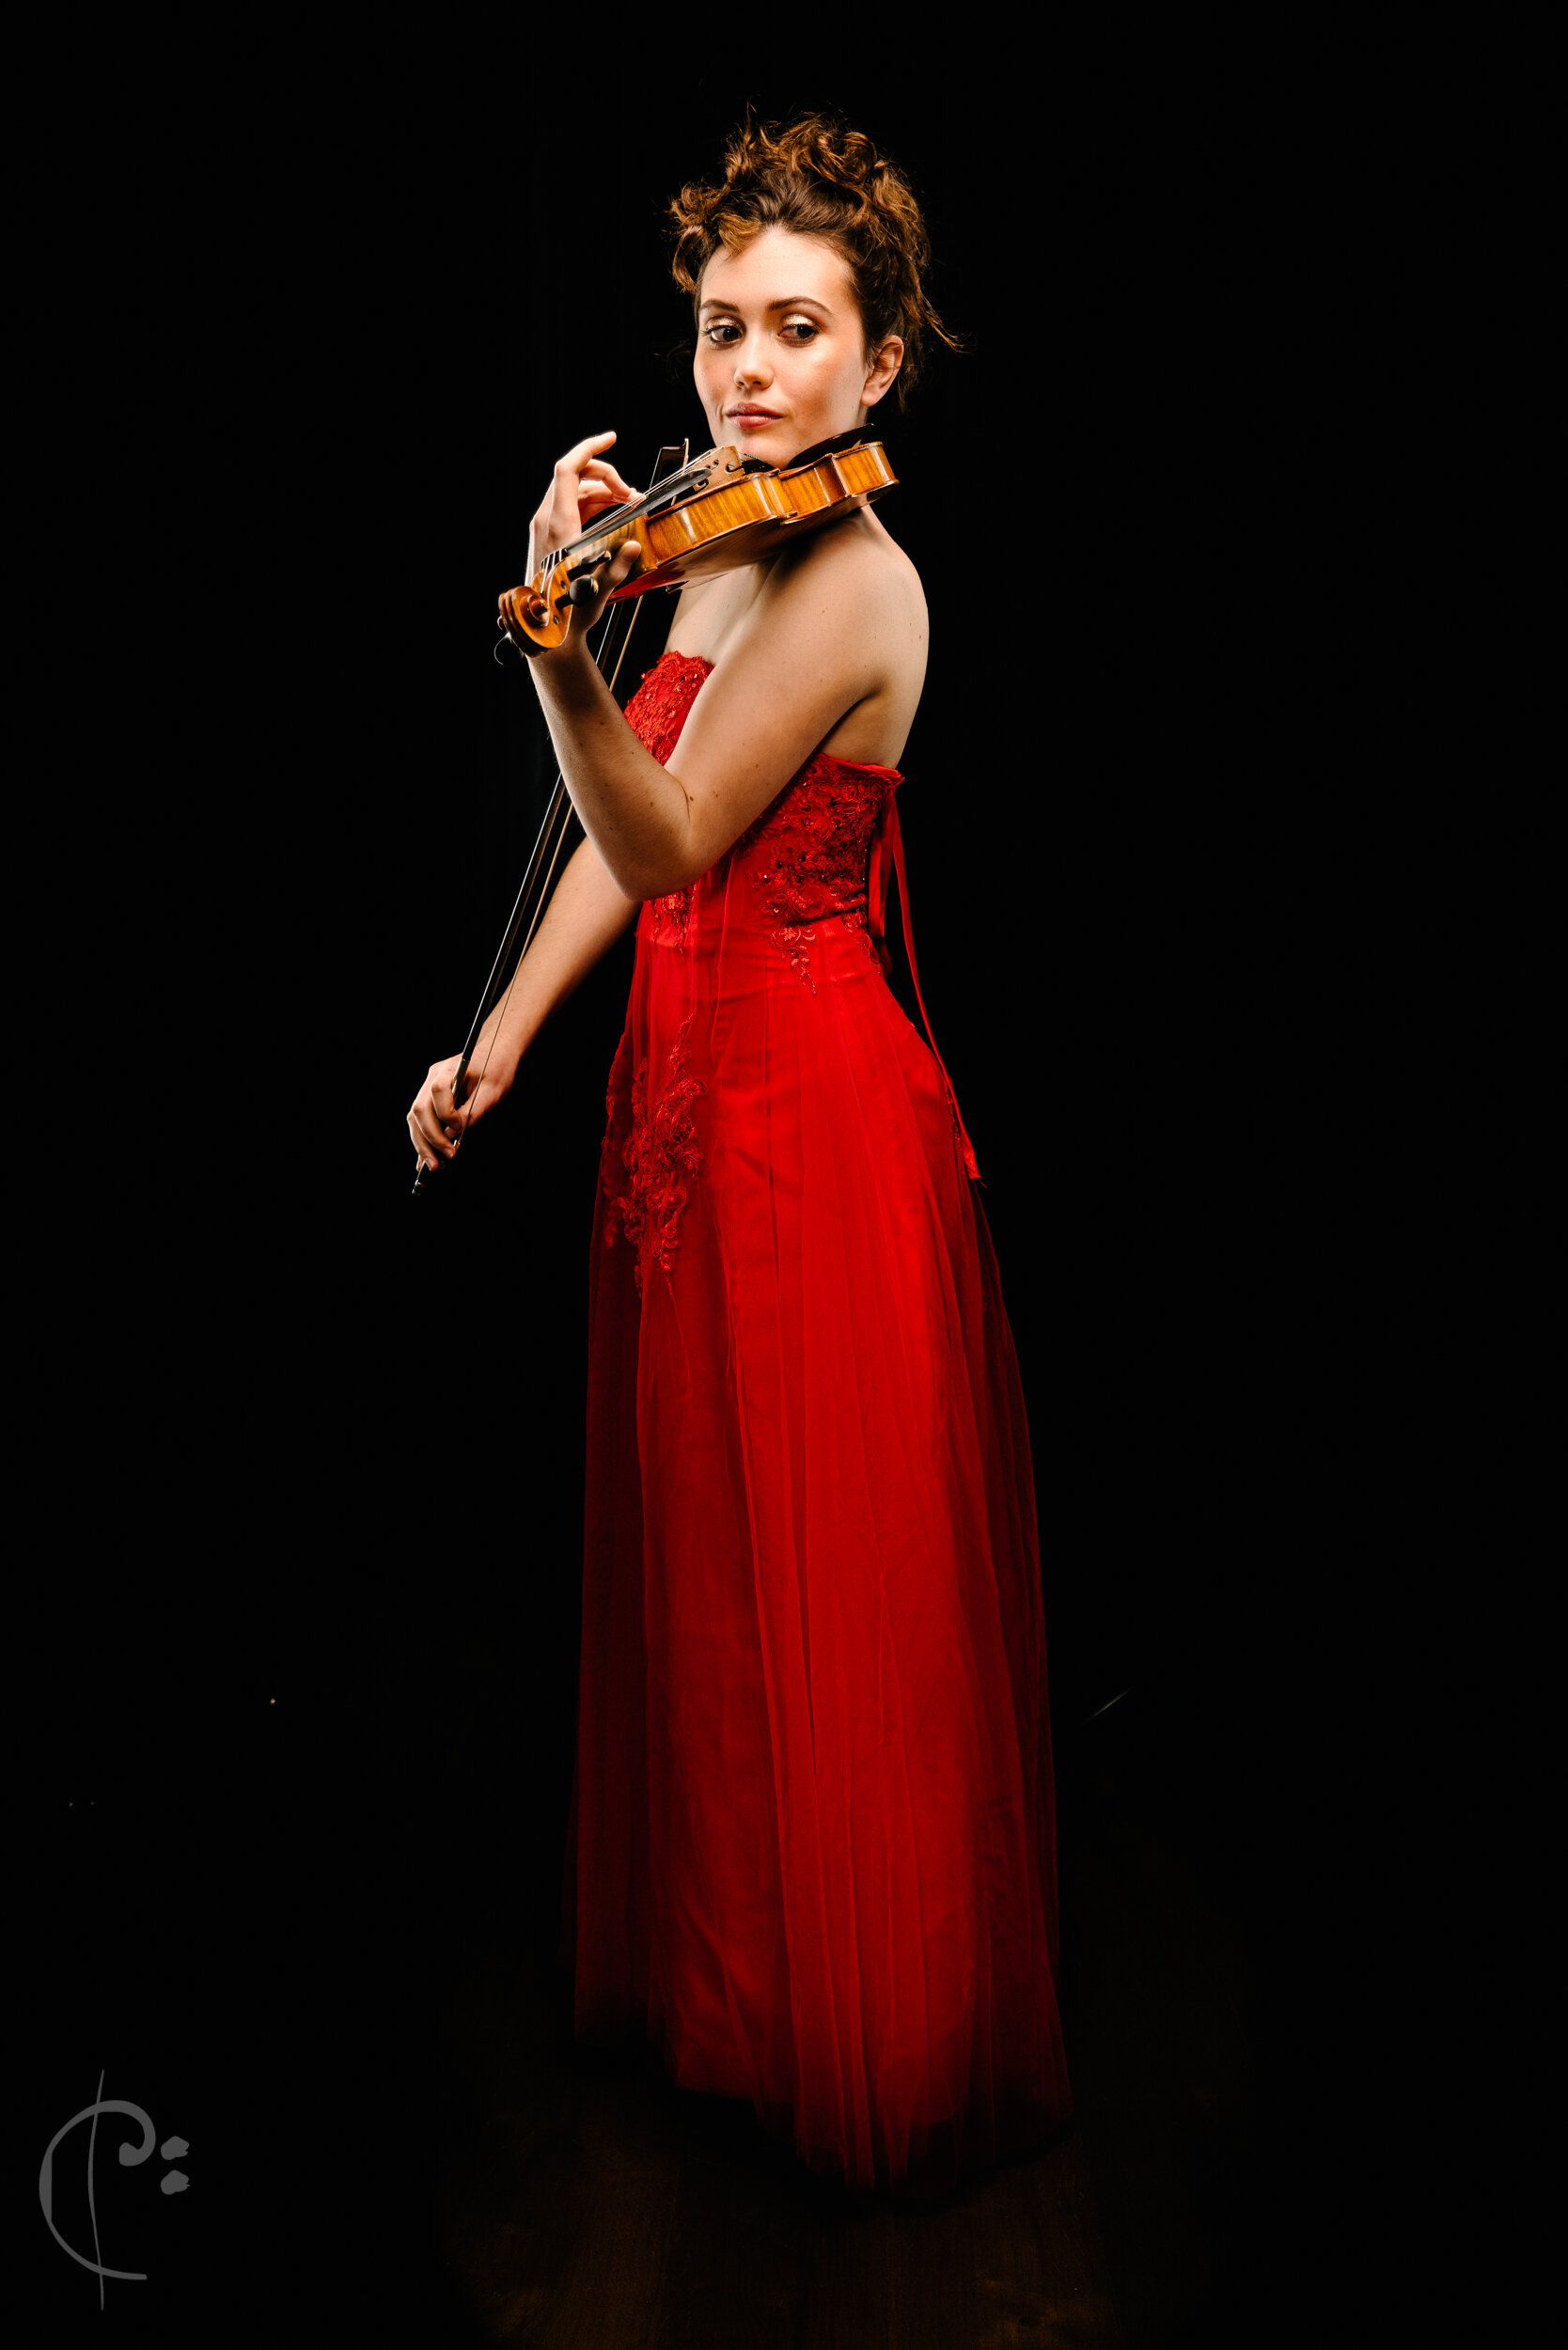
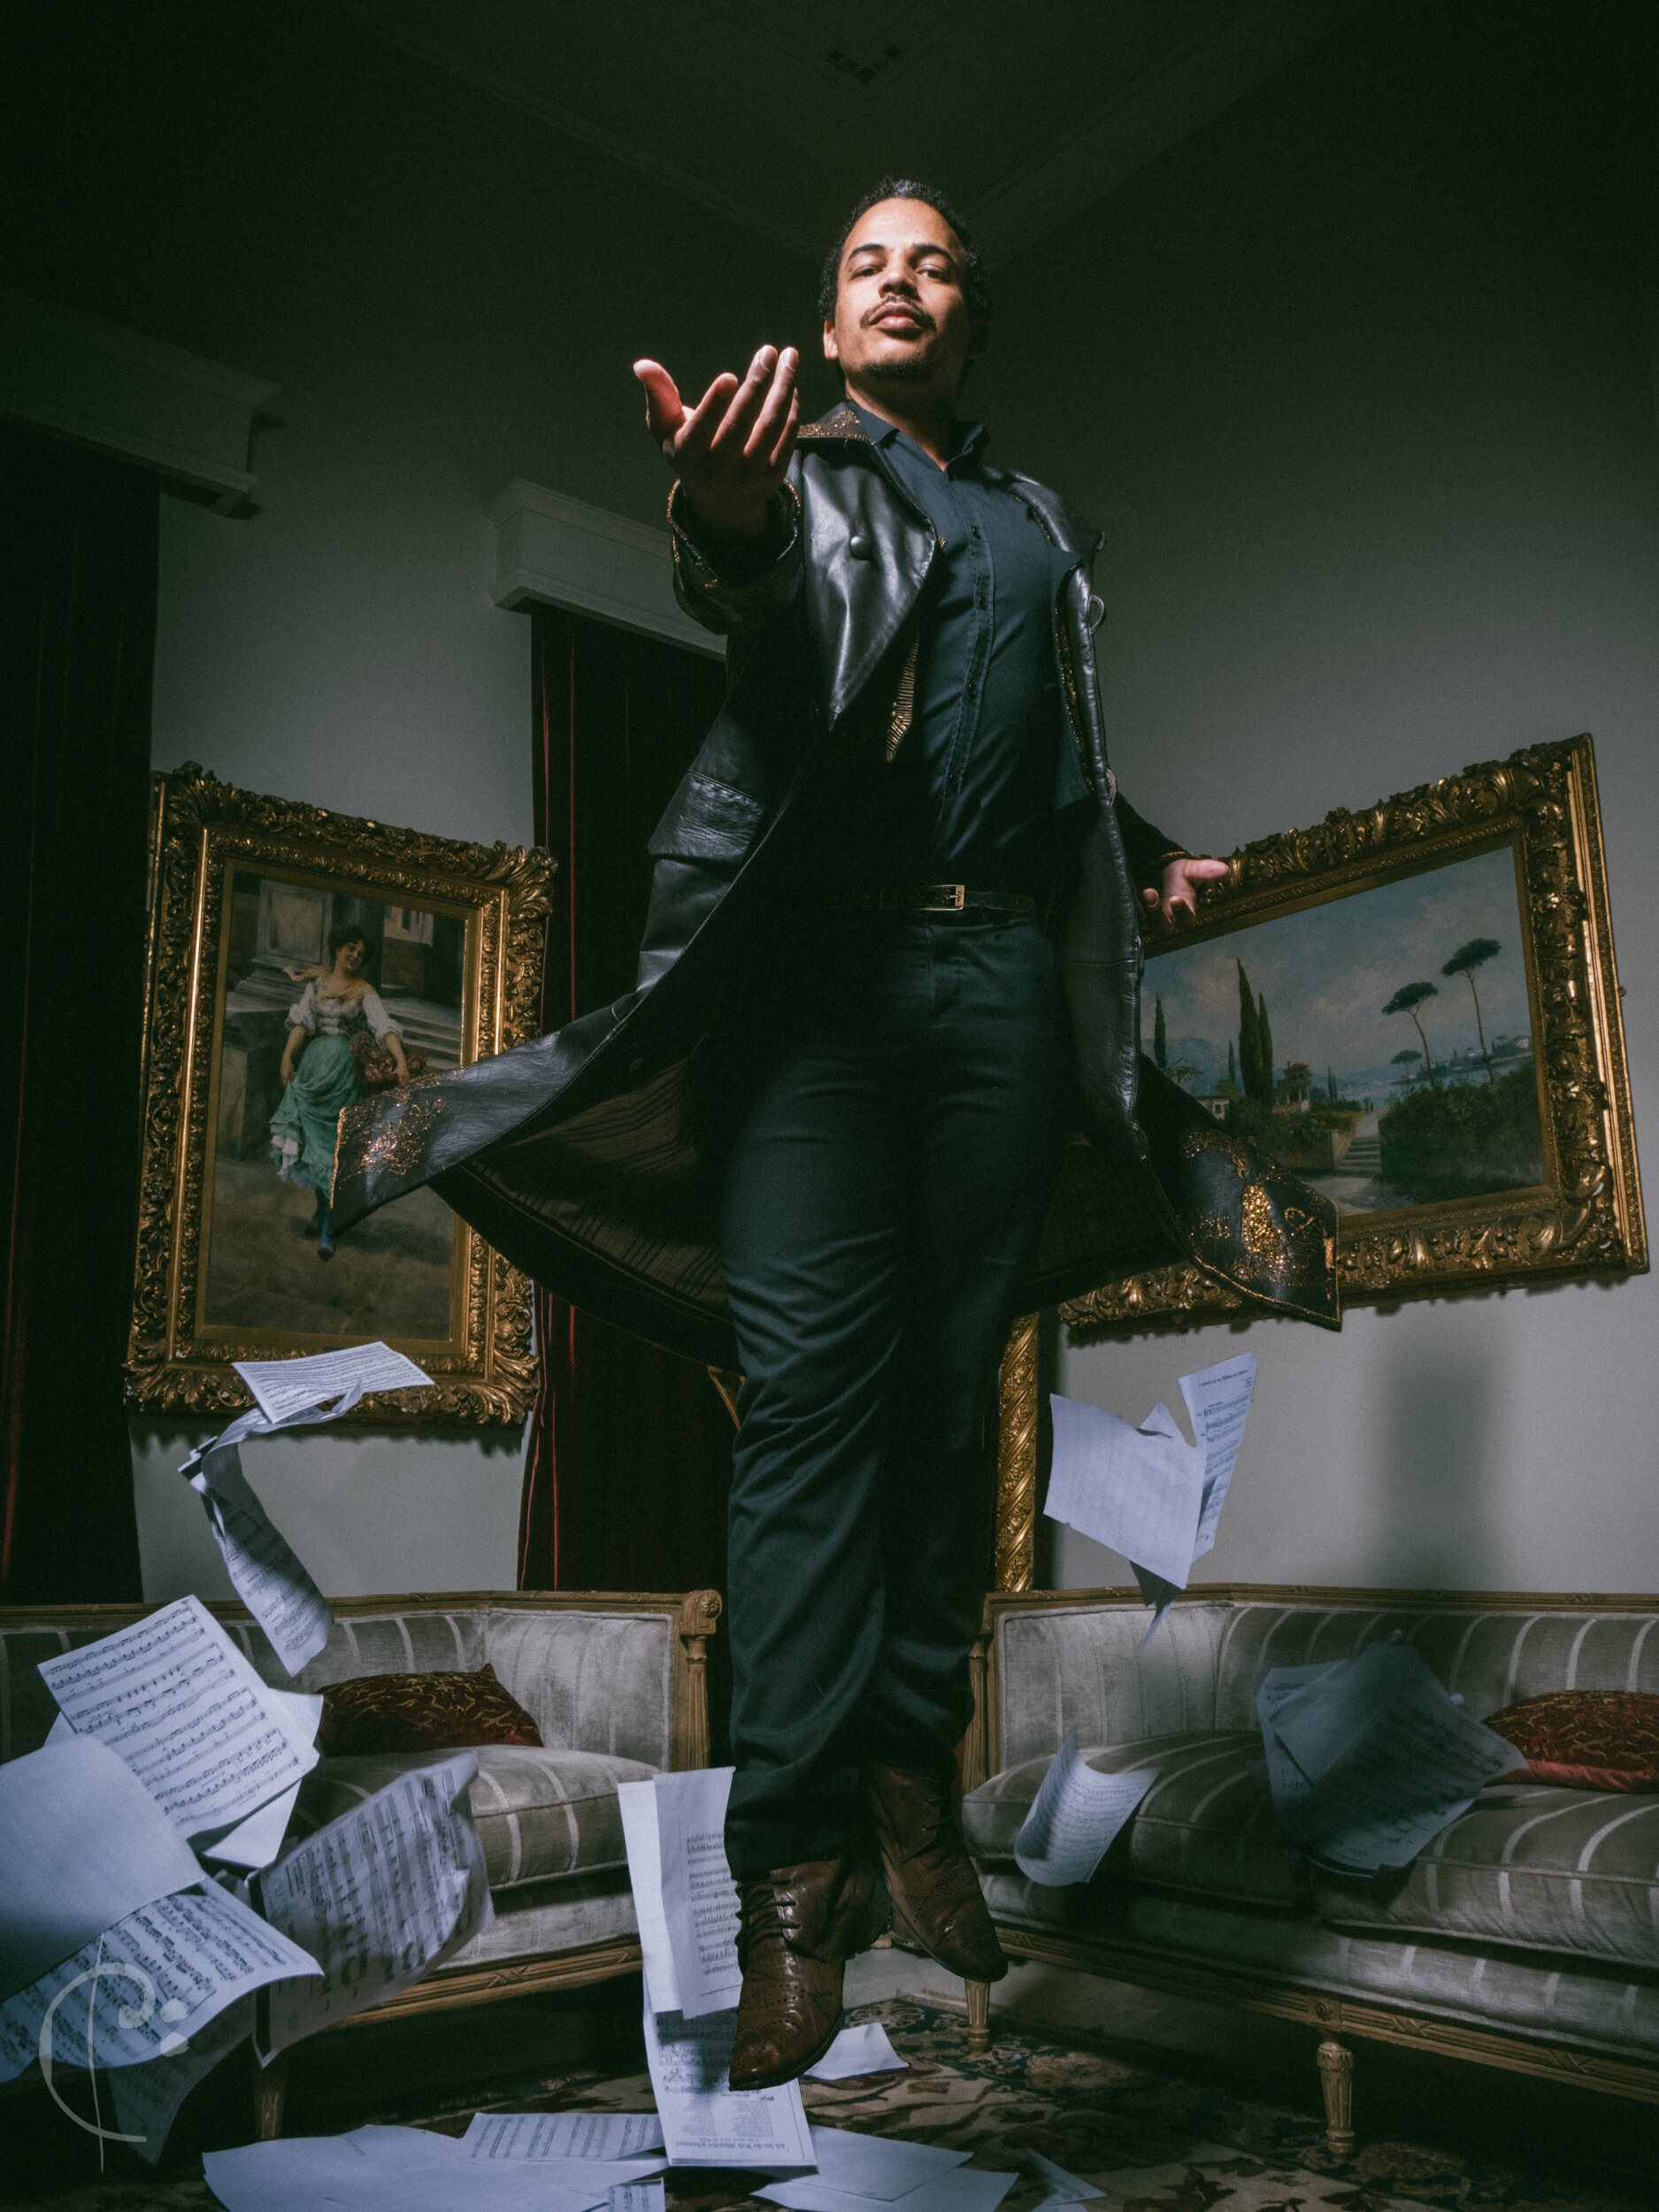
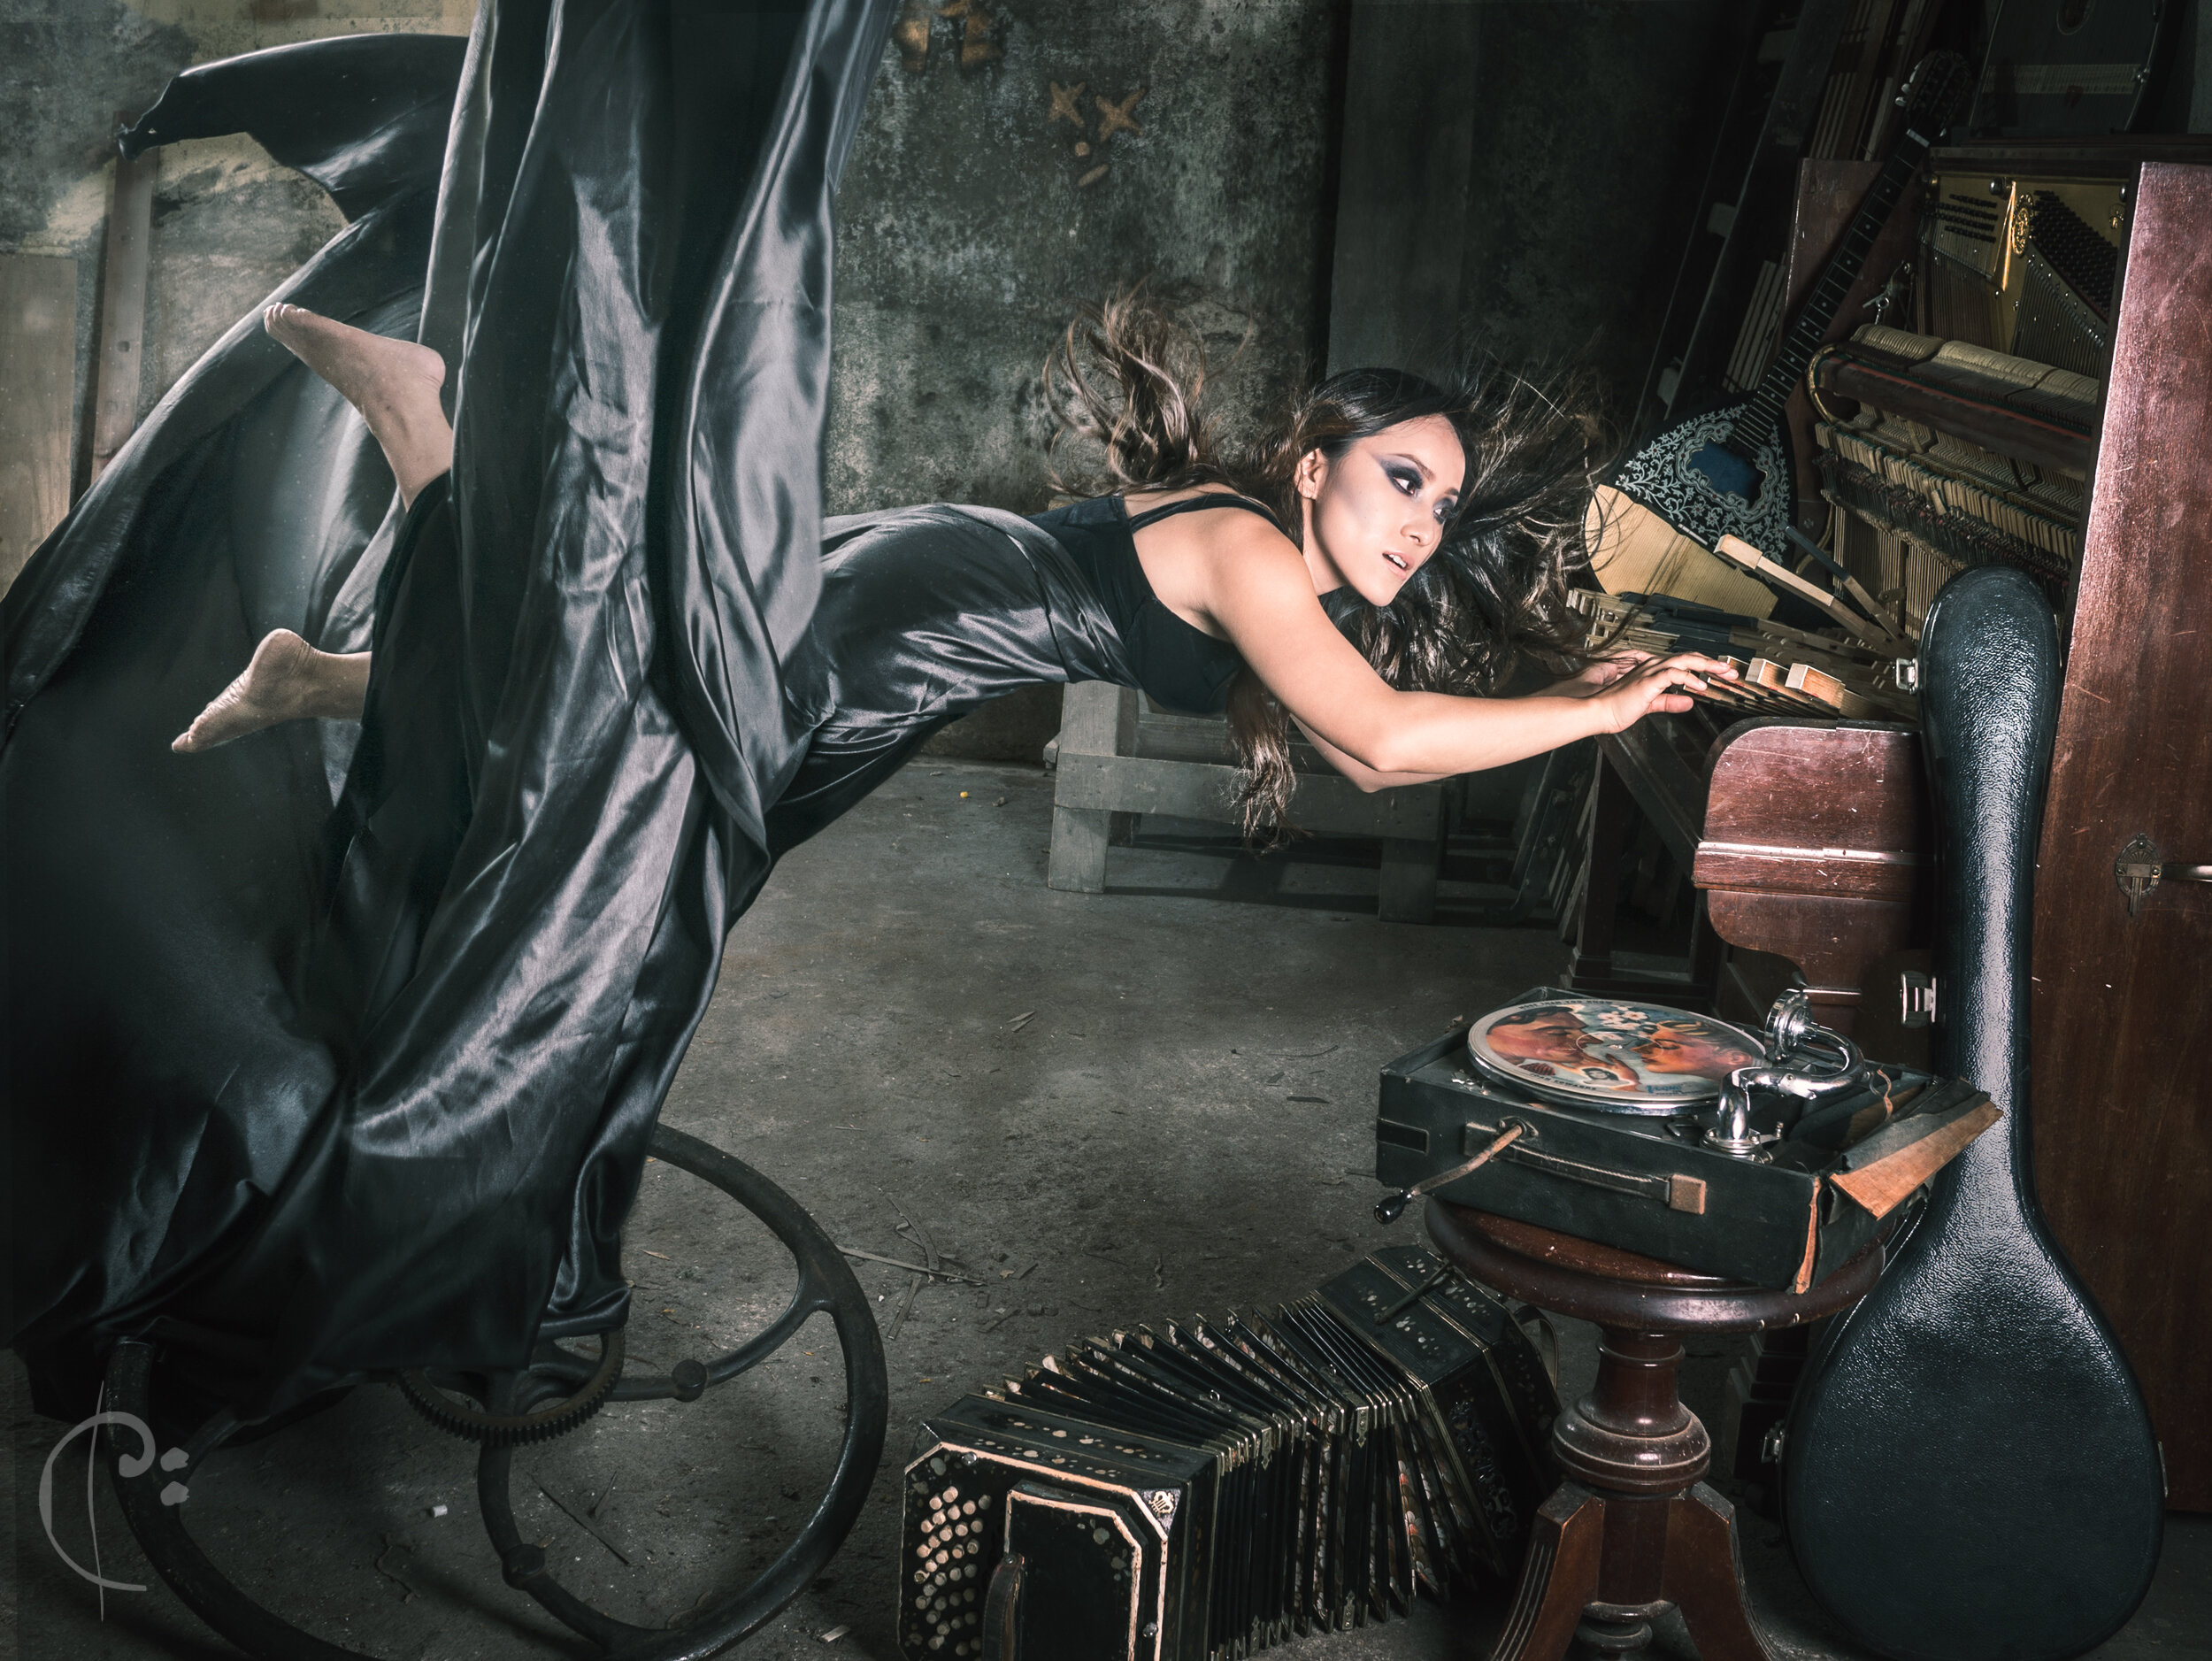
60 Second Docs in New York made this mini documentary on me last week. It give a glimpse into the process behind photographing these amazing instruments.
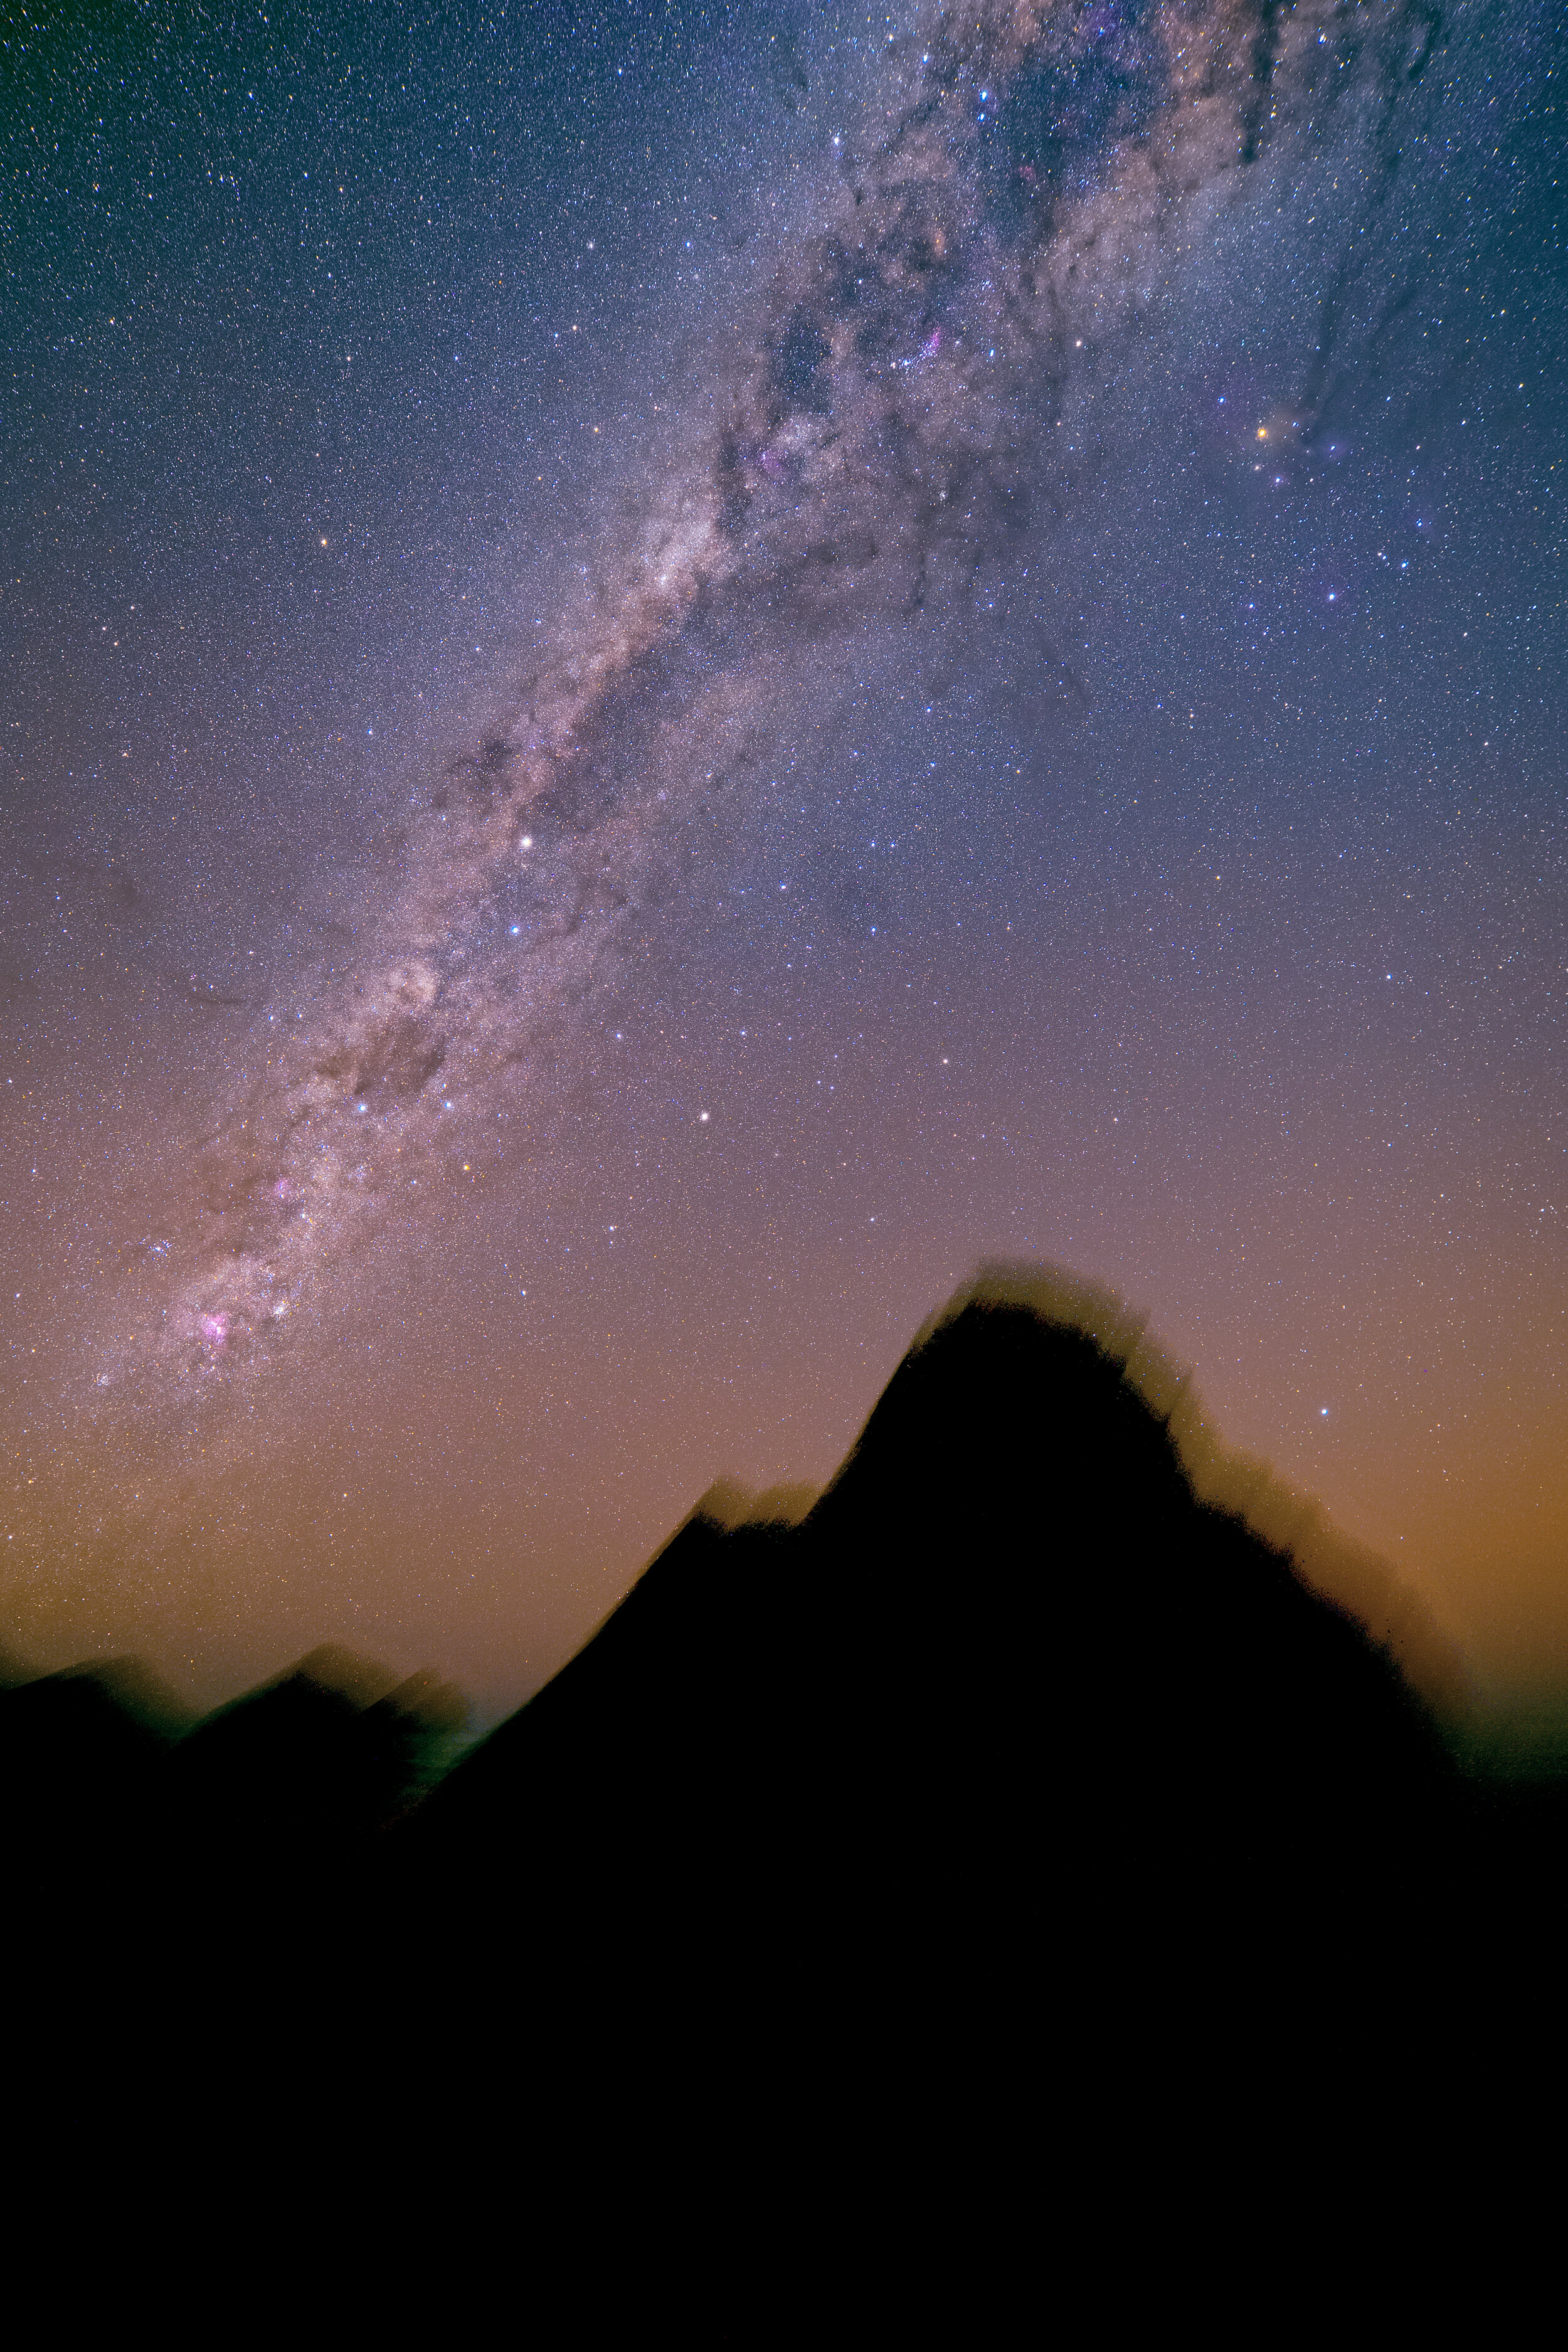
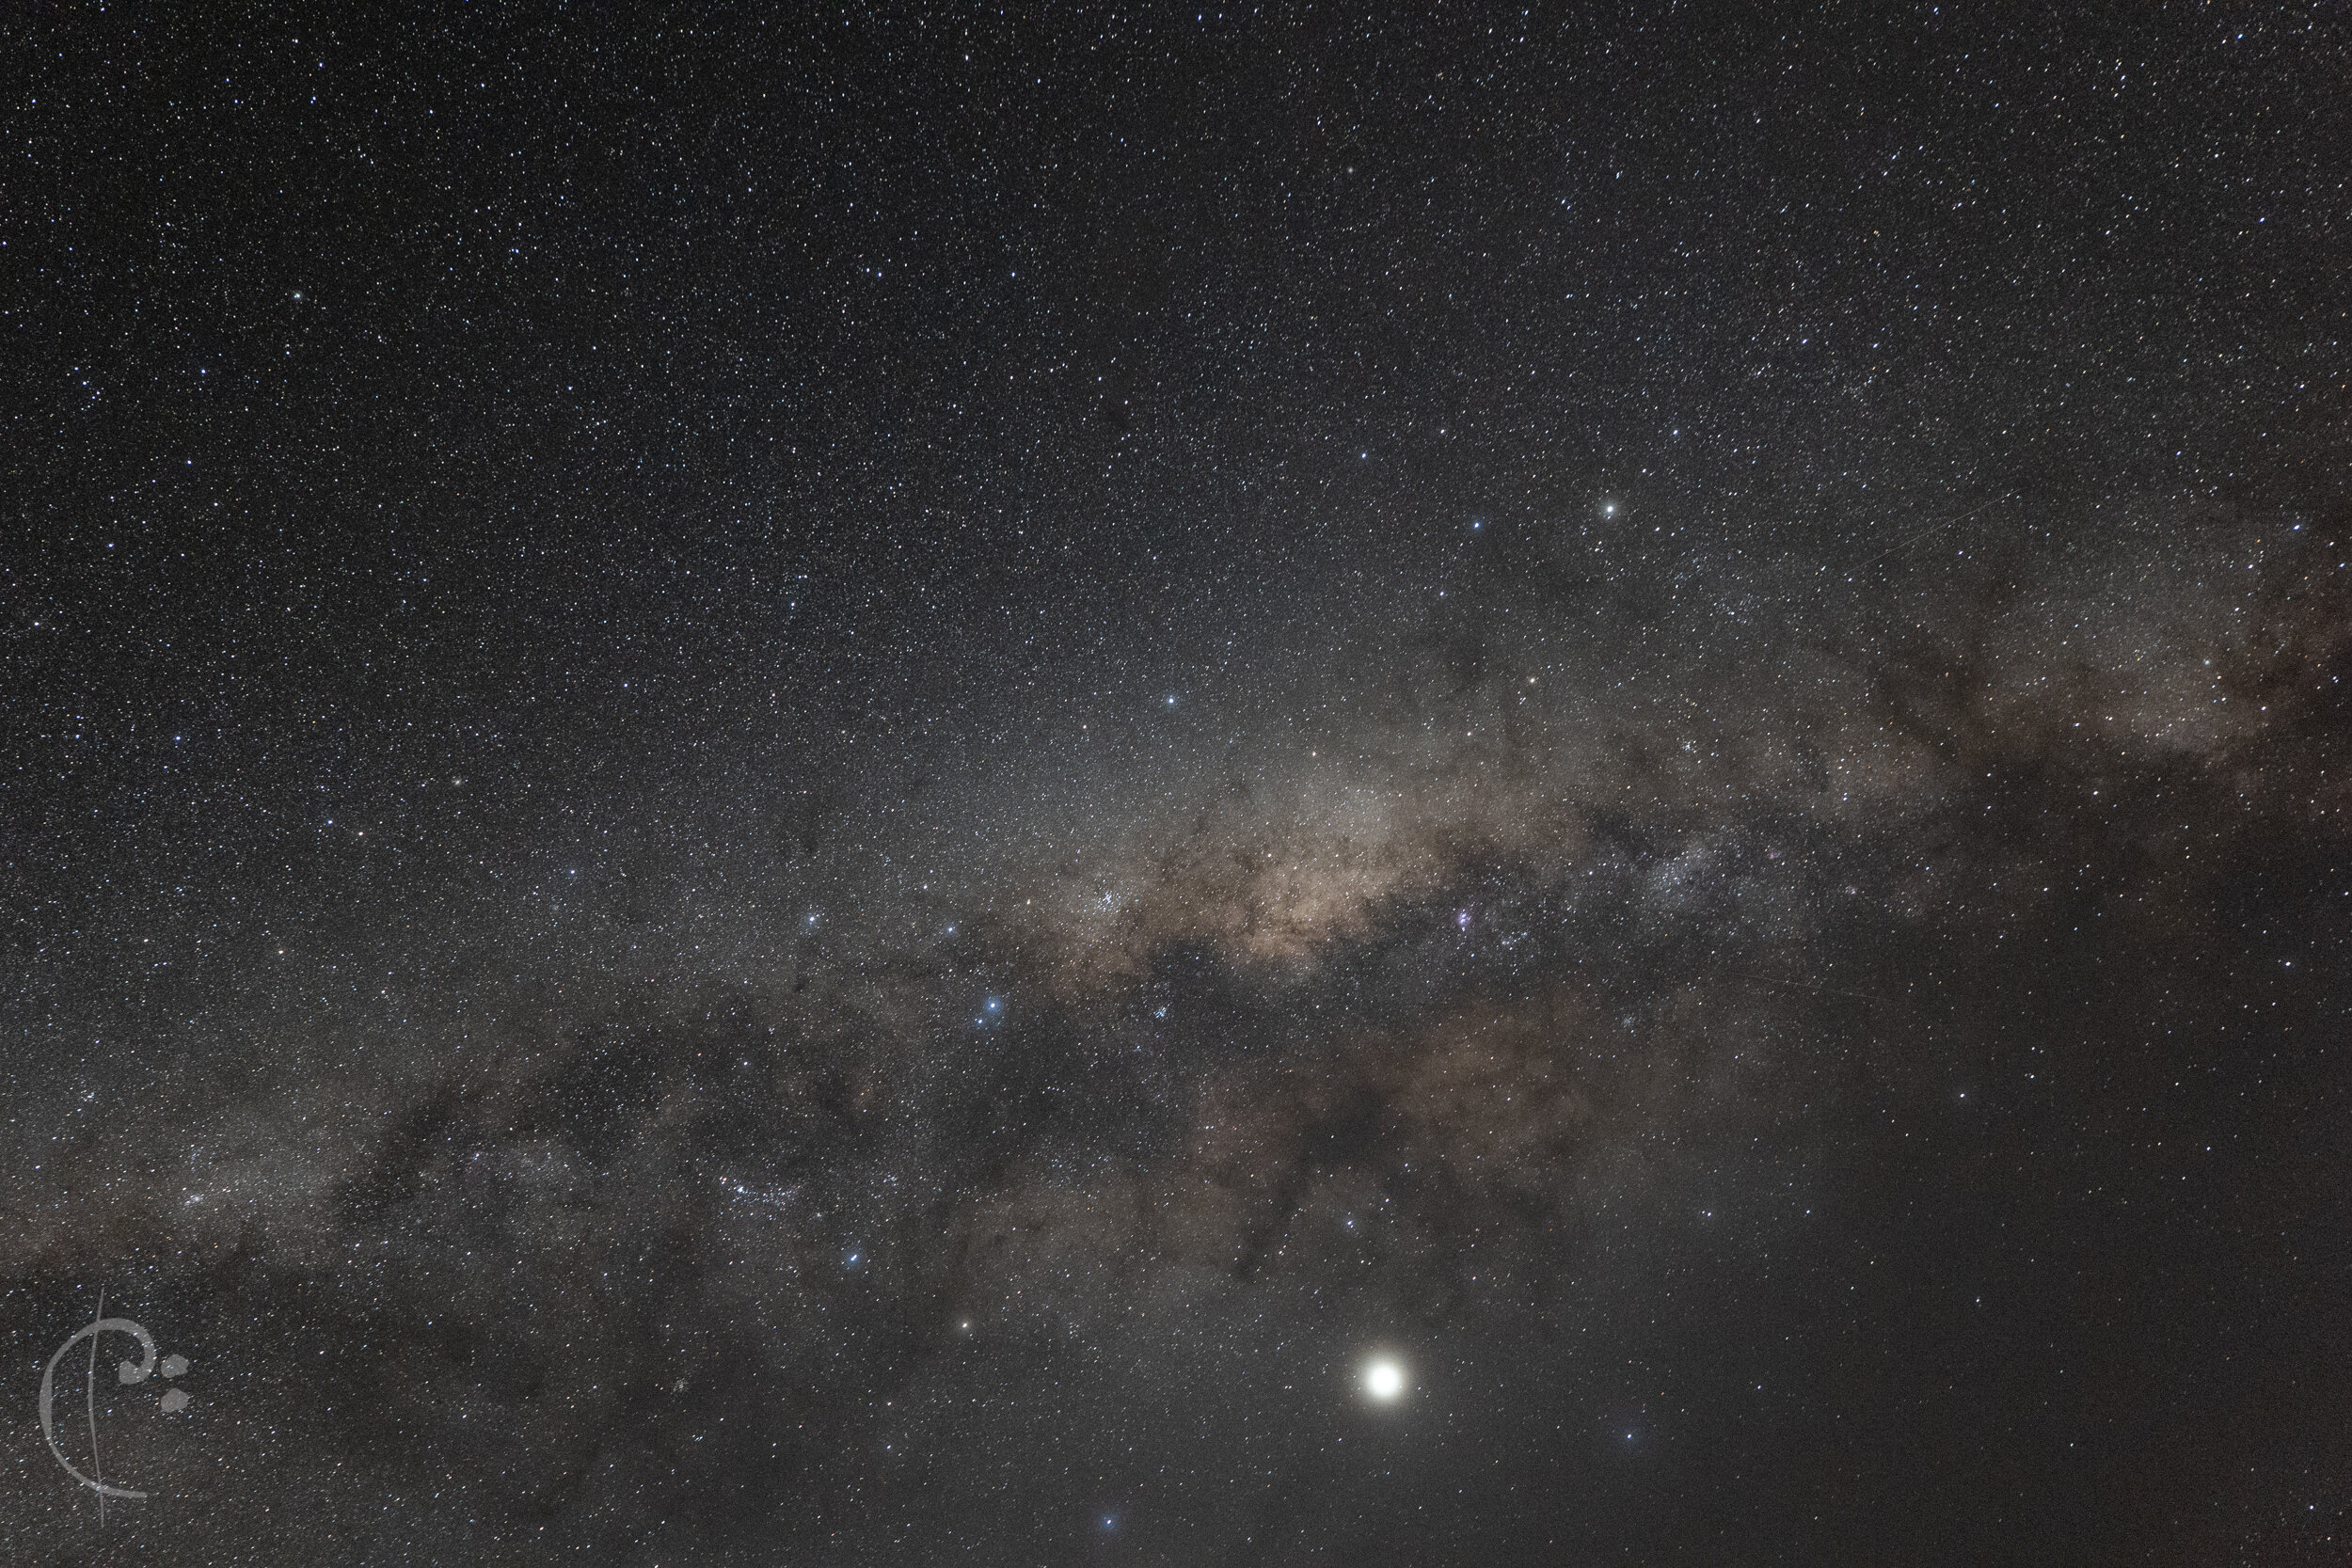
Capturing the Milky Way over Lion Rock in Piha
The Milky Way over Lion Rock in Piha, New Zealand
So a few people were asking how this shot was created, and I thought I'd show you some of the steps.
It's a combination of sixteen photos, some tracking the sky and some fixed on the ground.
You could technically do this with just 2 photos, but I prefer to use a method called stacking to help reduce noise and make a clean crisp photo. This involves taking multiple identical photos and averaging them out (since the noise in each shot is random, the average looks much cleaner)
One series of shots is fixed on the stars. I used a small tracker by iOptron called the Sky Tracker Pro for this. You point it towards celestial south and it slowly moves your camera to counter the rotation of the earth.
For the sky I took 8 photos with four minute exposures each. If I didn't have a tracker these exposures would be limited to 15 seconds - the longer exposures let me bring in a lot more colour. The ISO was 3200, and I set my aperture to f/5.6. This is higher than I would use for untracked shots, but it makes sure the stars are very sharp, and mostly free of aberrations. The downside of doing this is that, while the stars remain still, the ground moves.
The Stars Photographed on a Tracker
After that it's necessary to take another series of shots to capture the ground. These were also 8 x 4 minute exposures at the same ISO of 3200, but I opened my aperture to f/2.8 to let in more light (that sand is very black). The lens aberrations don't really have any effect on foreground so a wide open aperture is just fine. When you blend those 8 foreground photos together you end up with quite pleasing star trails as seen here - which can be a nice photo in its own right.
The foreground photographed with the tracker turned off
After that it's just a matter of blending the two photos in photoshop with a little simple masking.
Gear Used:
iOptron Sky Tracker Pro
Kiwi Lens Demister
Lumix S5
Samyang 14mm MkII, canon mount on a Sigma MC-21 Adapter
Benro Carbon Tripod
Big thermos of coffee....
If you’re in Auckland and want to try a tracker we have a few available at our workshops.
see www.highrestours.com for details
Photographing Noble & Savage's Kenyan Breakfast Tea
Kenyan Breakfast Tea, photographed in front of the Cutty Sark (well.. a model of it).
I used my time in Lockdown to try my hand at product photography. And I’m glad I did! It’s far more challenging that I had ever anticipated, and offers the time and space for creativity that I don’t often have photographing people.
This particular shot was for Noble & Savage. Tea merchants from Christchurch in New Zealand (best tea I’ve ever tasted…). They have a nautical theme, so I decided to pair their product with a 50 year old model of the Cutty Sark that my father built.
This shot employs a whole swathe of techniques - so let’s start from the top:
Planning:
I had a vague Idea of what I wanted but was having trouble visualizing it, especially the perspectives with the tea on the dock and the boat out to sea. To make it easier I mocked up a scene in Blender (3d modeling software). This was extremely useful when it came to putting together the individual shots. I was able to use this to determine my camera’s focal length, as well as some basic product placement.
I wound up choosing the Lumix S1R for its high resolution, and the Lumix S pro 16-35mm lens (at 16mm):
Blender mockup of the scene
The Dock:
I started with the dock. That was the easy part. I had a copy of the blender image on my Lumix S1R, and used the Sheer Overlay feature to help line up the dock to the position I wanted. Sheer Overlay places a semi-transparent photo over the viewfinder. It’s typically used for stop-moption, but it works wonders for this kind of composite photography.
The only thing I had to wait for was an overcast sky. Once there I noted the position of the sun so that I could replicate it in my studio (garage…).
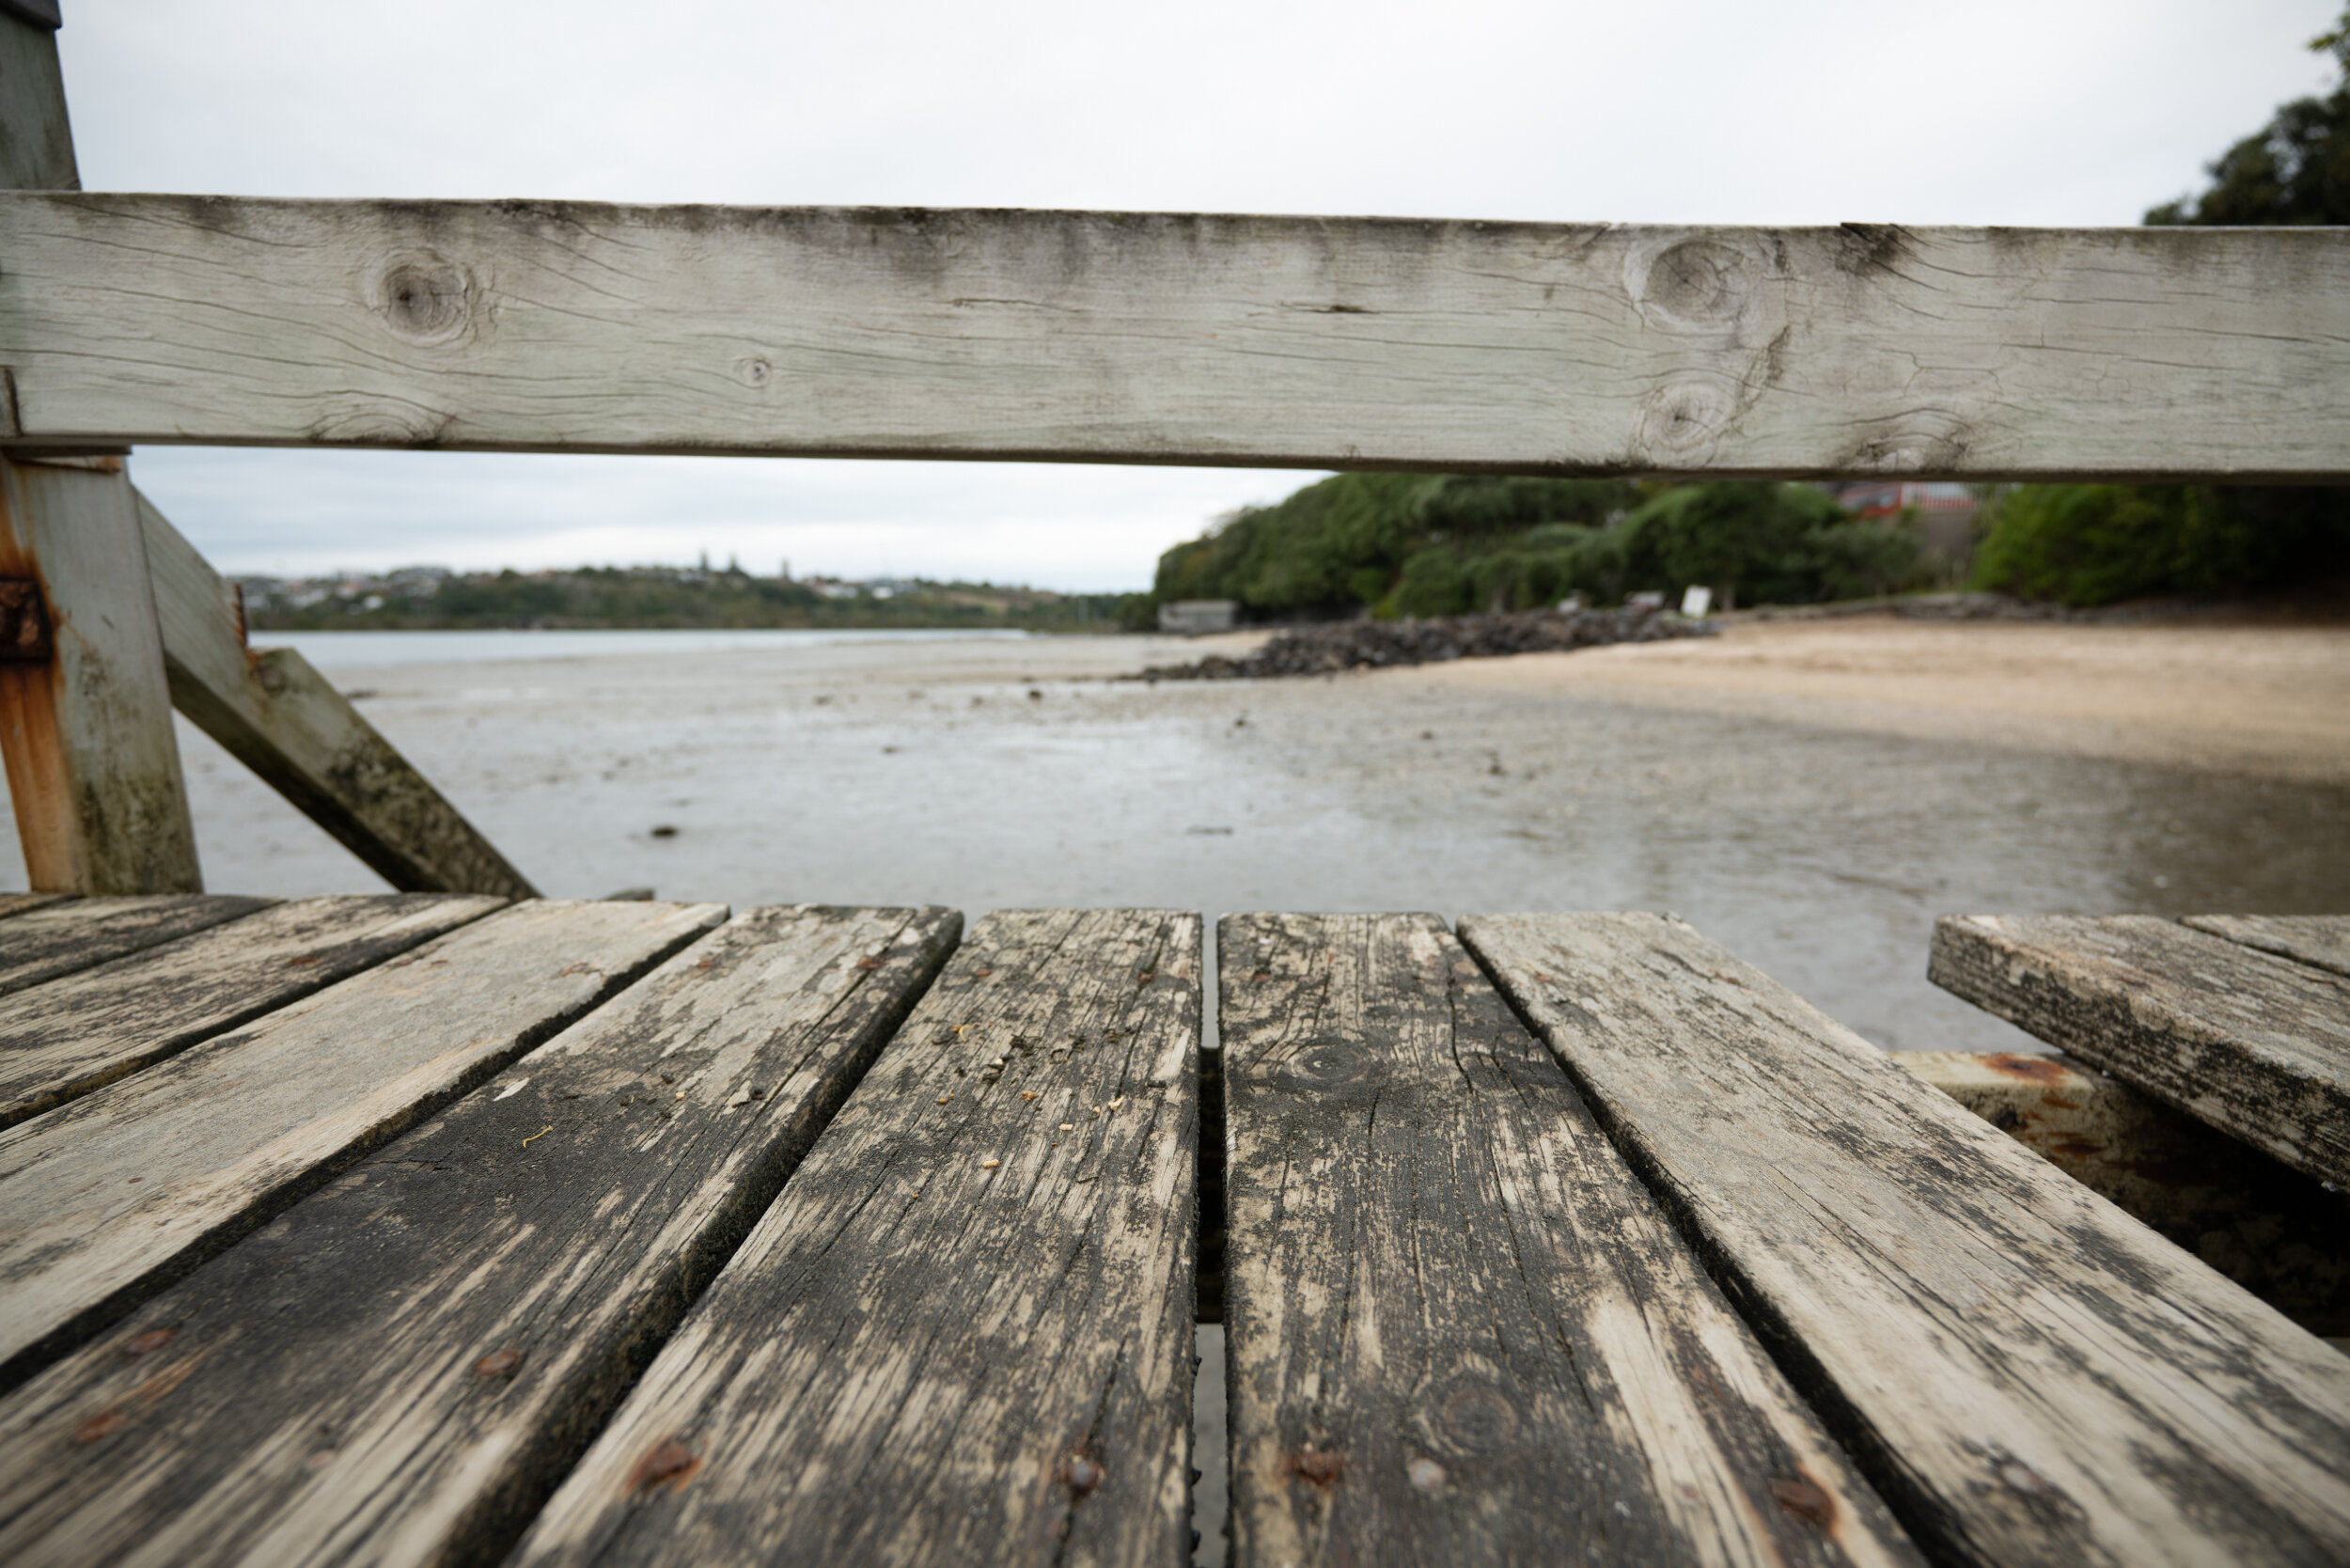
Old dock in Hobson Bay, Auckland.
The Ship:
The model is the Cutty Sark, once the fastest sail boat on earth, it was used to transport tea from China to England.
The model itself it quite small. This means it’s impossible to capture completely in focus, even at f/22. I used the Focus Bracketing feature in my Lumix S1R to capture 67 photos, each focused slightly further than the last (focus bracketing quickly automates this otherwise painstaking process). These were combined in a program called Helicon Focus. That particular program is a joy to use. Just watching it stack the images together is thrilling.
The ship was lit with a large umbrella top left, and a silver reflector to the right.
I knew that the spot where the hull met the water would be tricky. So I went for a foggy scene. I used vape pen to blow vapour against some black card that I had placed at ‘sea-level’. This was composited into the final scene using a ‘hard-light’ blending mode in Adobe Photoshop. This vapour also makes up the waves that you can see along the top line of the dock.
Blowing vapour against the hull
The Tea:
I made sure to use a similar lighting setup for the tea as I did with the boat.
To catch the reflections in the text I held some white paper near the lens. I also took extra shots with a hand-held Godox AD200 to better light the liquid in both the glass and the plunger.
Holding white paper in front of the camera to highlight the Noble & Savage logo on the tea
Adding extra light to the tea with a Godox AD200
Compositing:
The final result involved quite some time in Photoshop. I worked from back to front. Starting with the boat which I carefully cut out from the background (that was tough with all the rigging). I then blended in the vapour shots to make the waves. Finally I added the dock, then the tea.
The finished image was graded using some old VSCO presets as a starting point, with a few extra tweaks in Camera Raw just to get the shadows and colours how I liked them.
Layers upon layers in Photoshop…
And that’s it. The entire process took longer than I’d care to admit!
I’d like to thank Lumix New Zealand for whom I’m an ambassador.
Godox lights, just because I love them.
And of course Noble & Savage… the finest Tea Merchants I know.
If you’re a product manufacturer and you like my work, feel free to head over to the contact page.
Corporate during Covid, portrait photography under lockdown.
How can we work as corporate photographers during Lockdown?
One method that jumps out is composite photography. It’s a technique I’ve employed a lot for special effects, but I’m finding new use for it in my corporate team photos.
It's possible to shoot people in a studio whilst maintaining distance, and put the group together afterwards in photoshop:
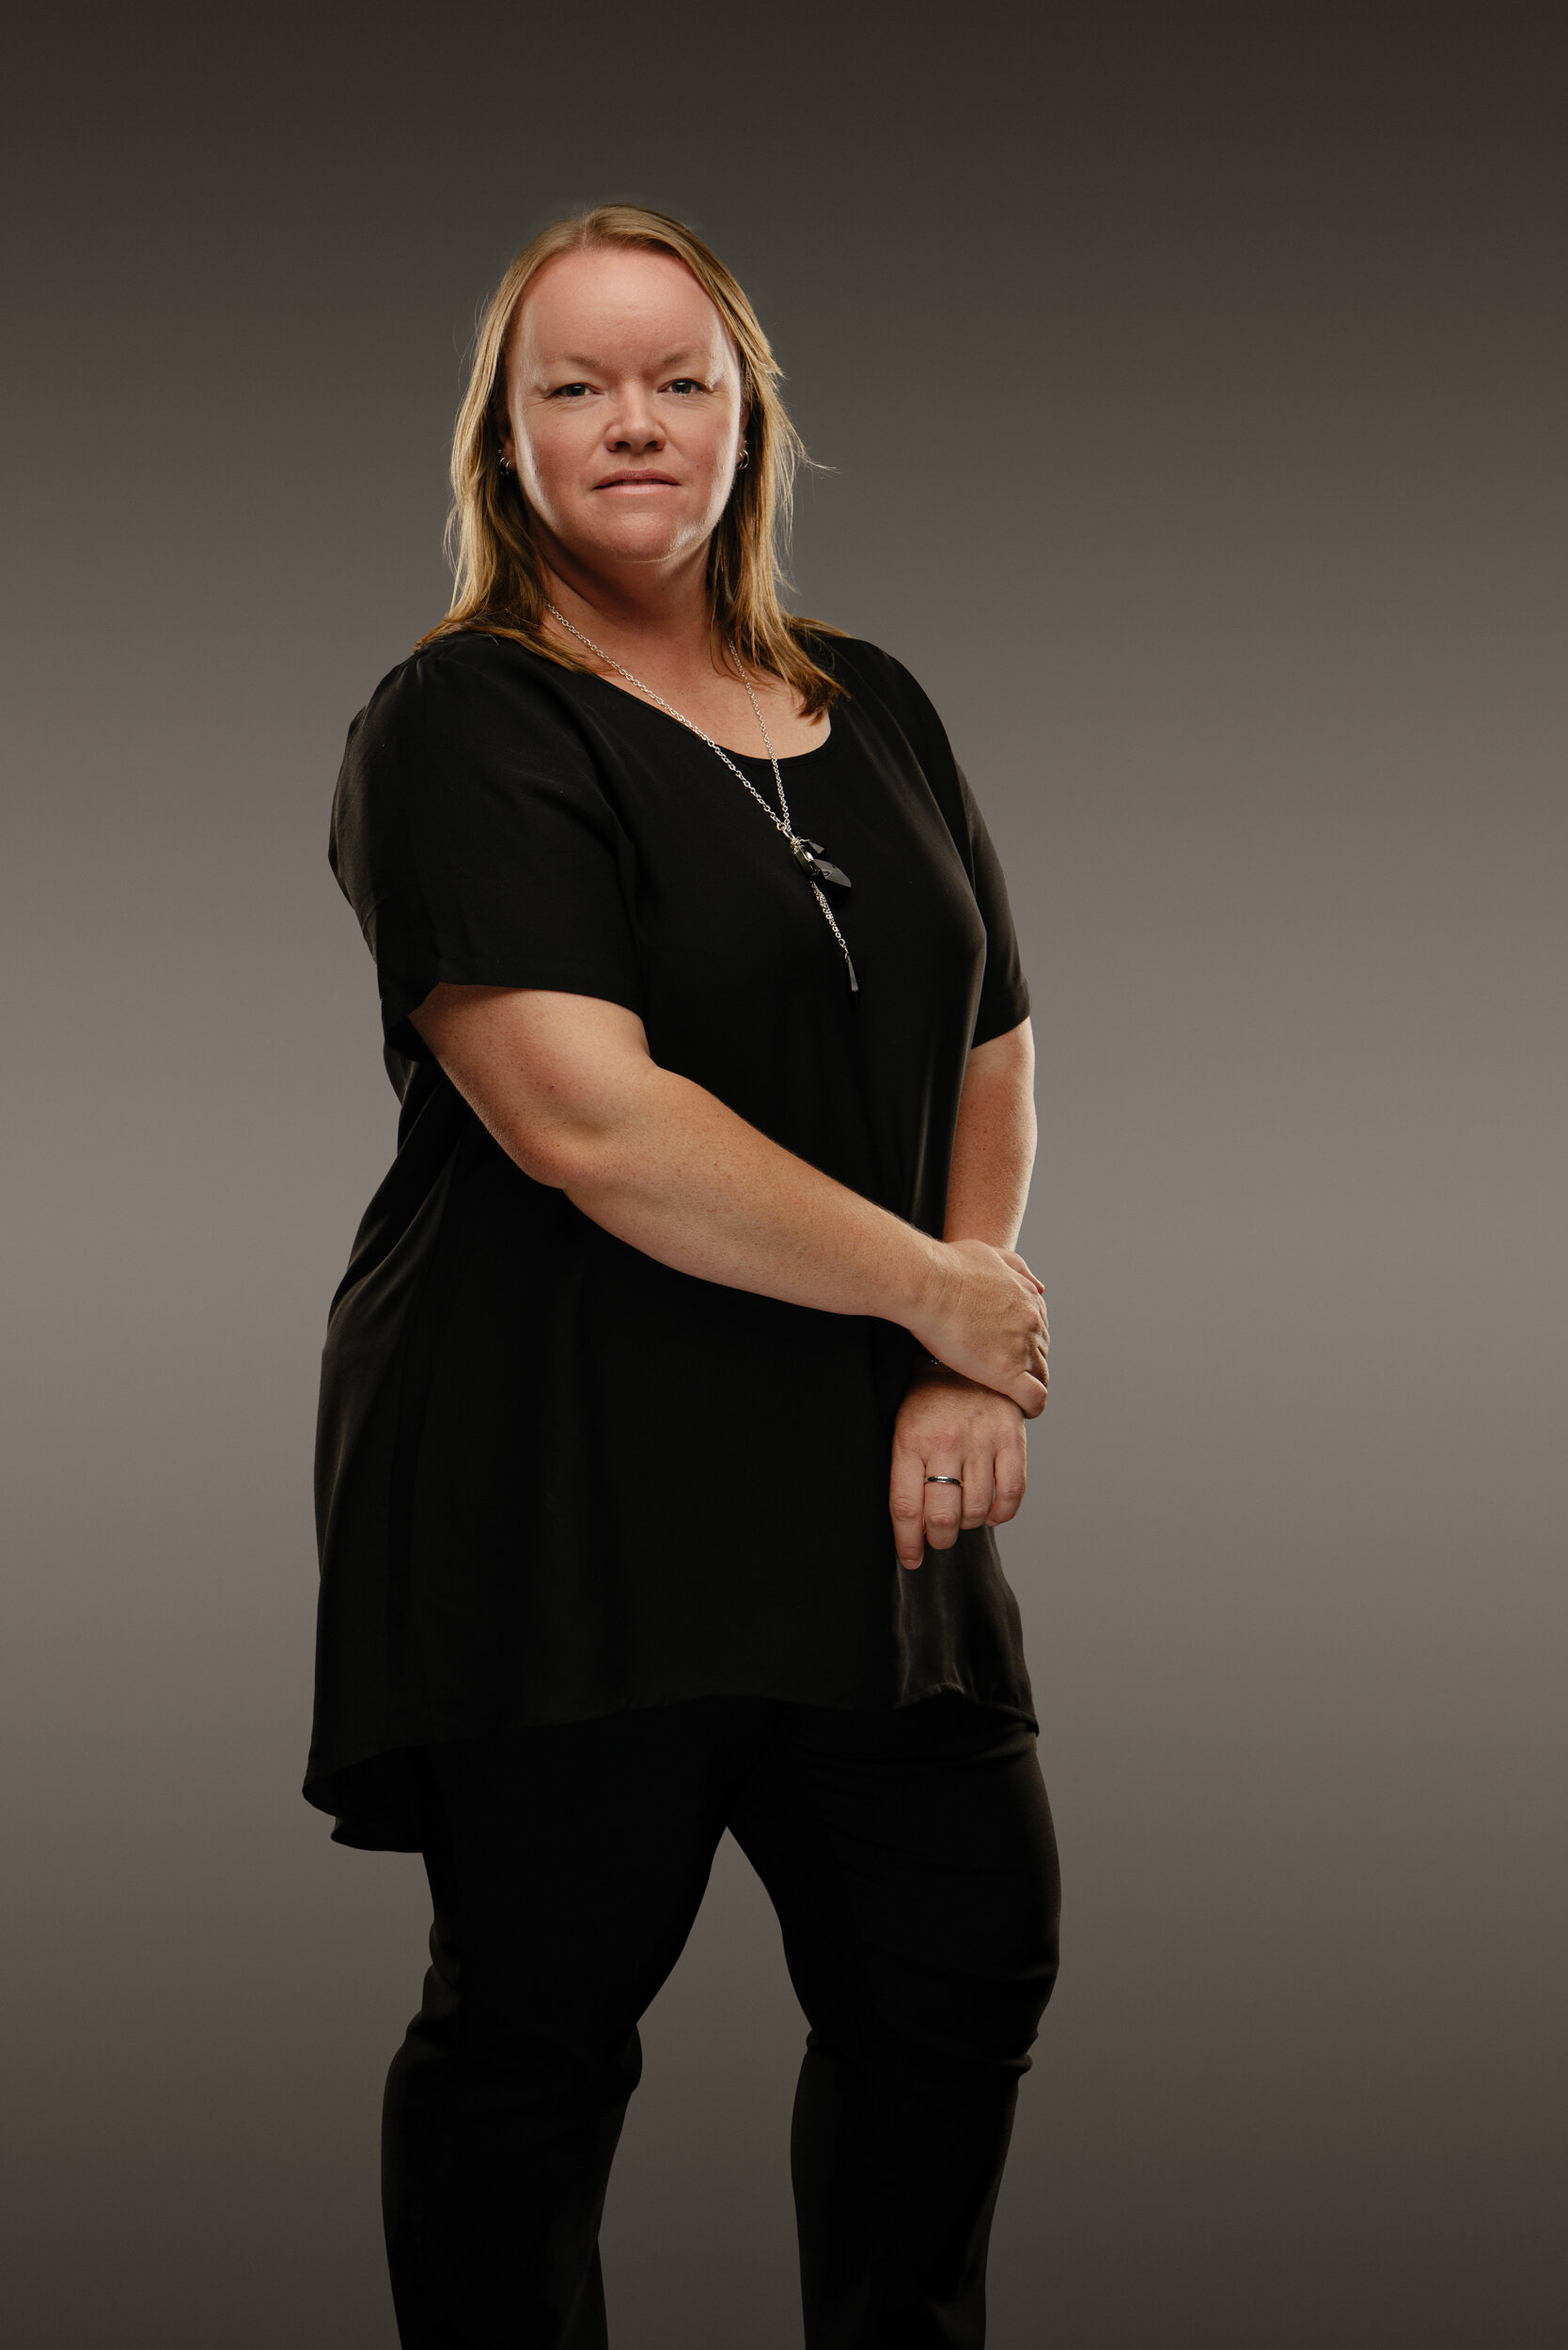
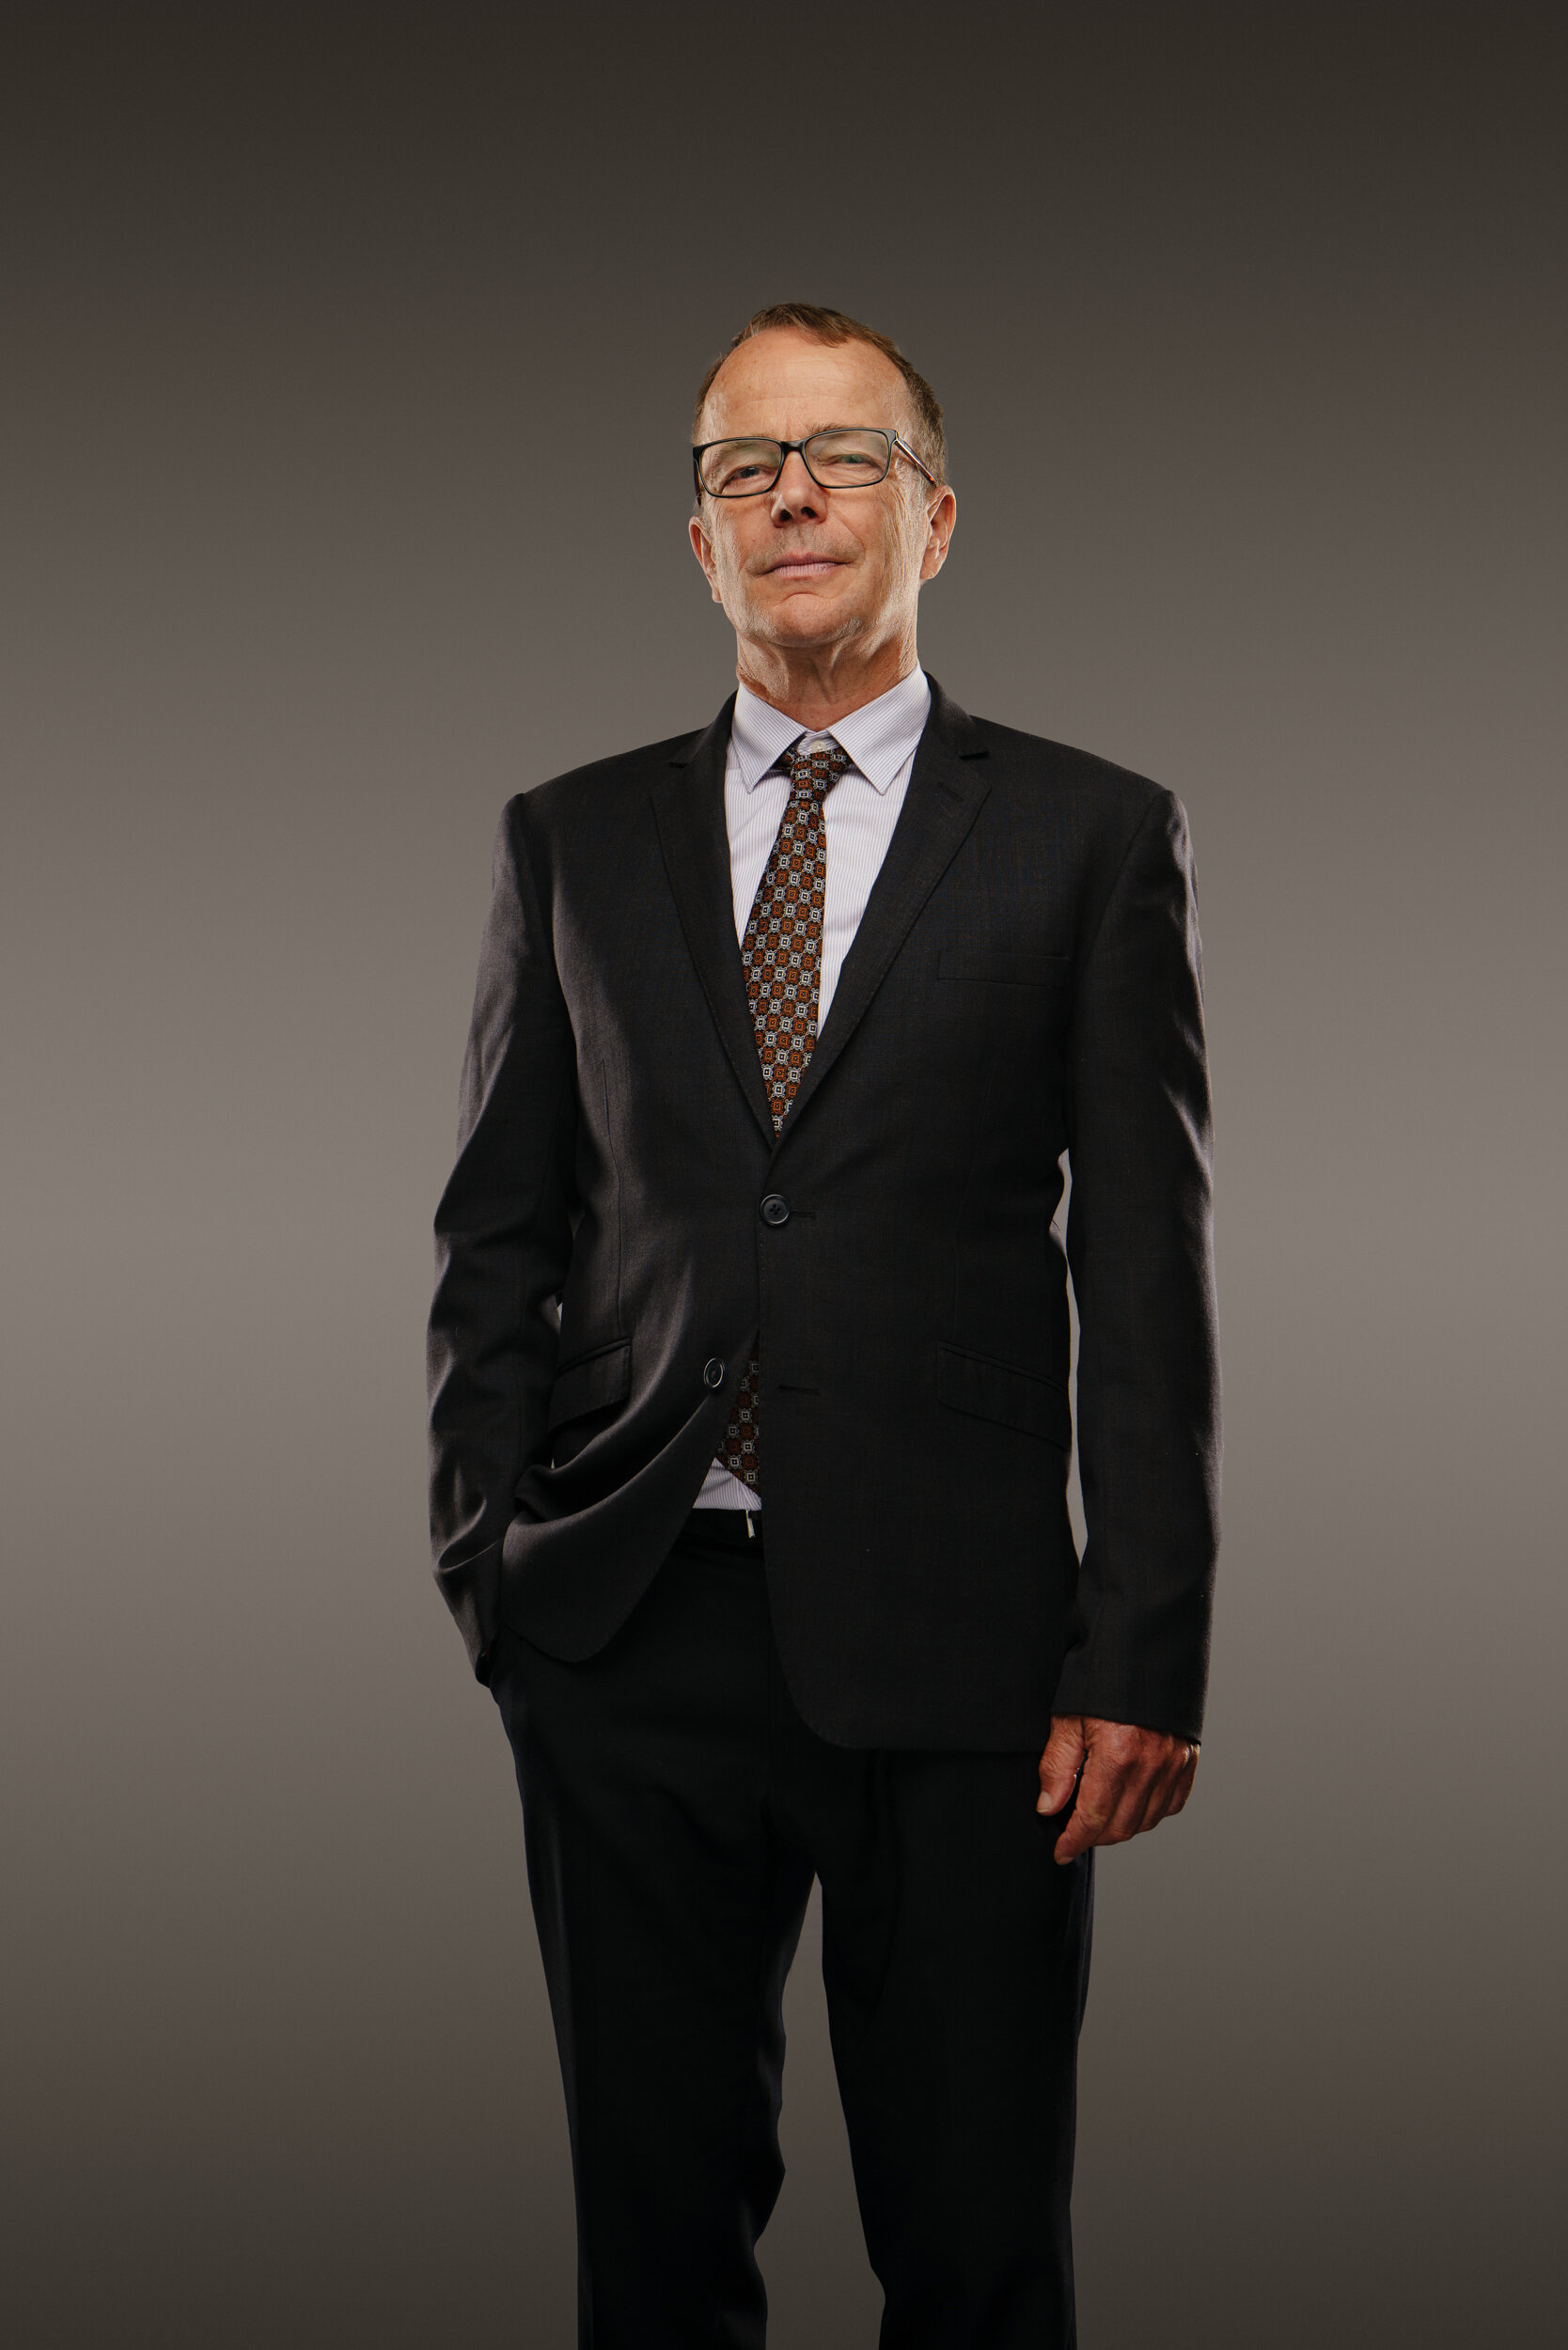
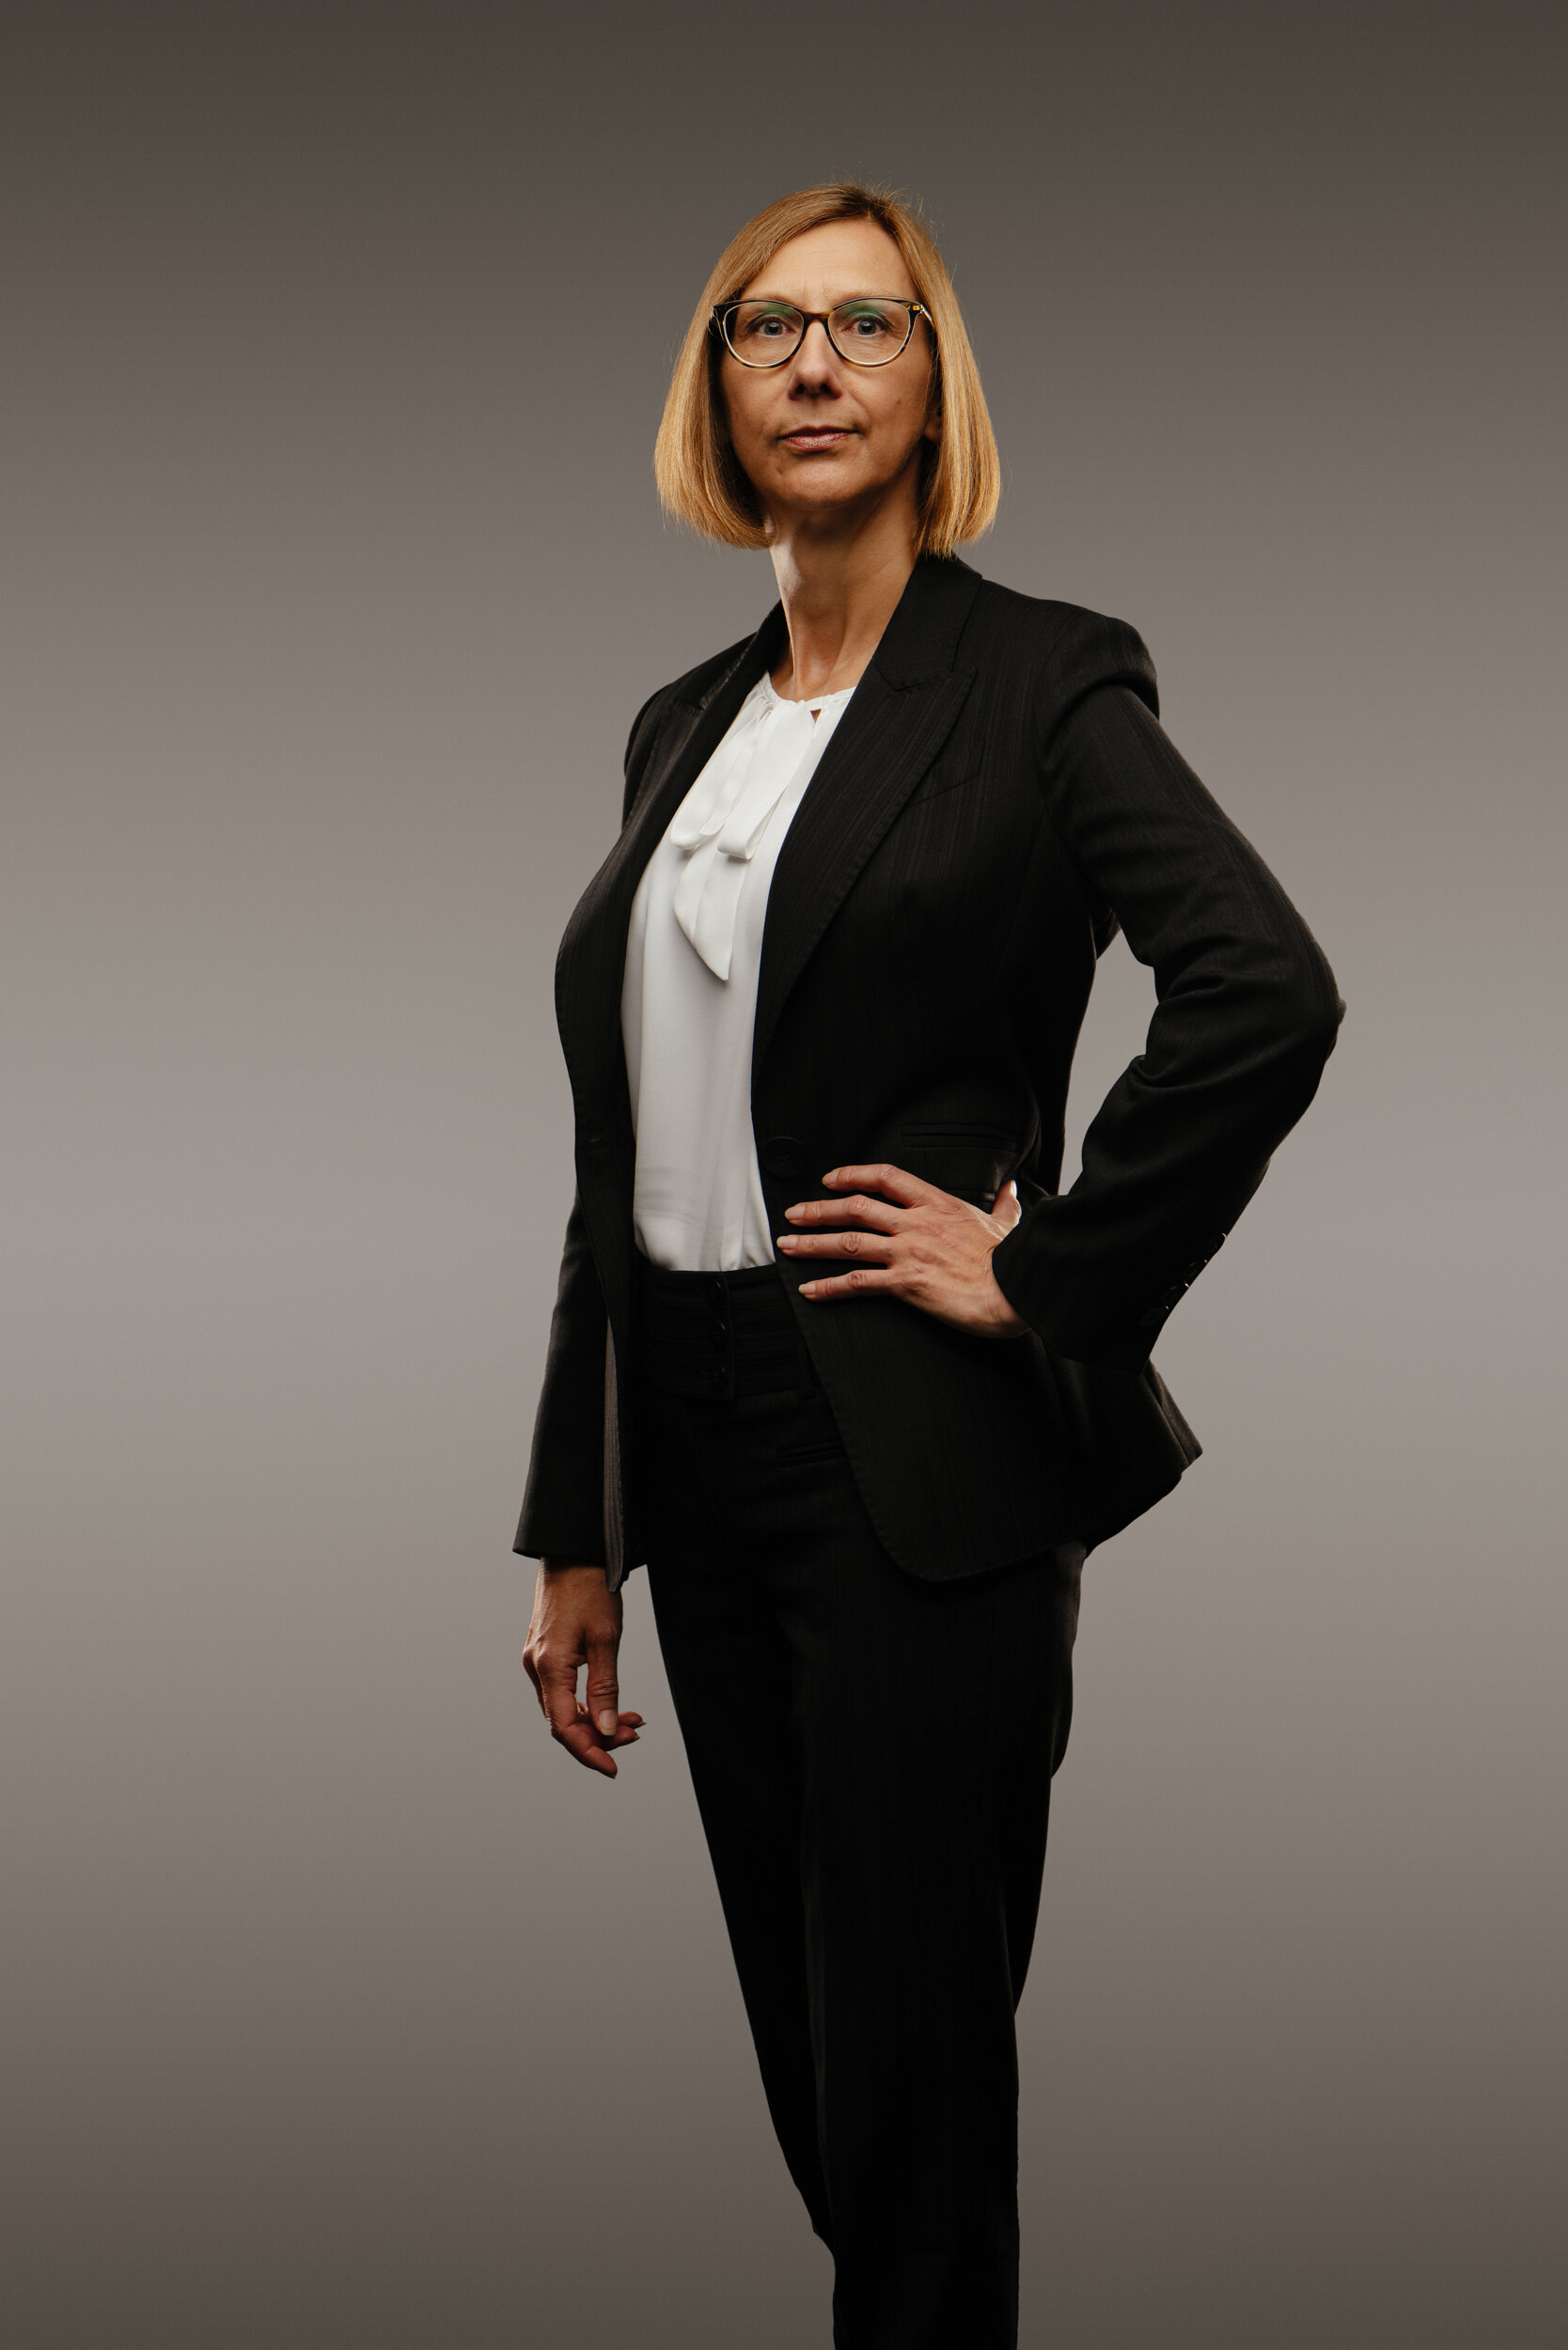
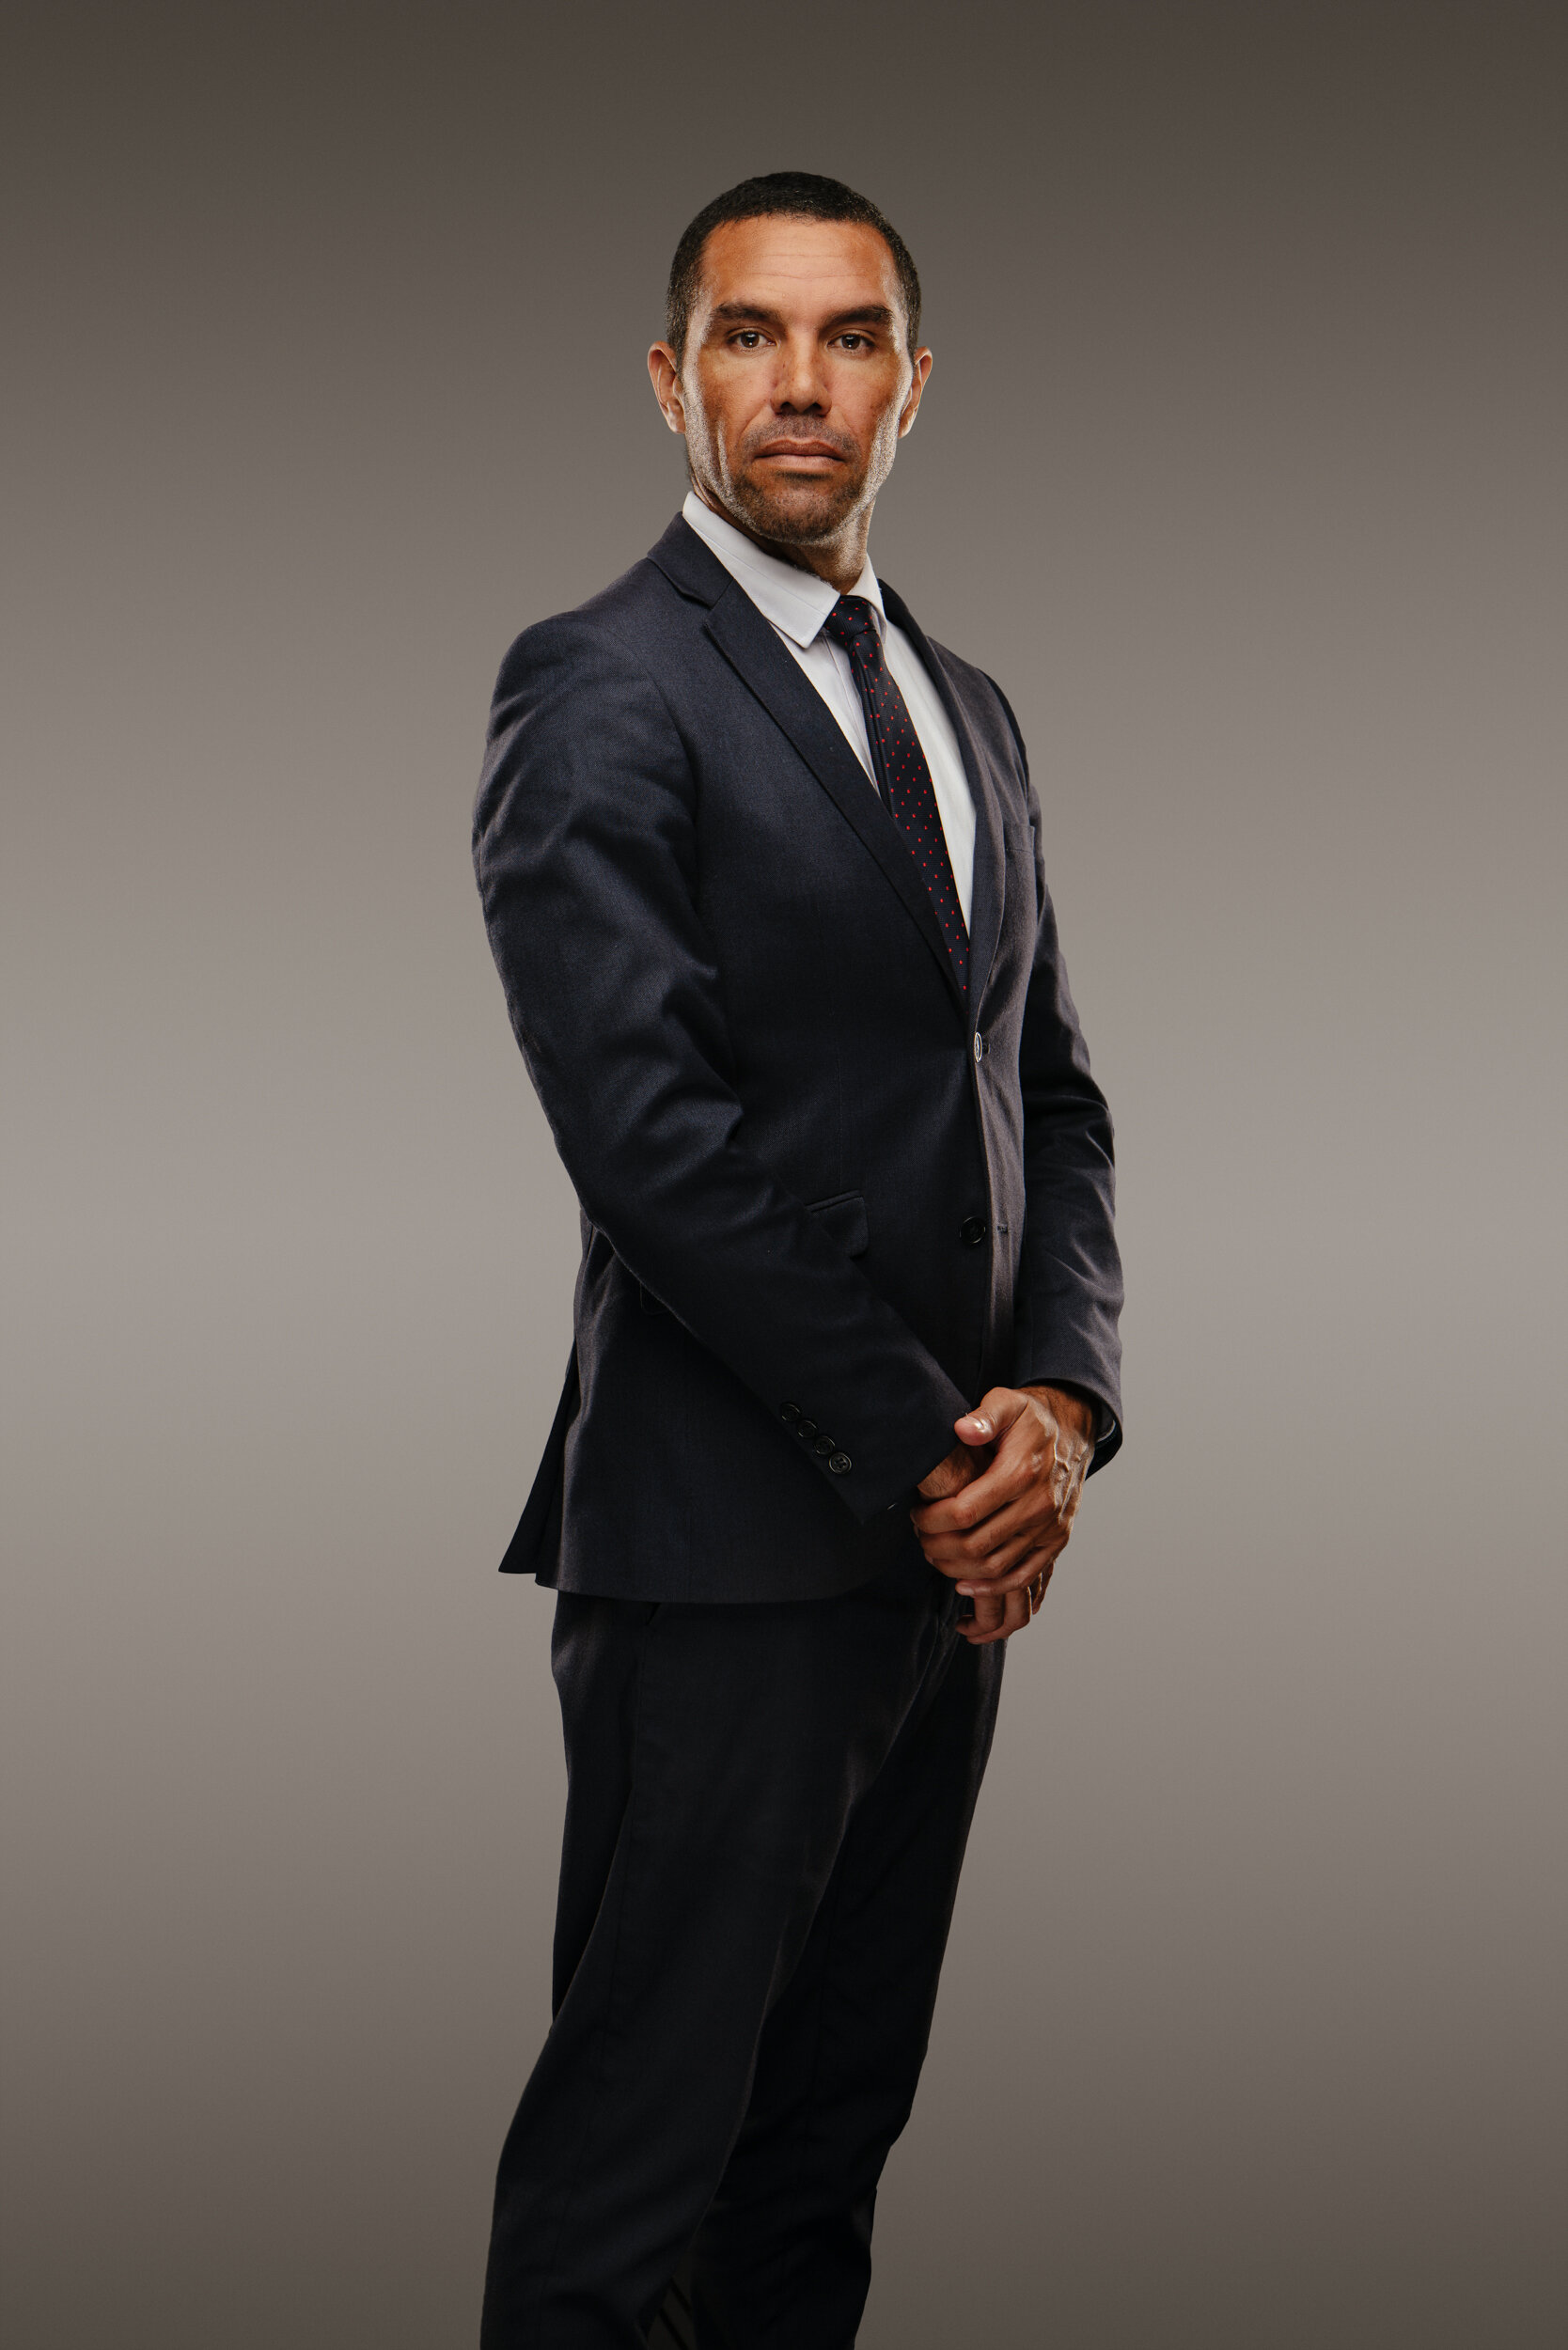
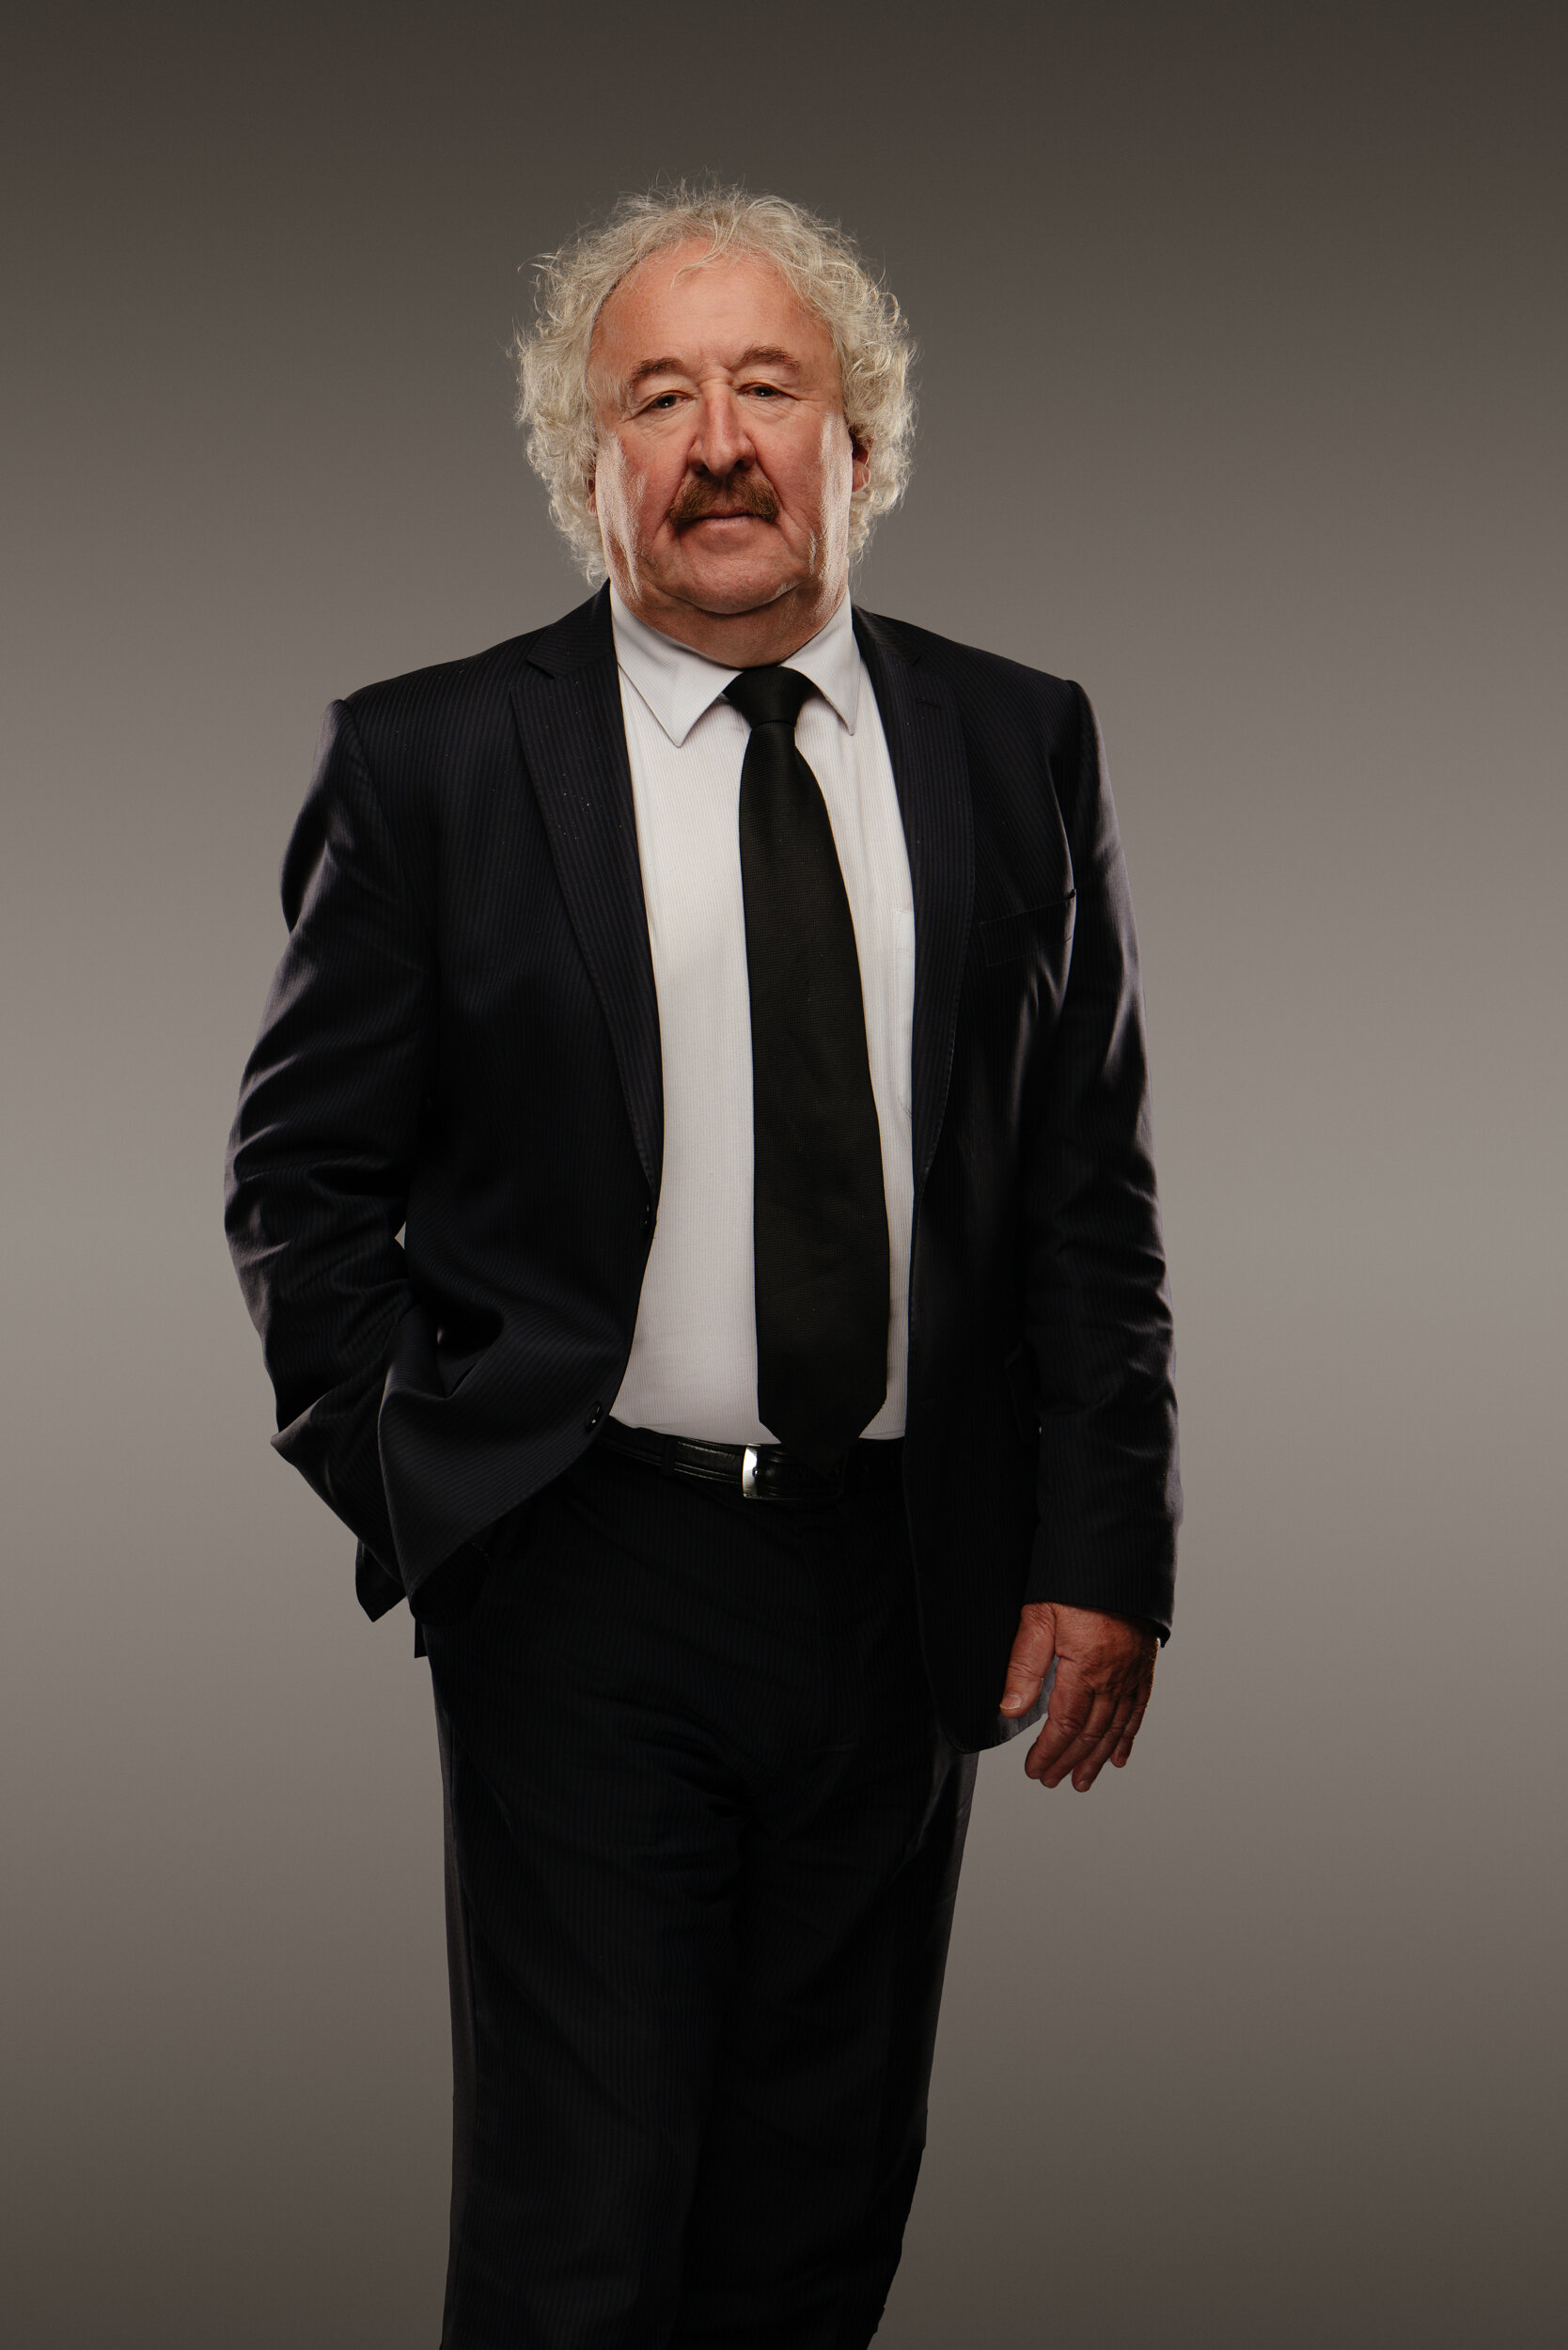
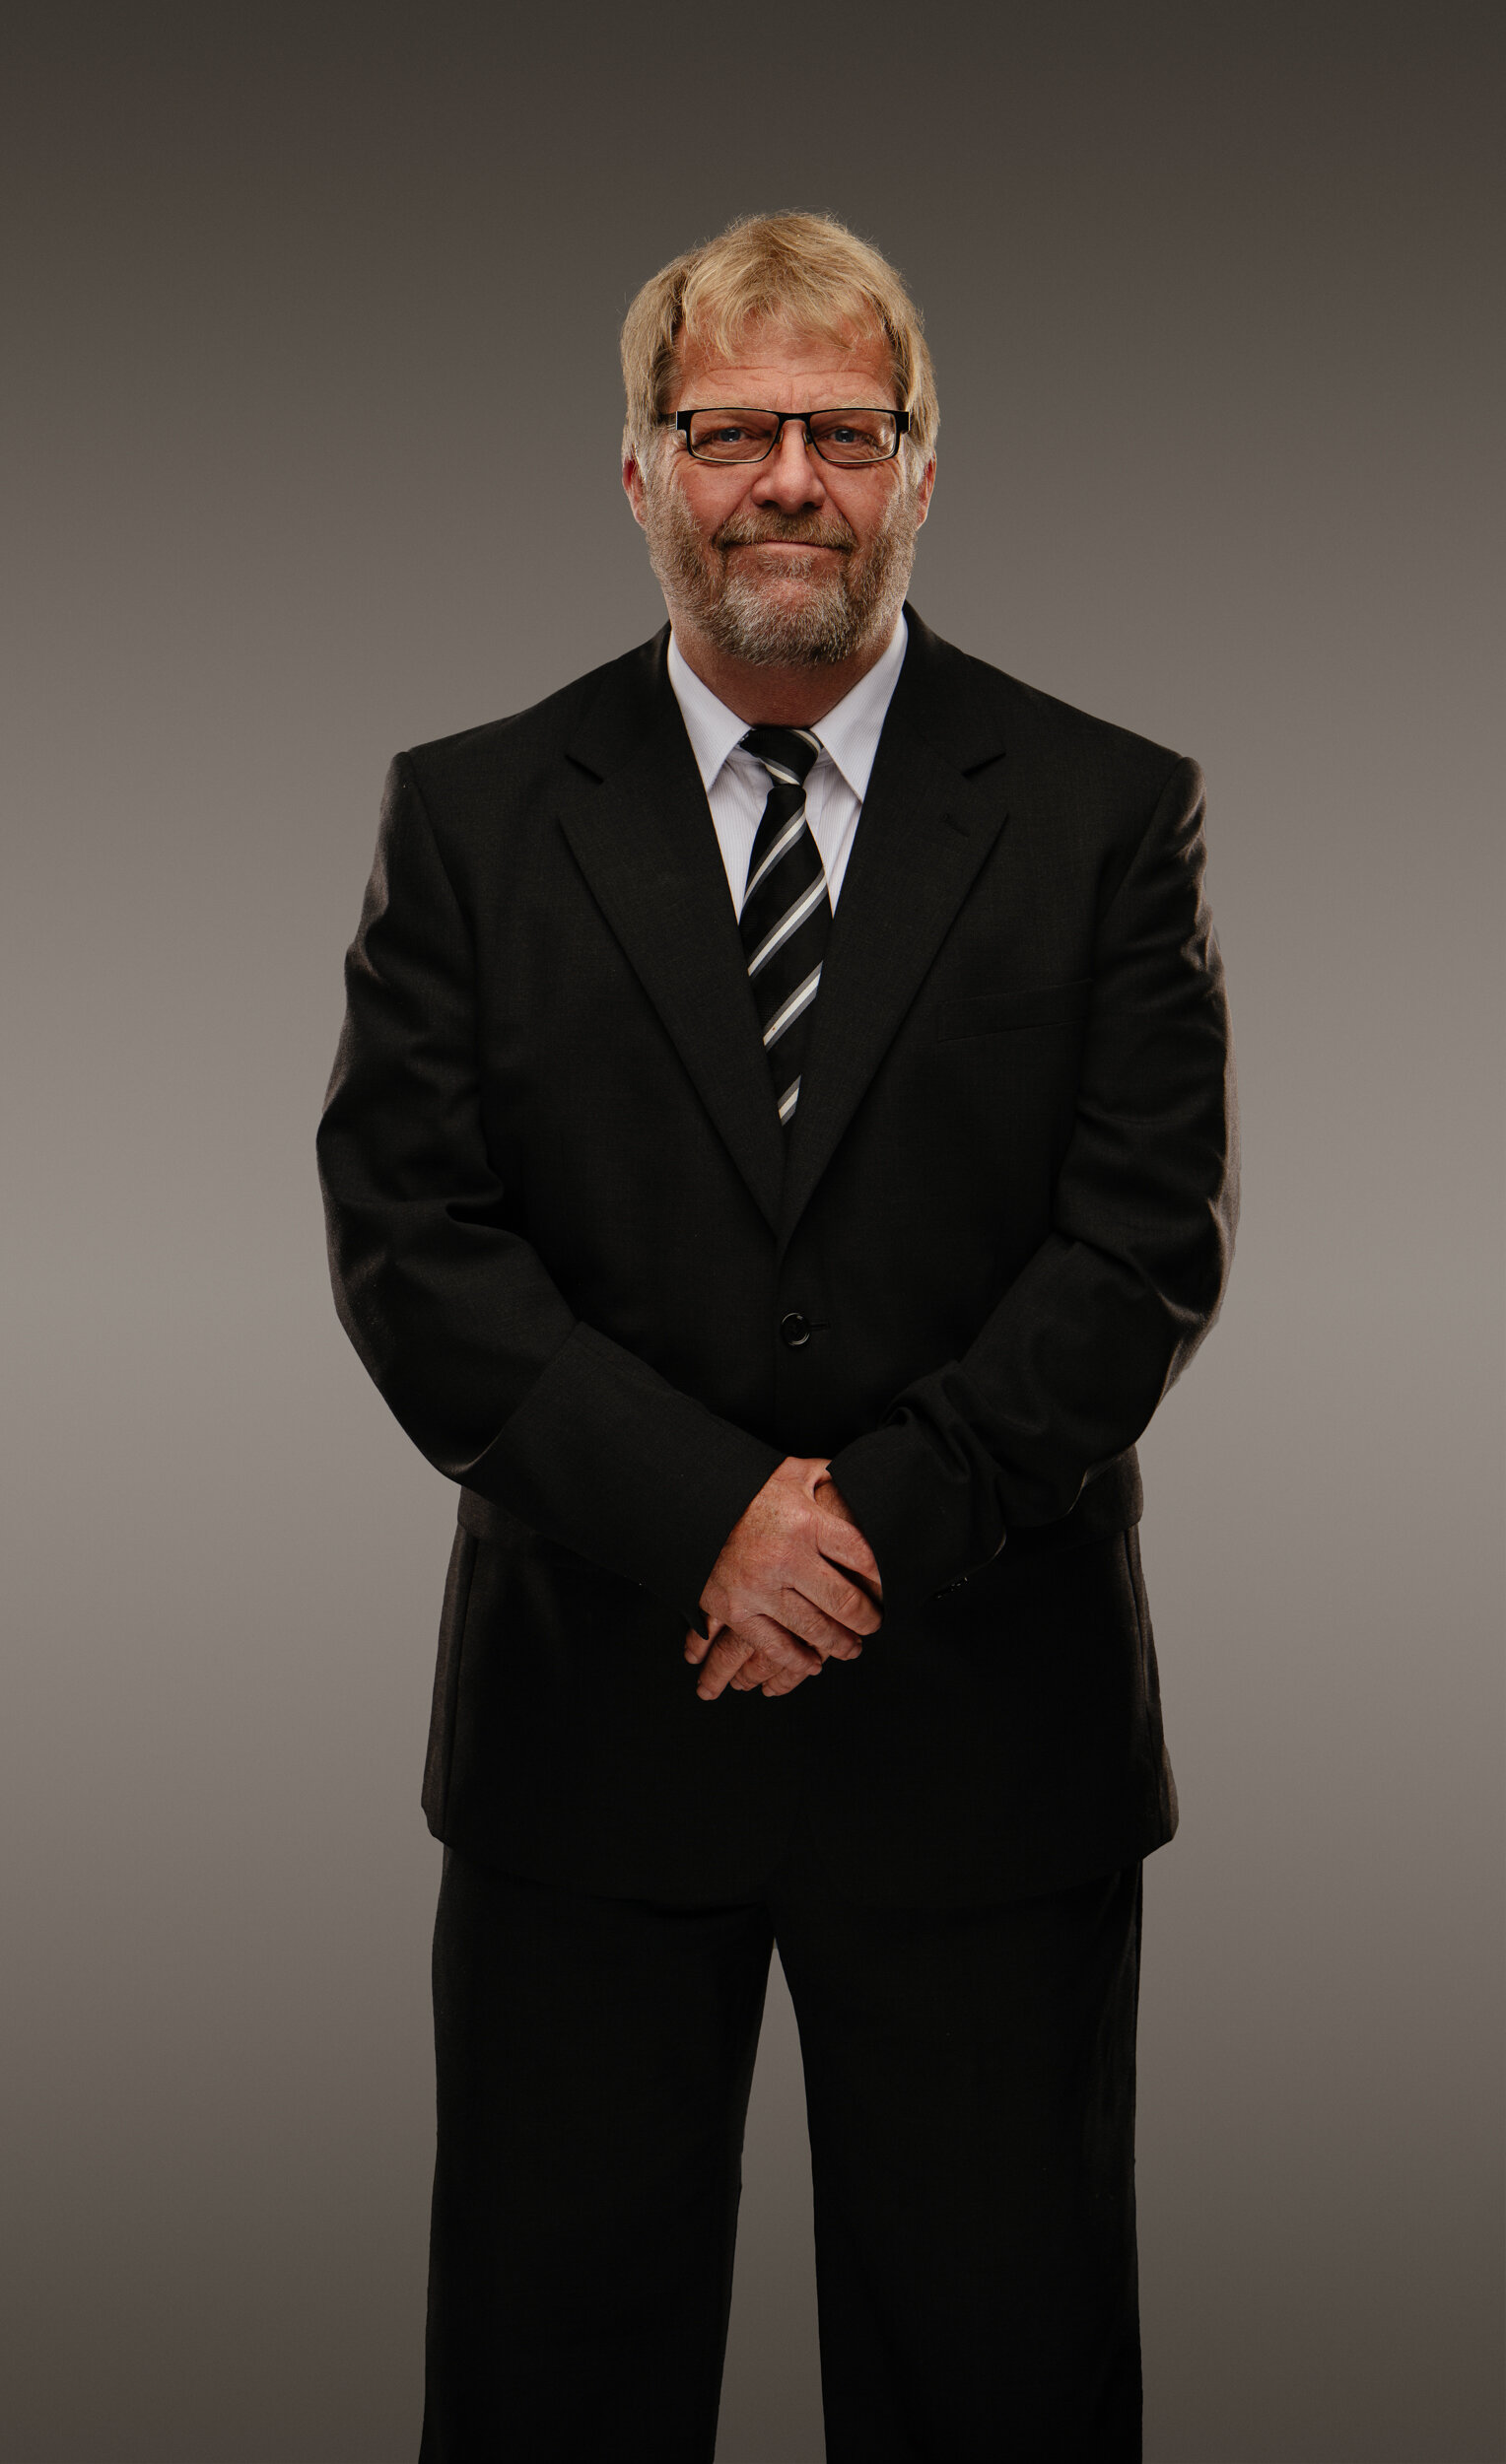
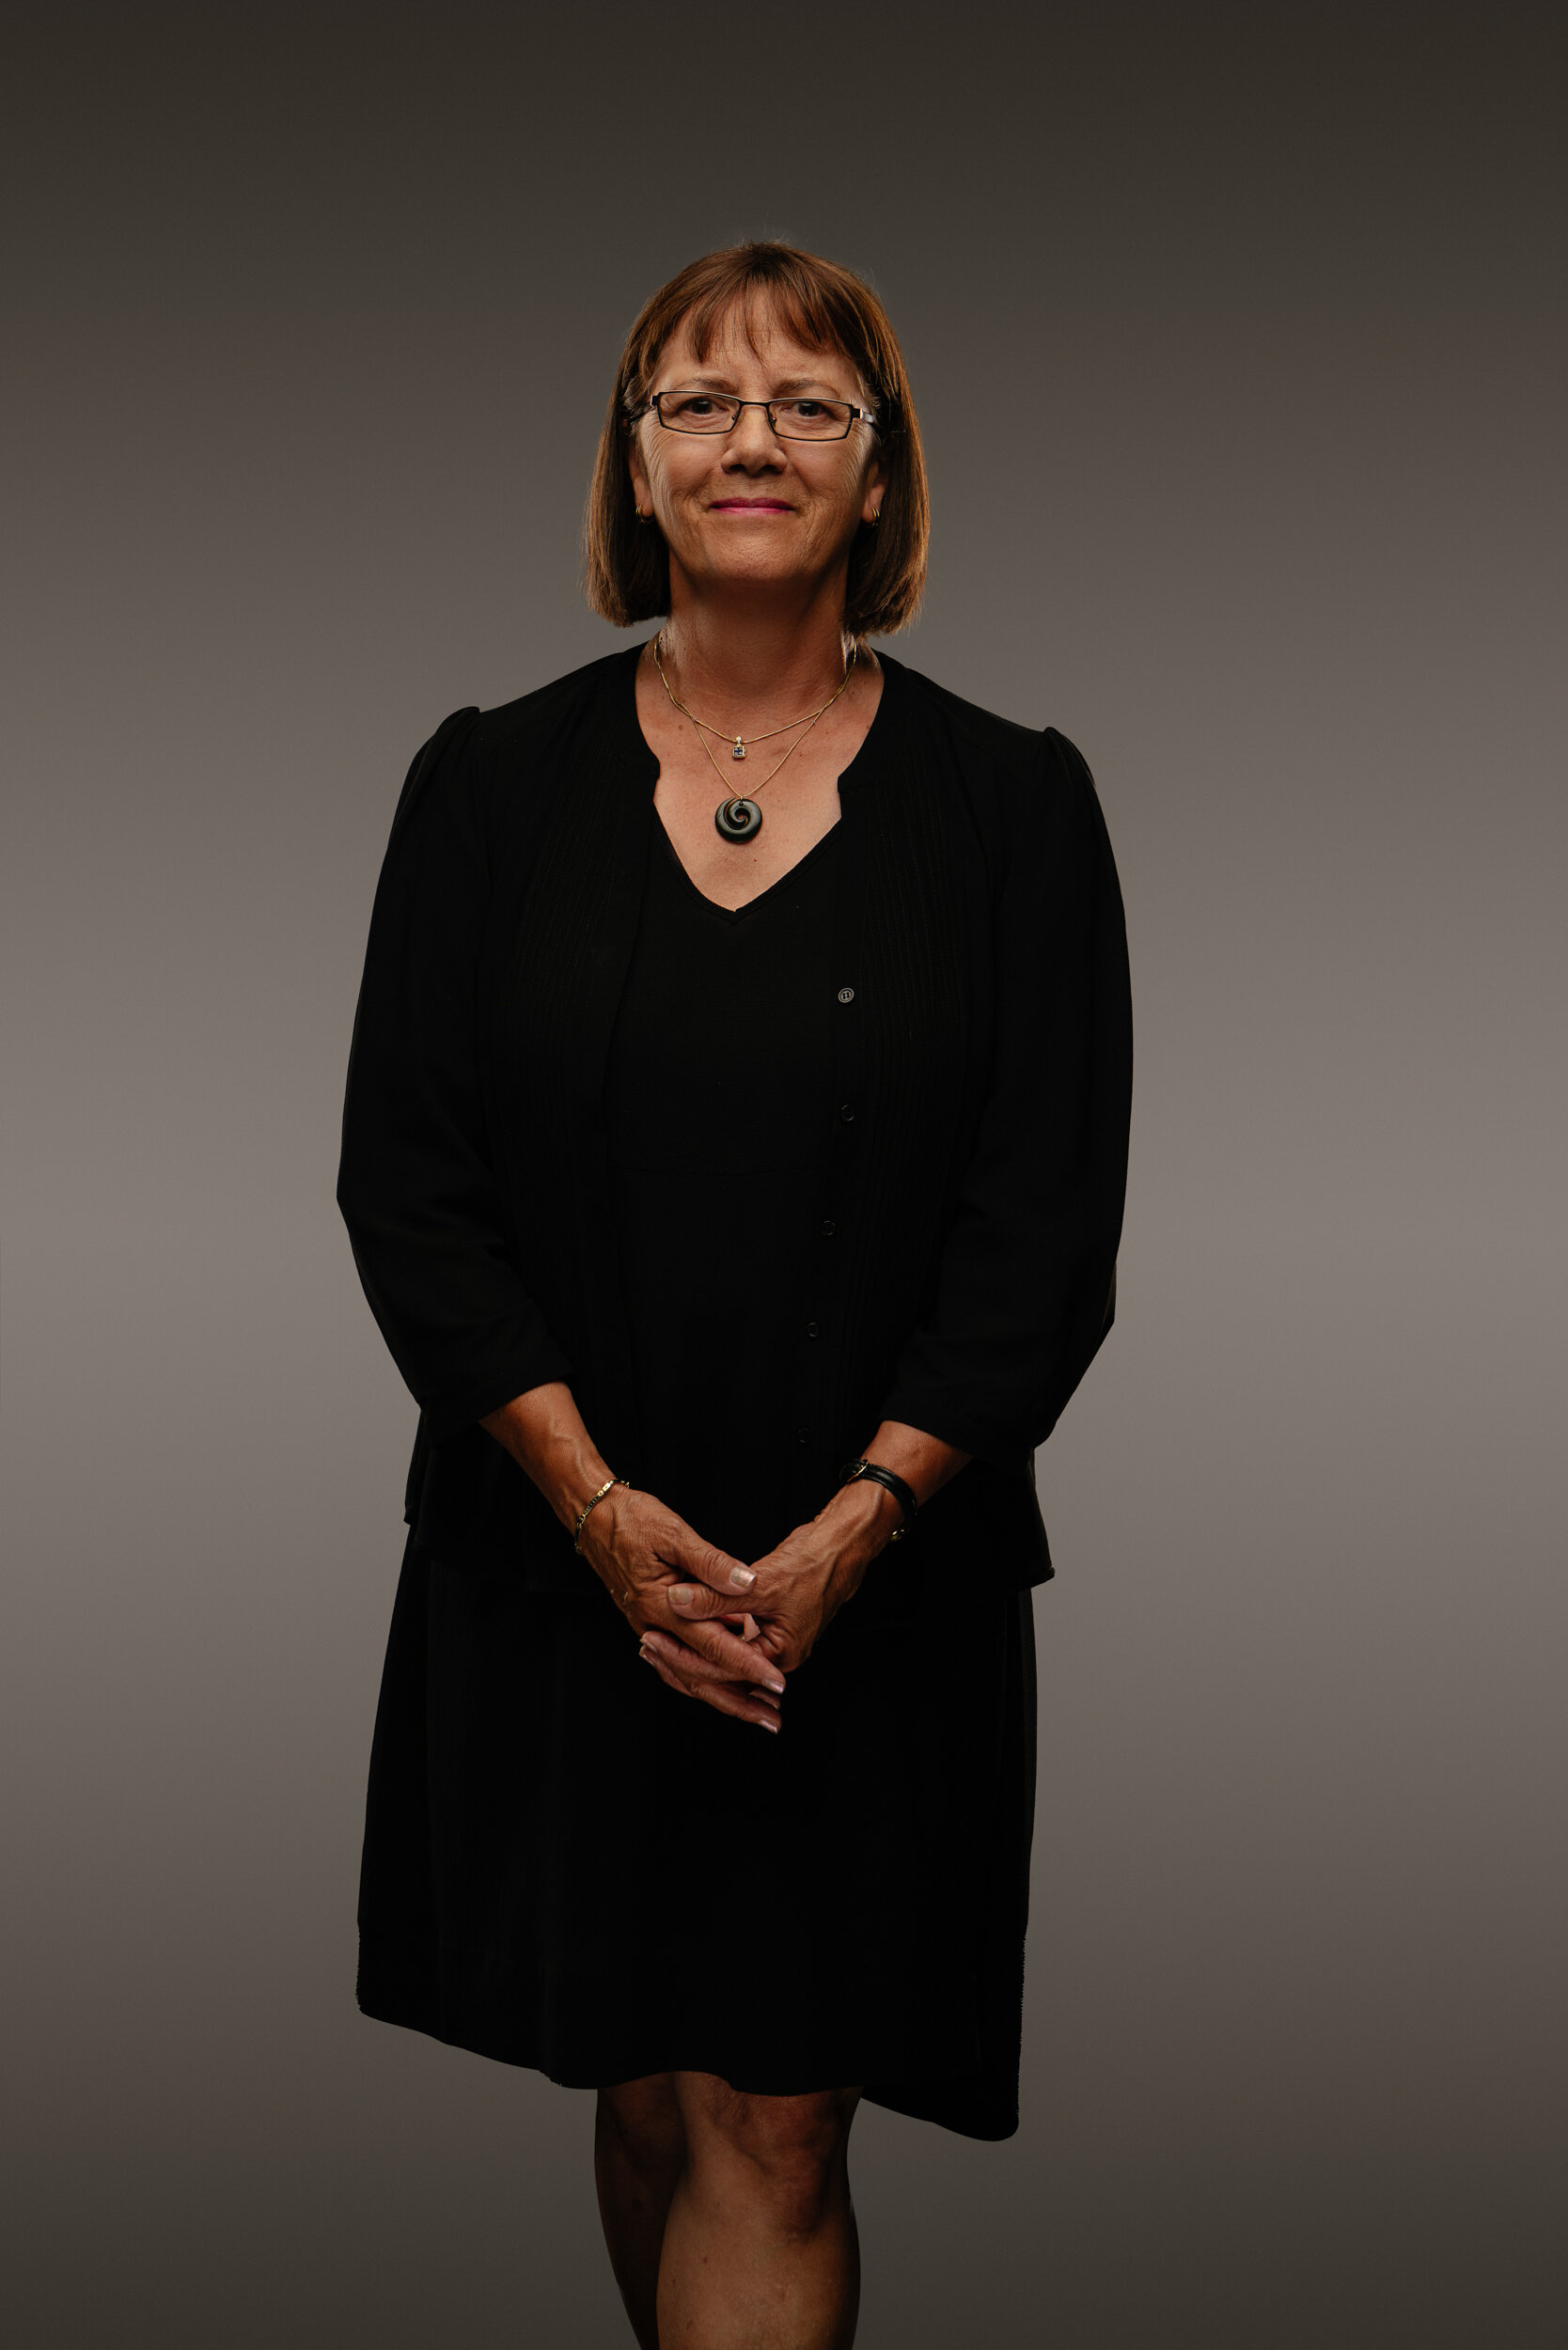
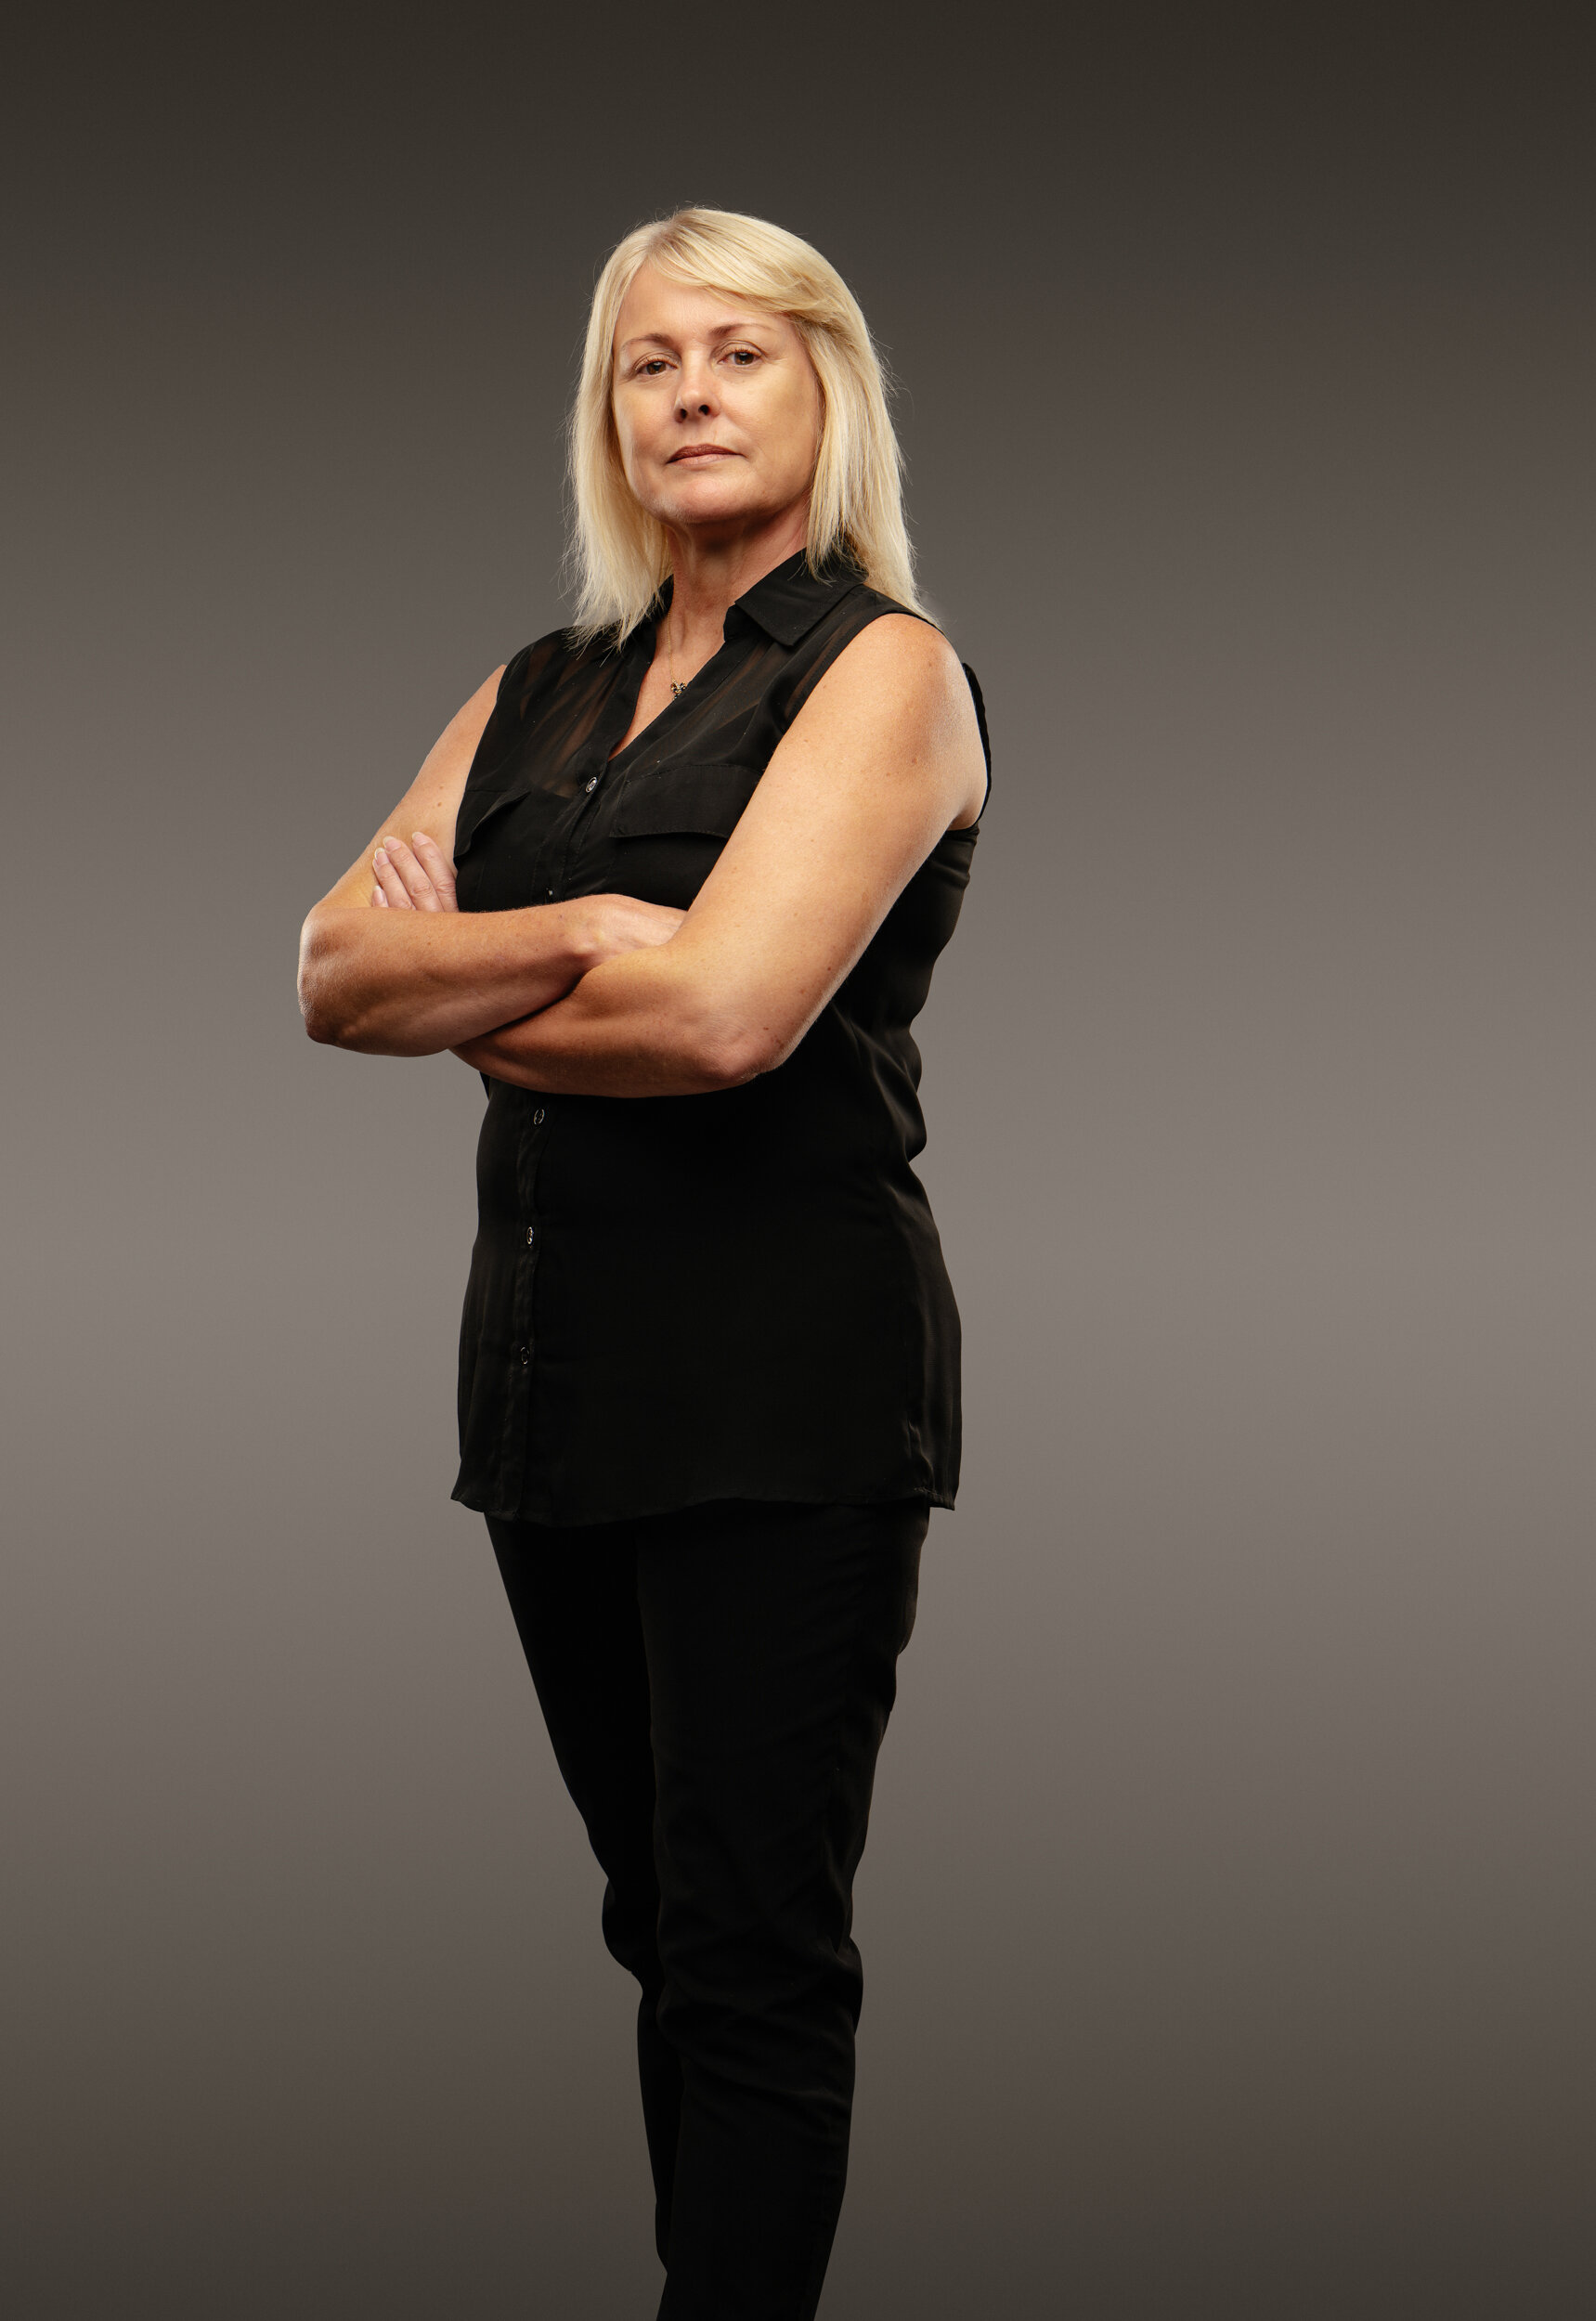
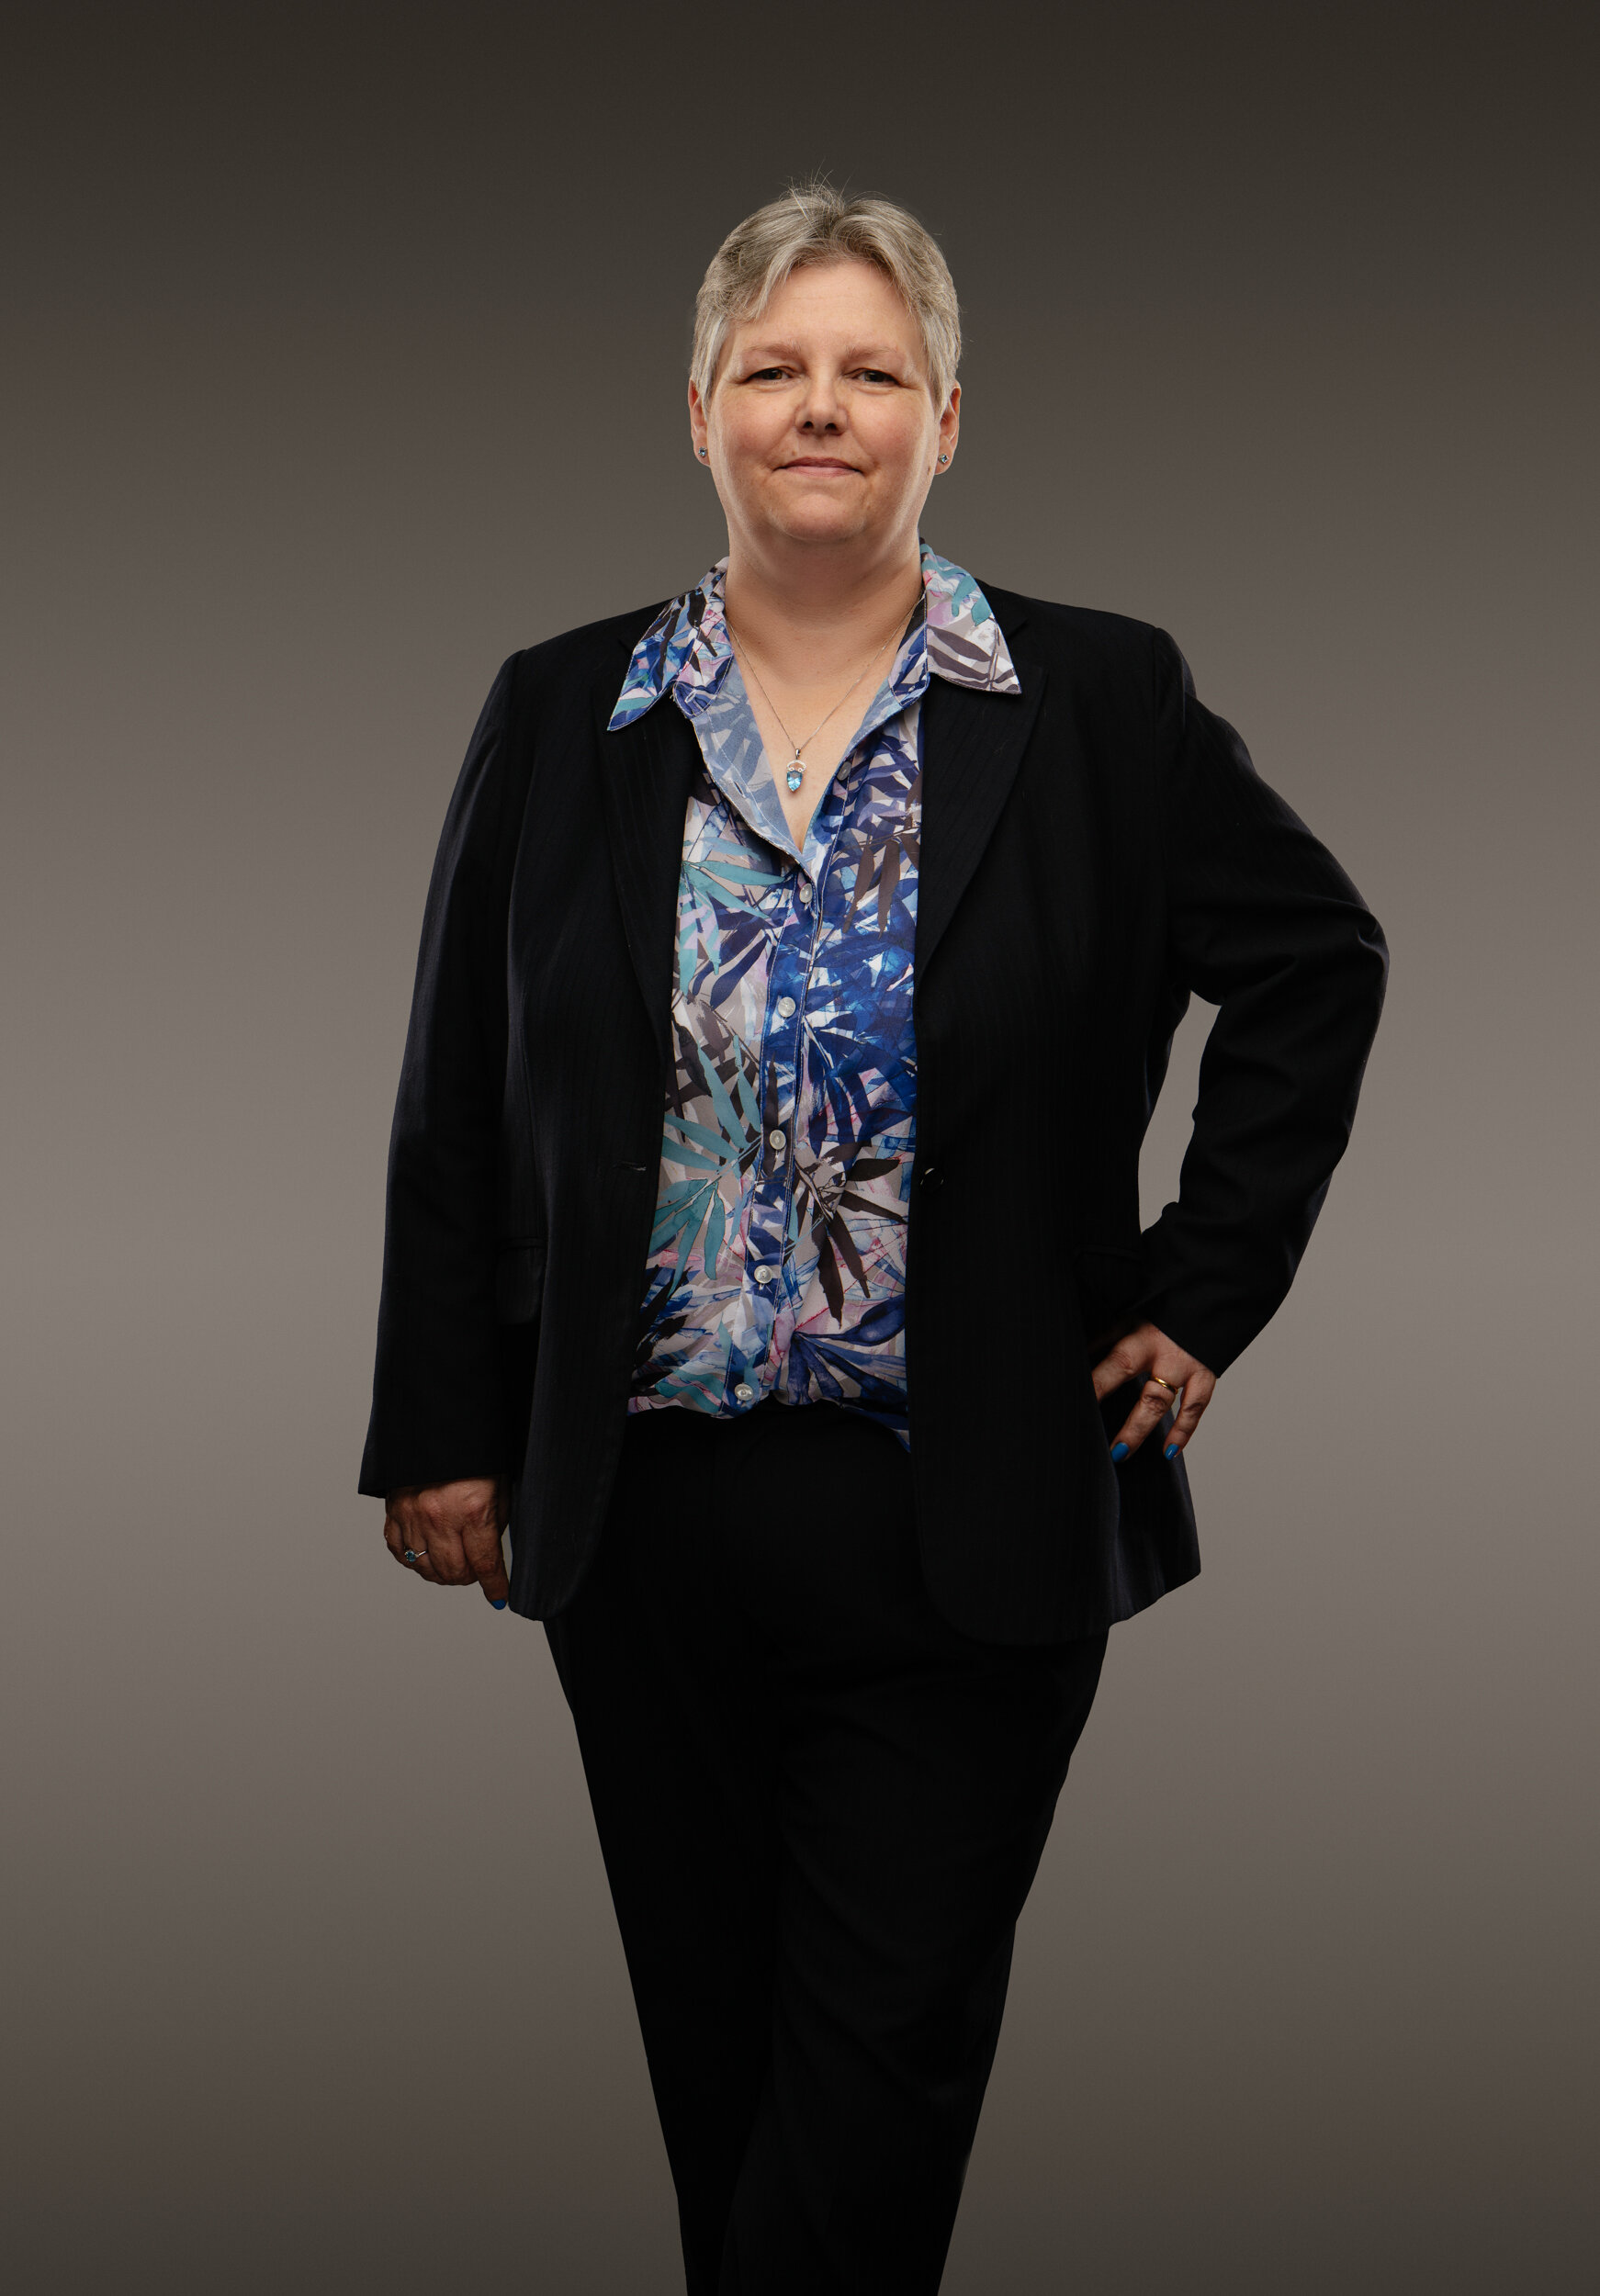
This was a shoot I did just a few days before lockdown for the Massey High School Senior Leadership Team.
Each member was photographed individually in the school auditorium. I was able to stay 2 meters away at all times, and none of the clients were ever in the same room at the same time.
Editing this kind of photo takes a lot of patience, but there are a few bonuses: Each client gets personal profile shots and headshots (as long as the camera is high-res enough to crop in on the face). It's also easy to make sure every client looks their absolute best. You can spend time with them individually until they relax in front of the camera. You can also go back and edit the group shot over time as team members change.
Some tips:
Keep your background very clean and evenly lit. If your background has any kind of gradient you’ll have to do a lot of masking around peoples hair.
I prefer to leave the feet out of the photo - it gives me more flexibility when placing them to even out peoples heights. In this particular shot the staff varied from just over 5 foot to almost 7!
I like using strip boxes in the background to give people a strong rim light (the bright lighting on the edge). This helps separate people in the group shot and stops things becoming too muddled.
Once everyone’s in place in photoshop, add a little shadow on the background members to add depth.
This was shot on a Lumix S1R with the 24-70mm S pro f/2.8
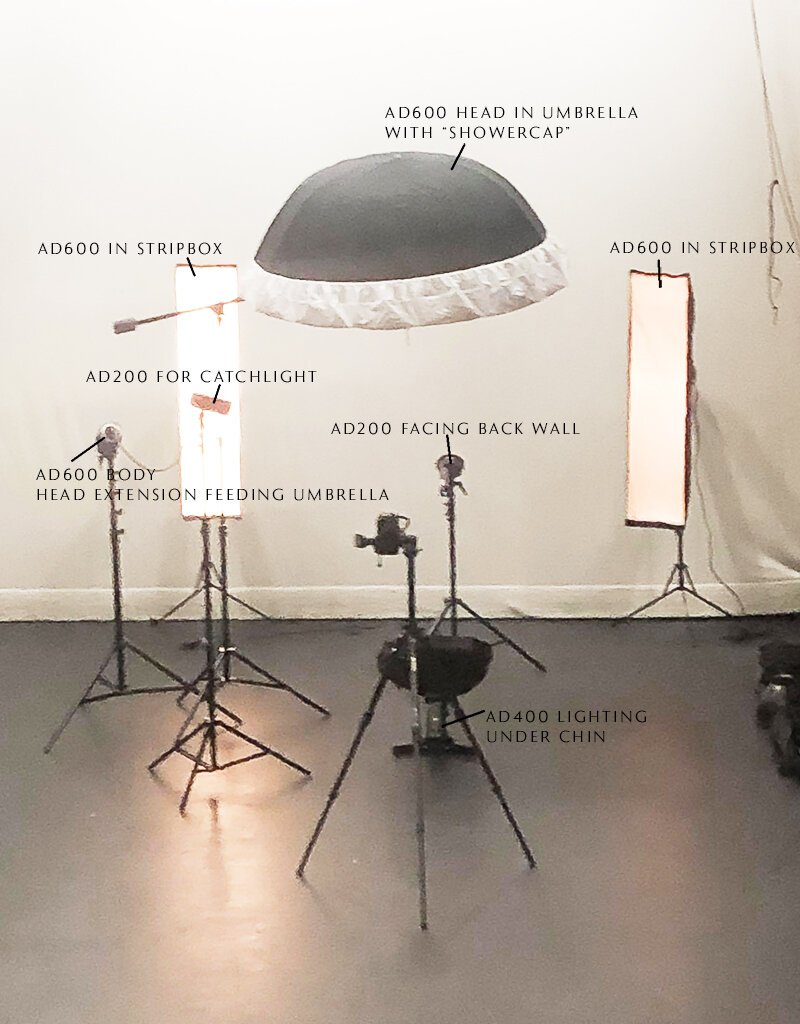
I used a six light setup with all Godox equipment:
2 x AD200 (one for the background, one as a catchlight)
3 x AD600 (2 as rear rim lights, one for the face)
1 x AD400 (bringing up the shadows under the chin)
Here’s quick phone snap of the setup:
The client stands with their feet just behind the AD400
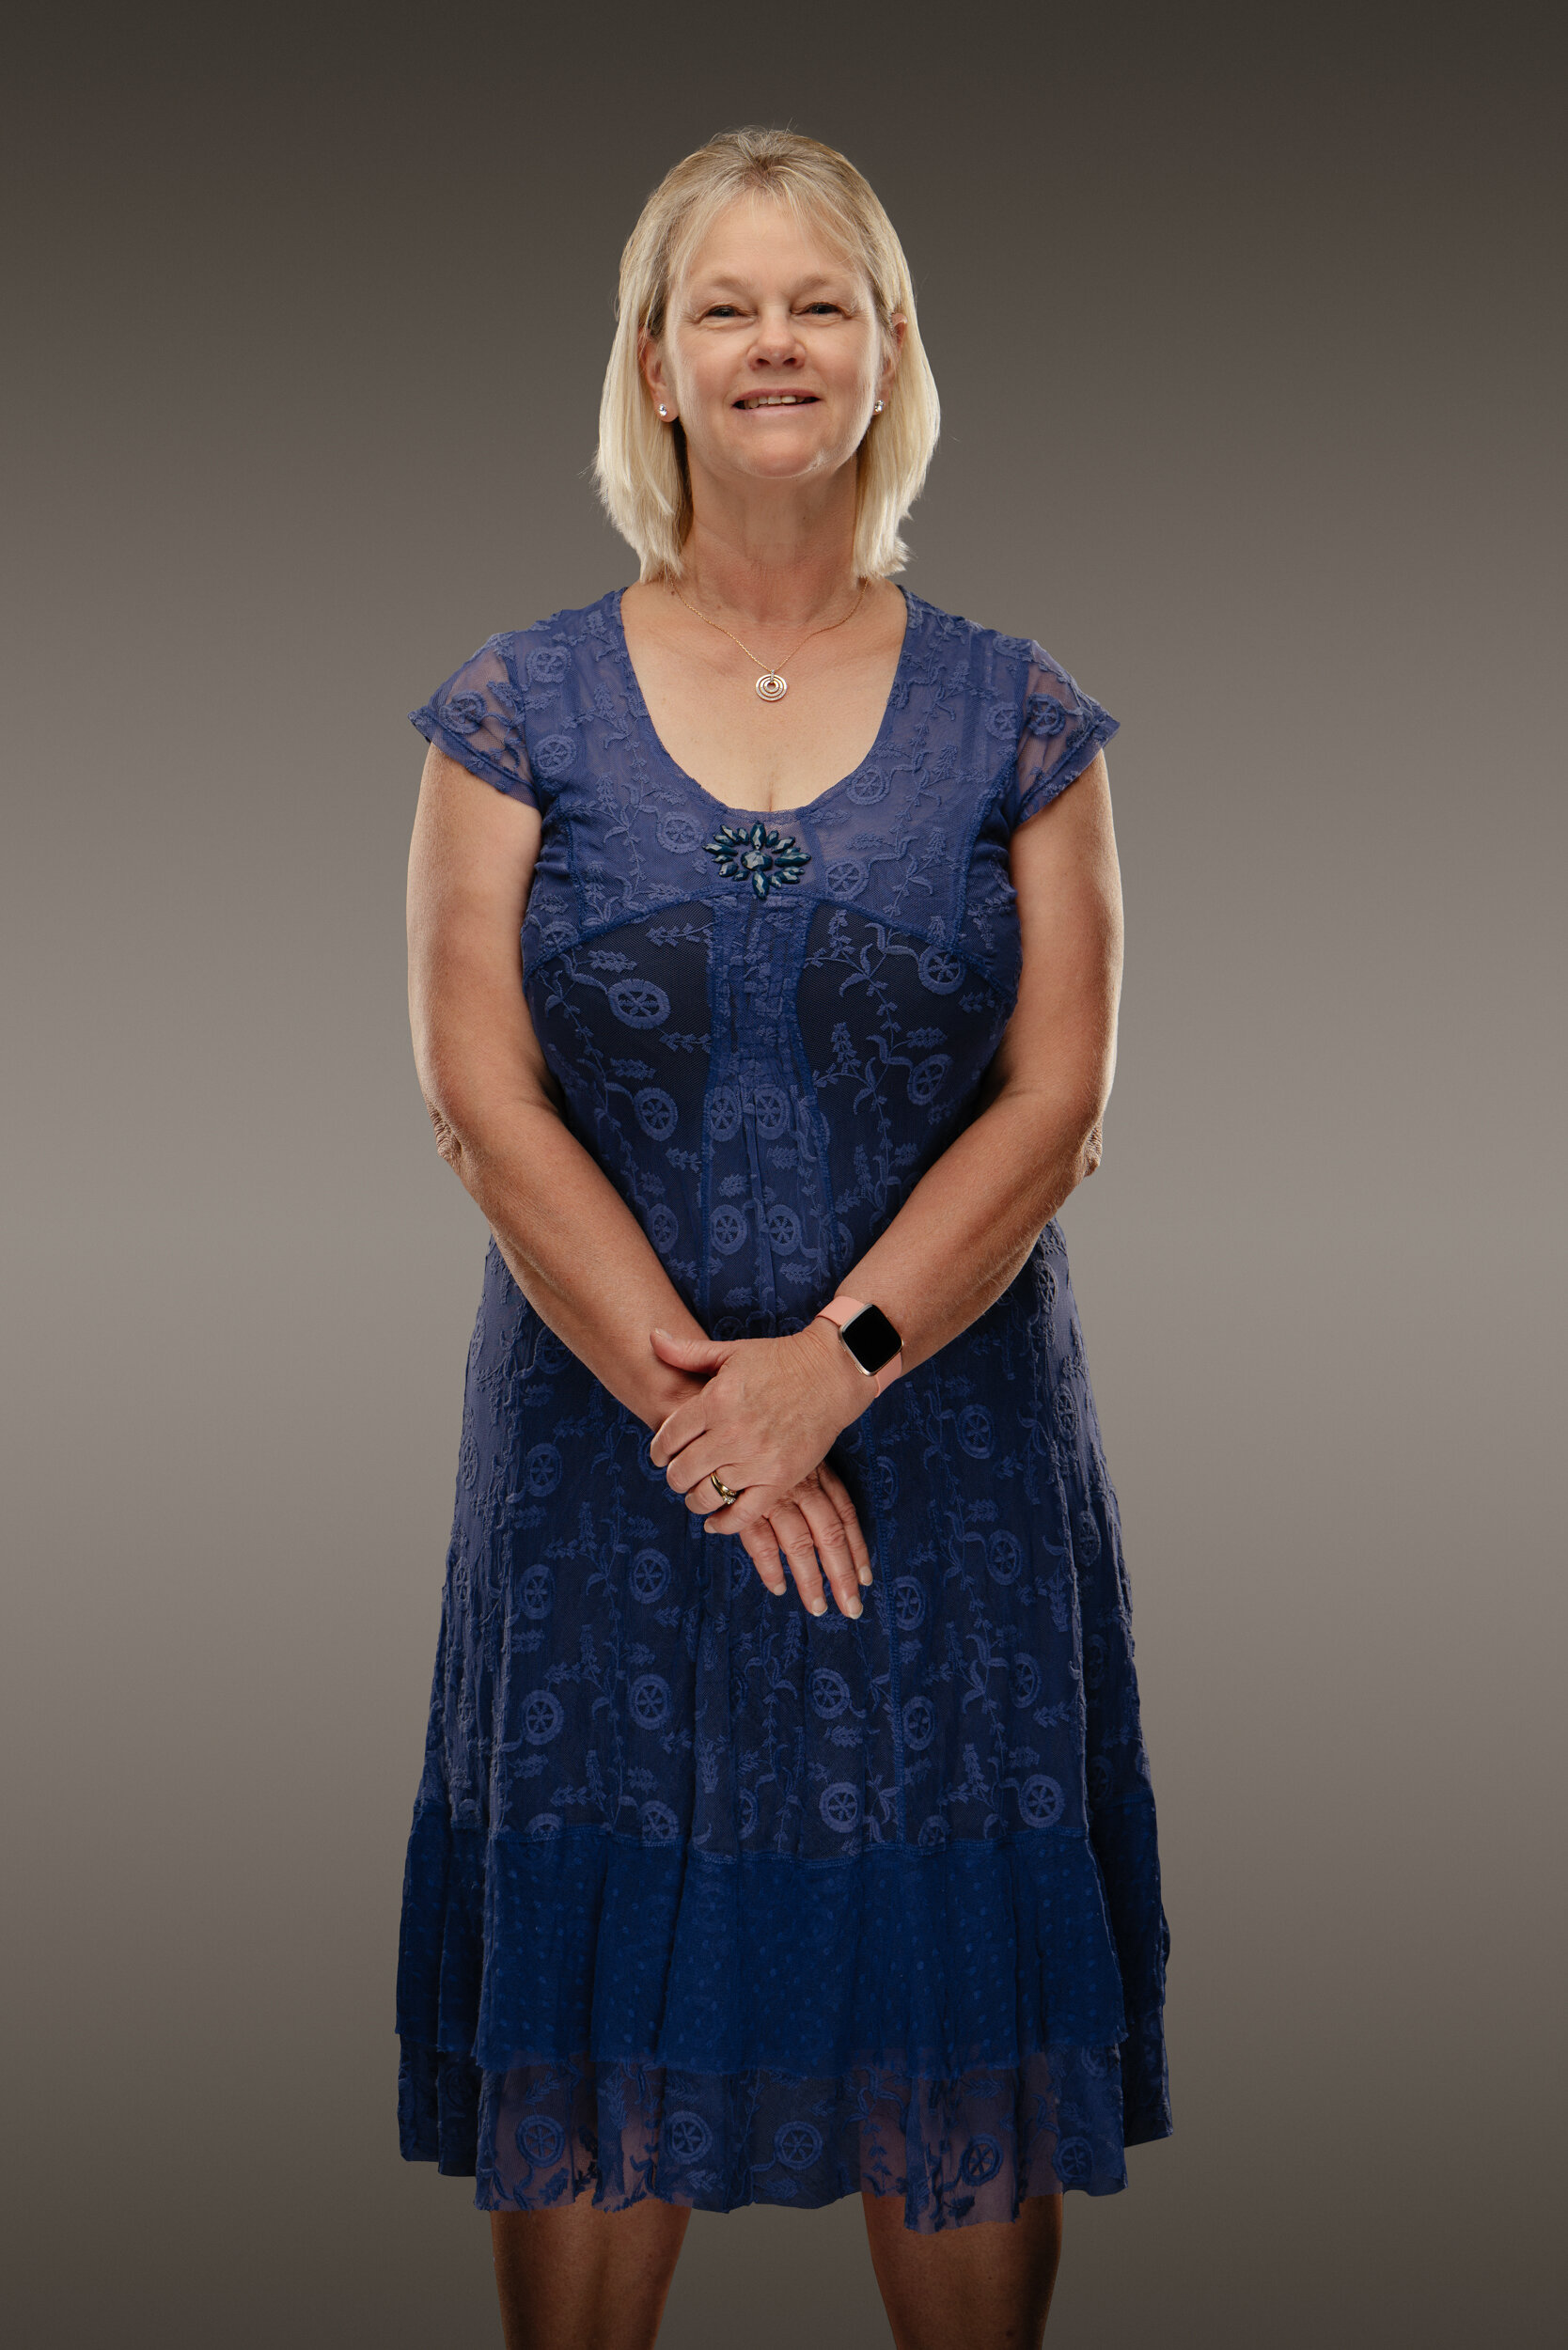
Individual Staff Photos:
The Final Composite
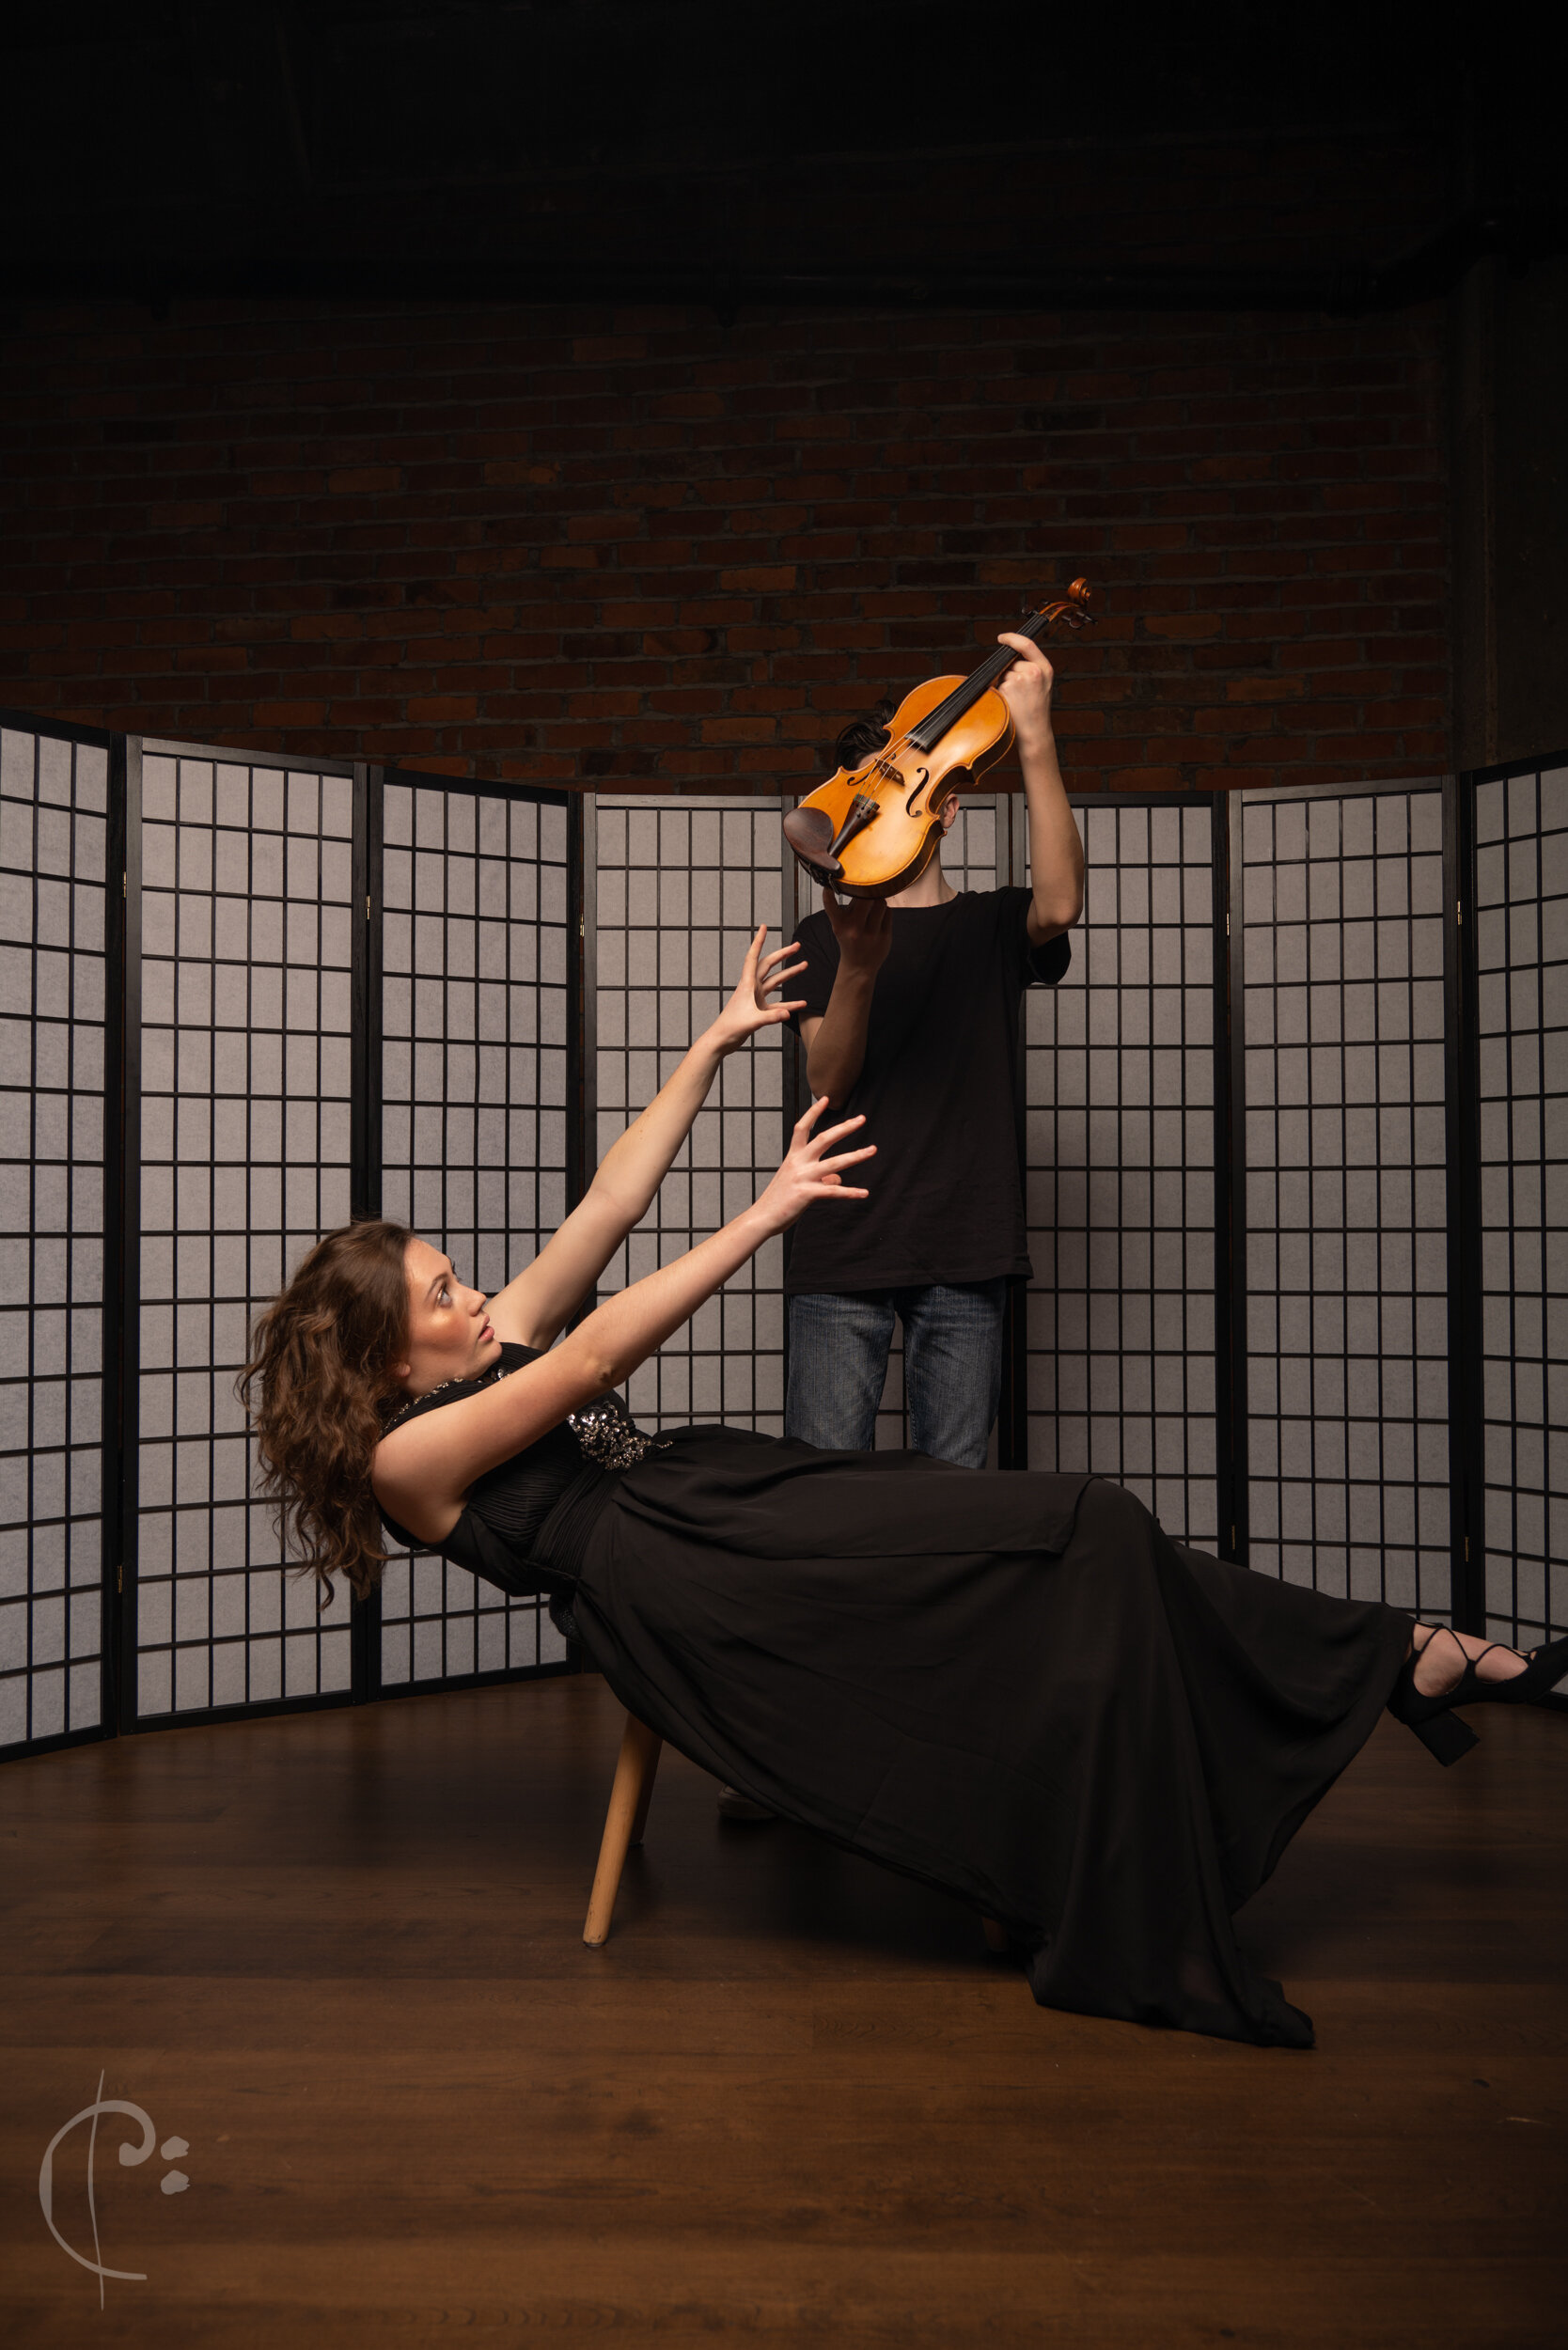
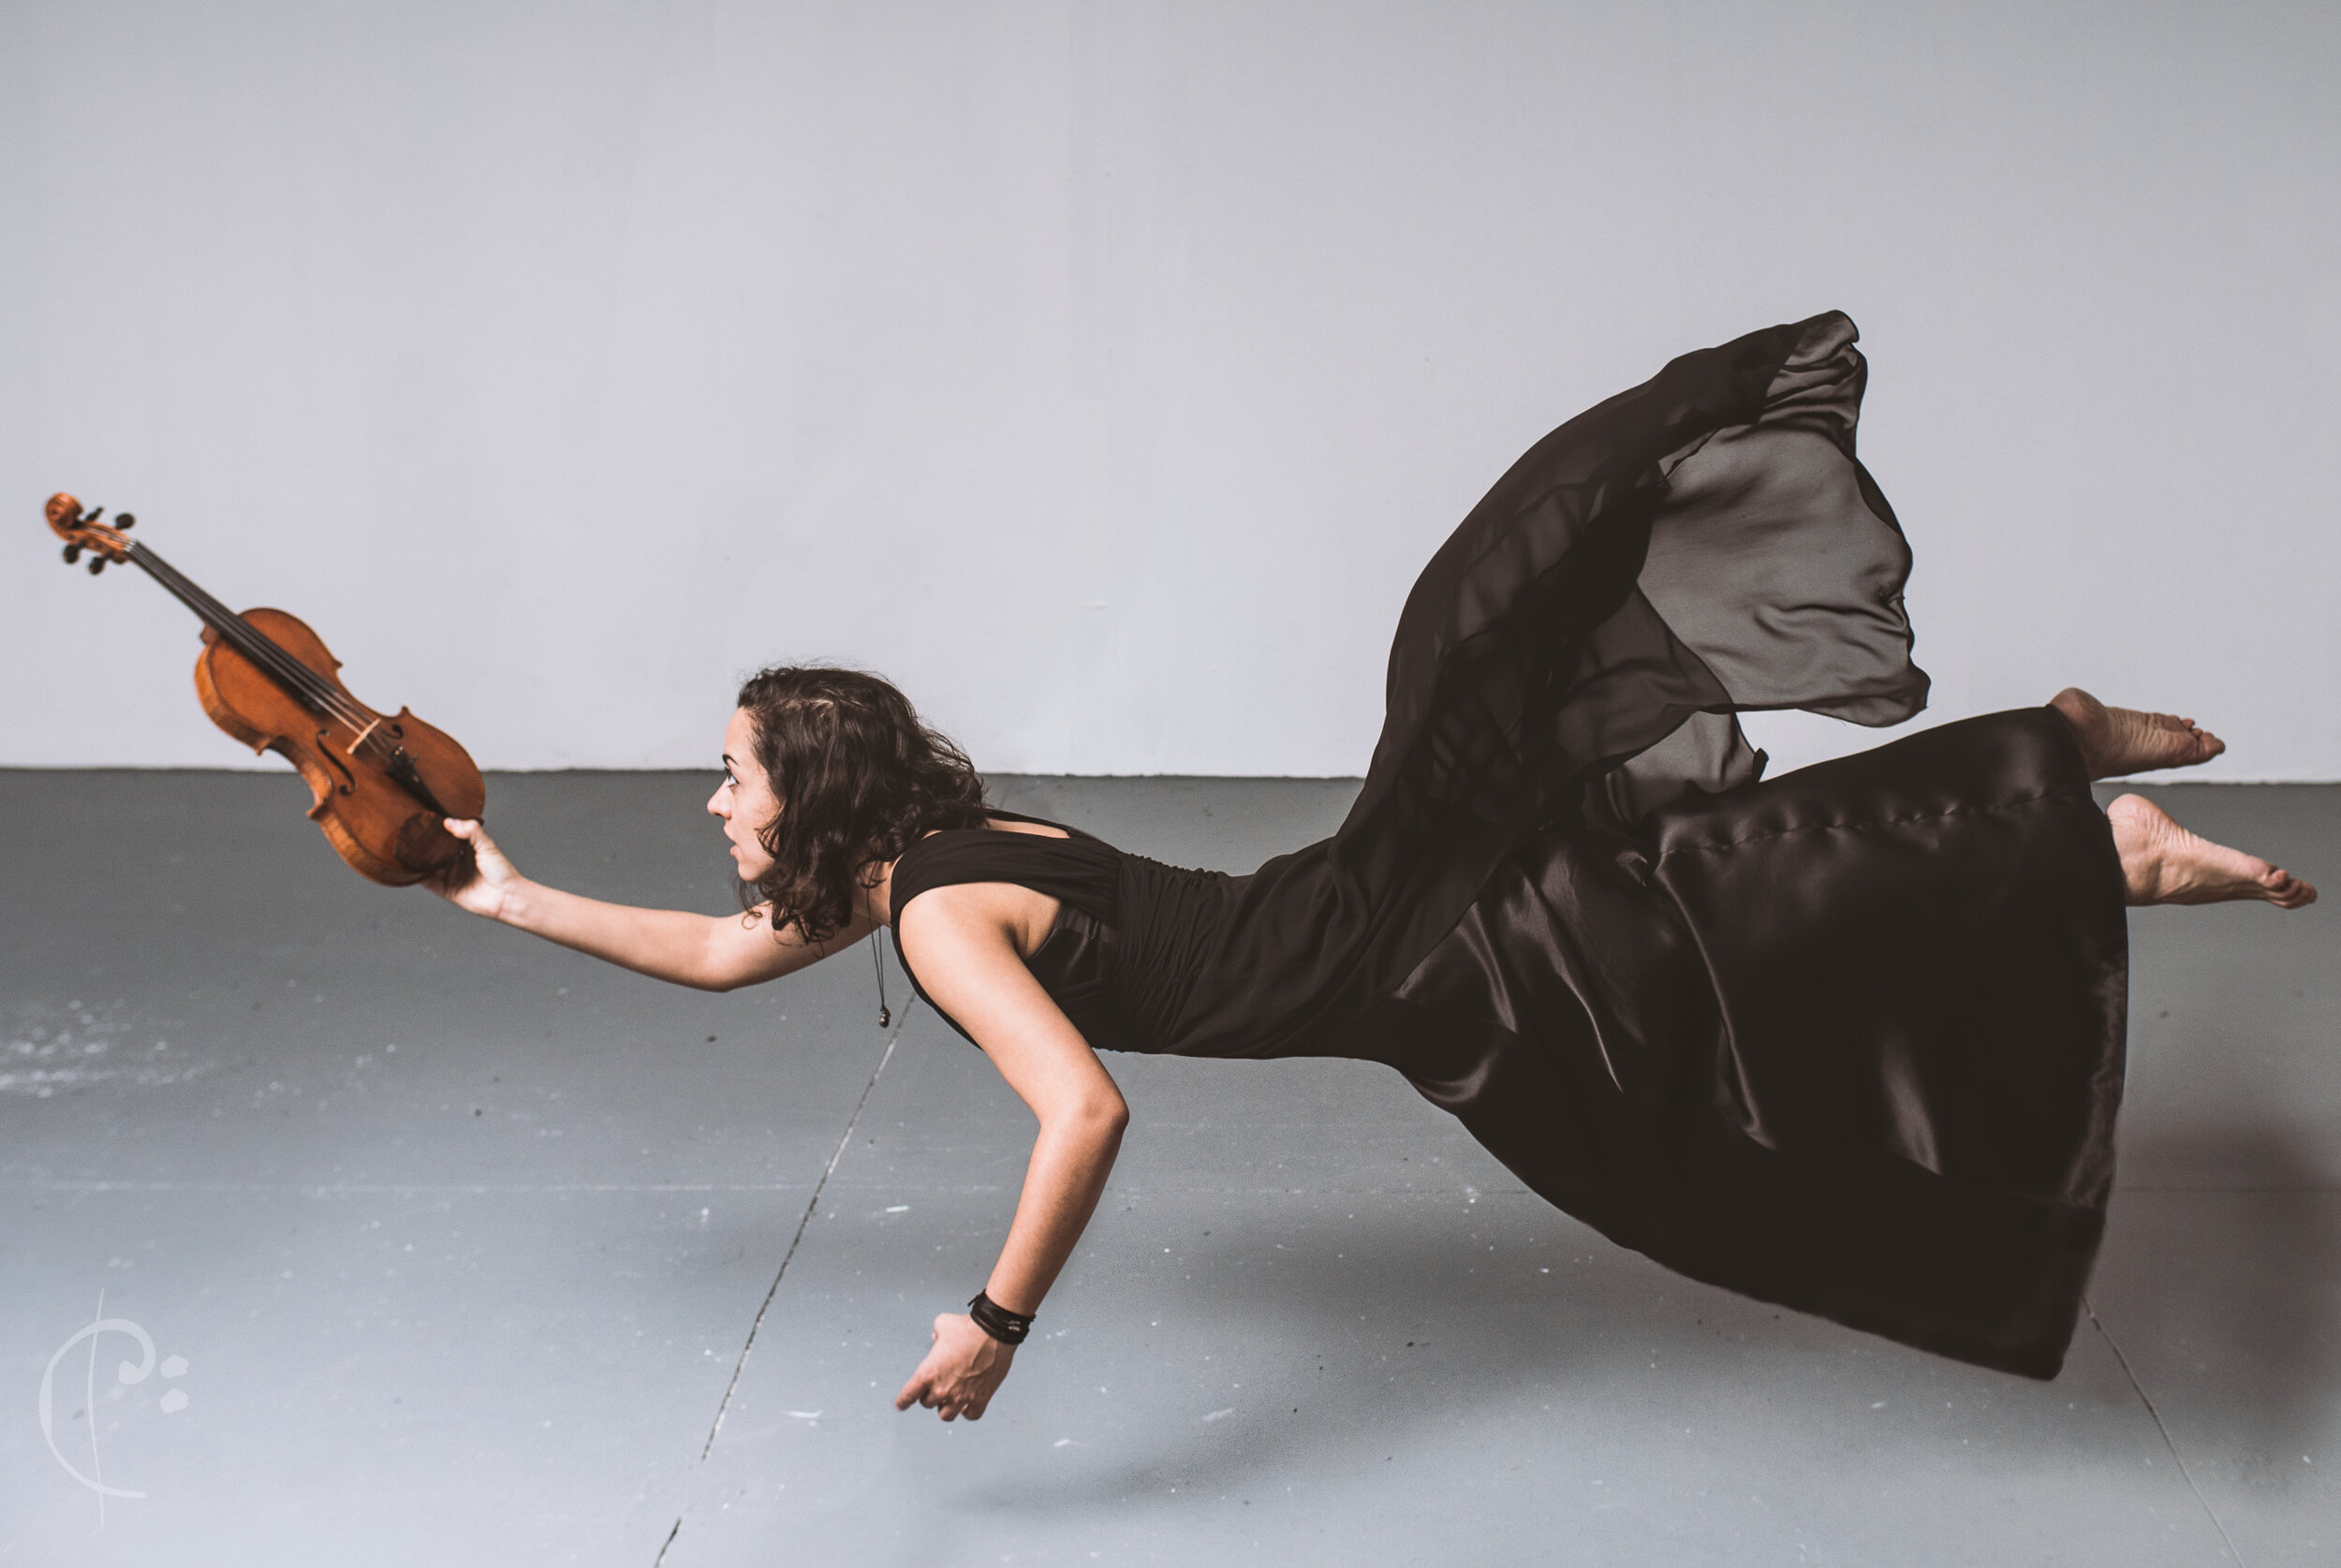
Top 10 2019: Zosia Herlihy-O'brien
Zosia Herlihy-O'brien, one of New Zealand’s best young musicians.
Zosia rarely slips up during performances, but backstage is another matter…
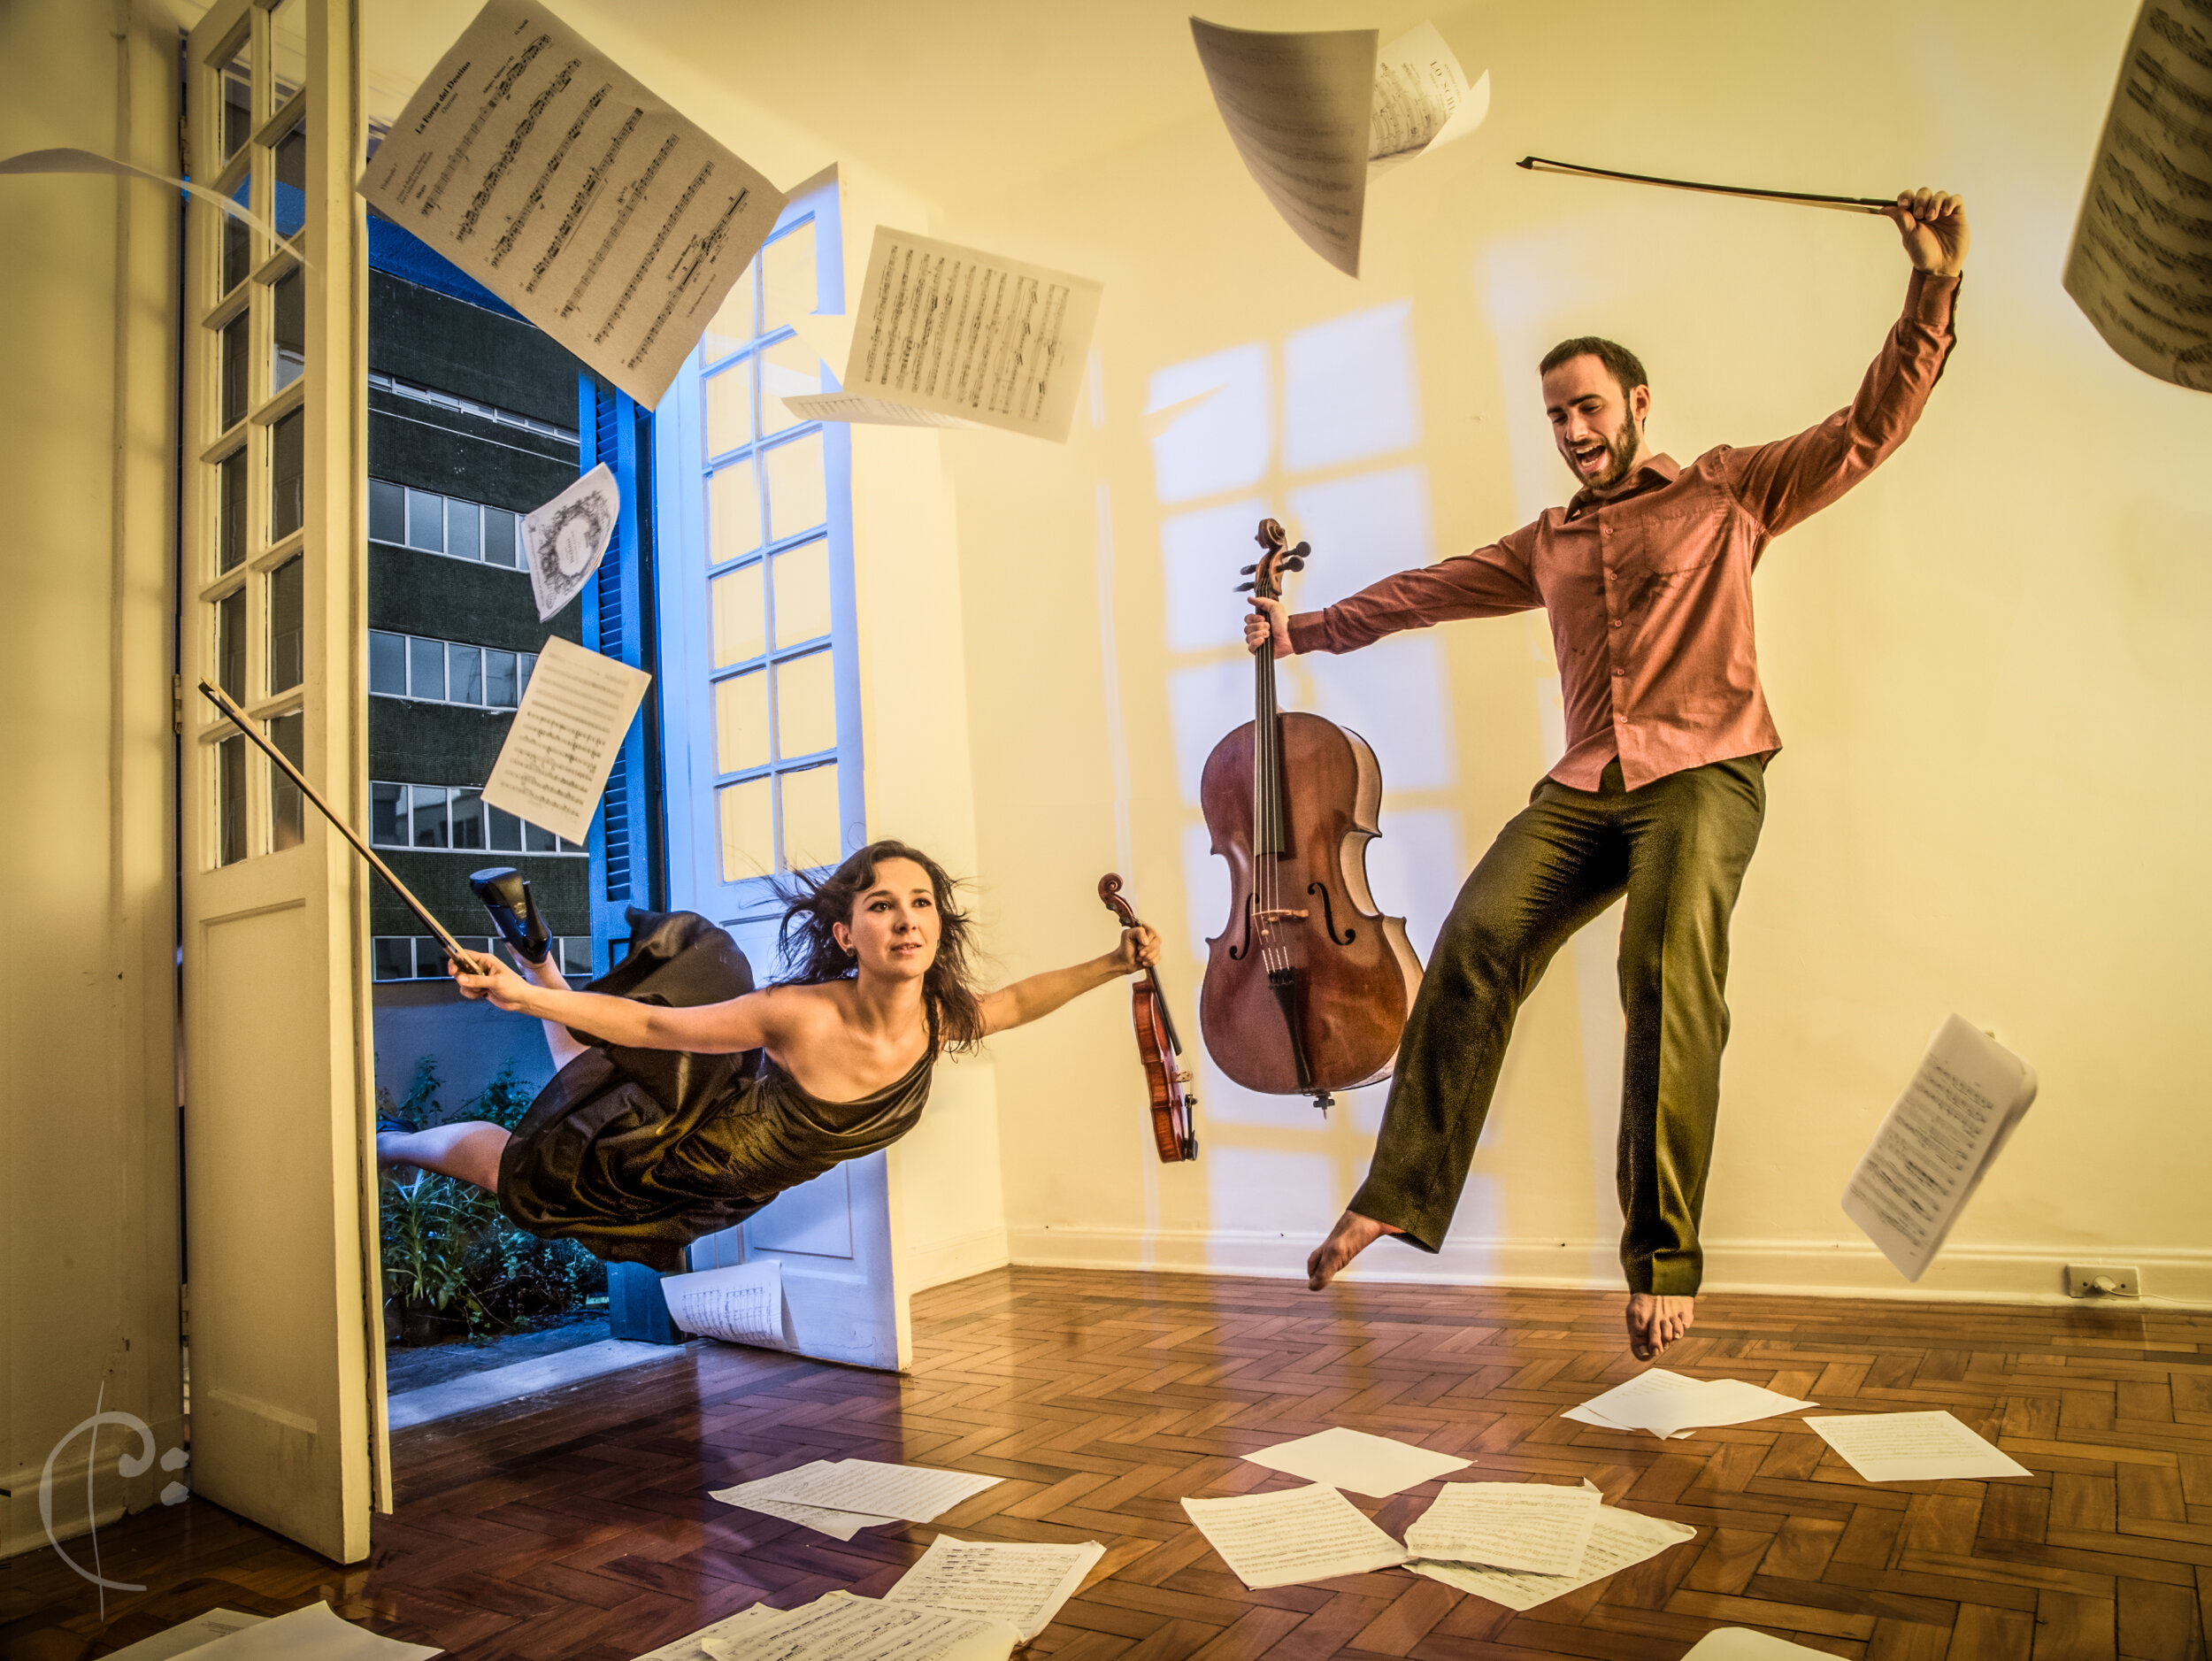
One of my favorite portraits of 2019, this was part of a series I did for violinist Zosia and her brother Damon, who’s another formidable talent (concert cellist).
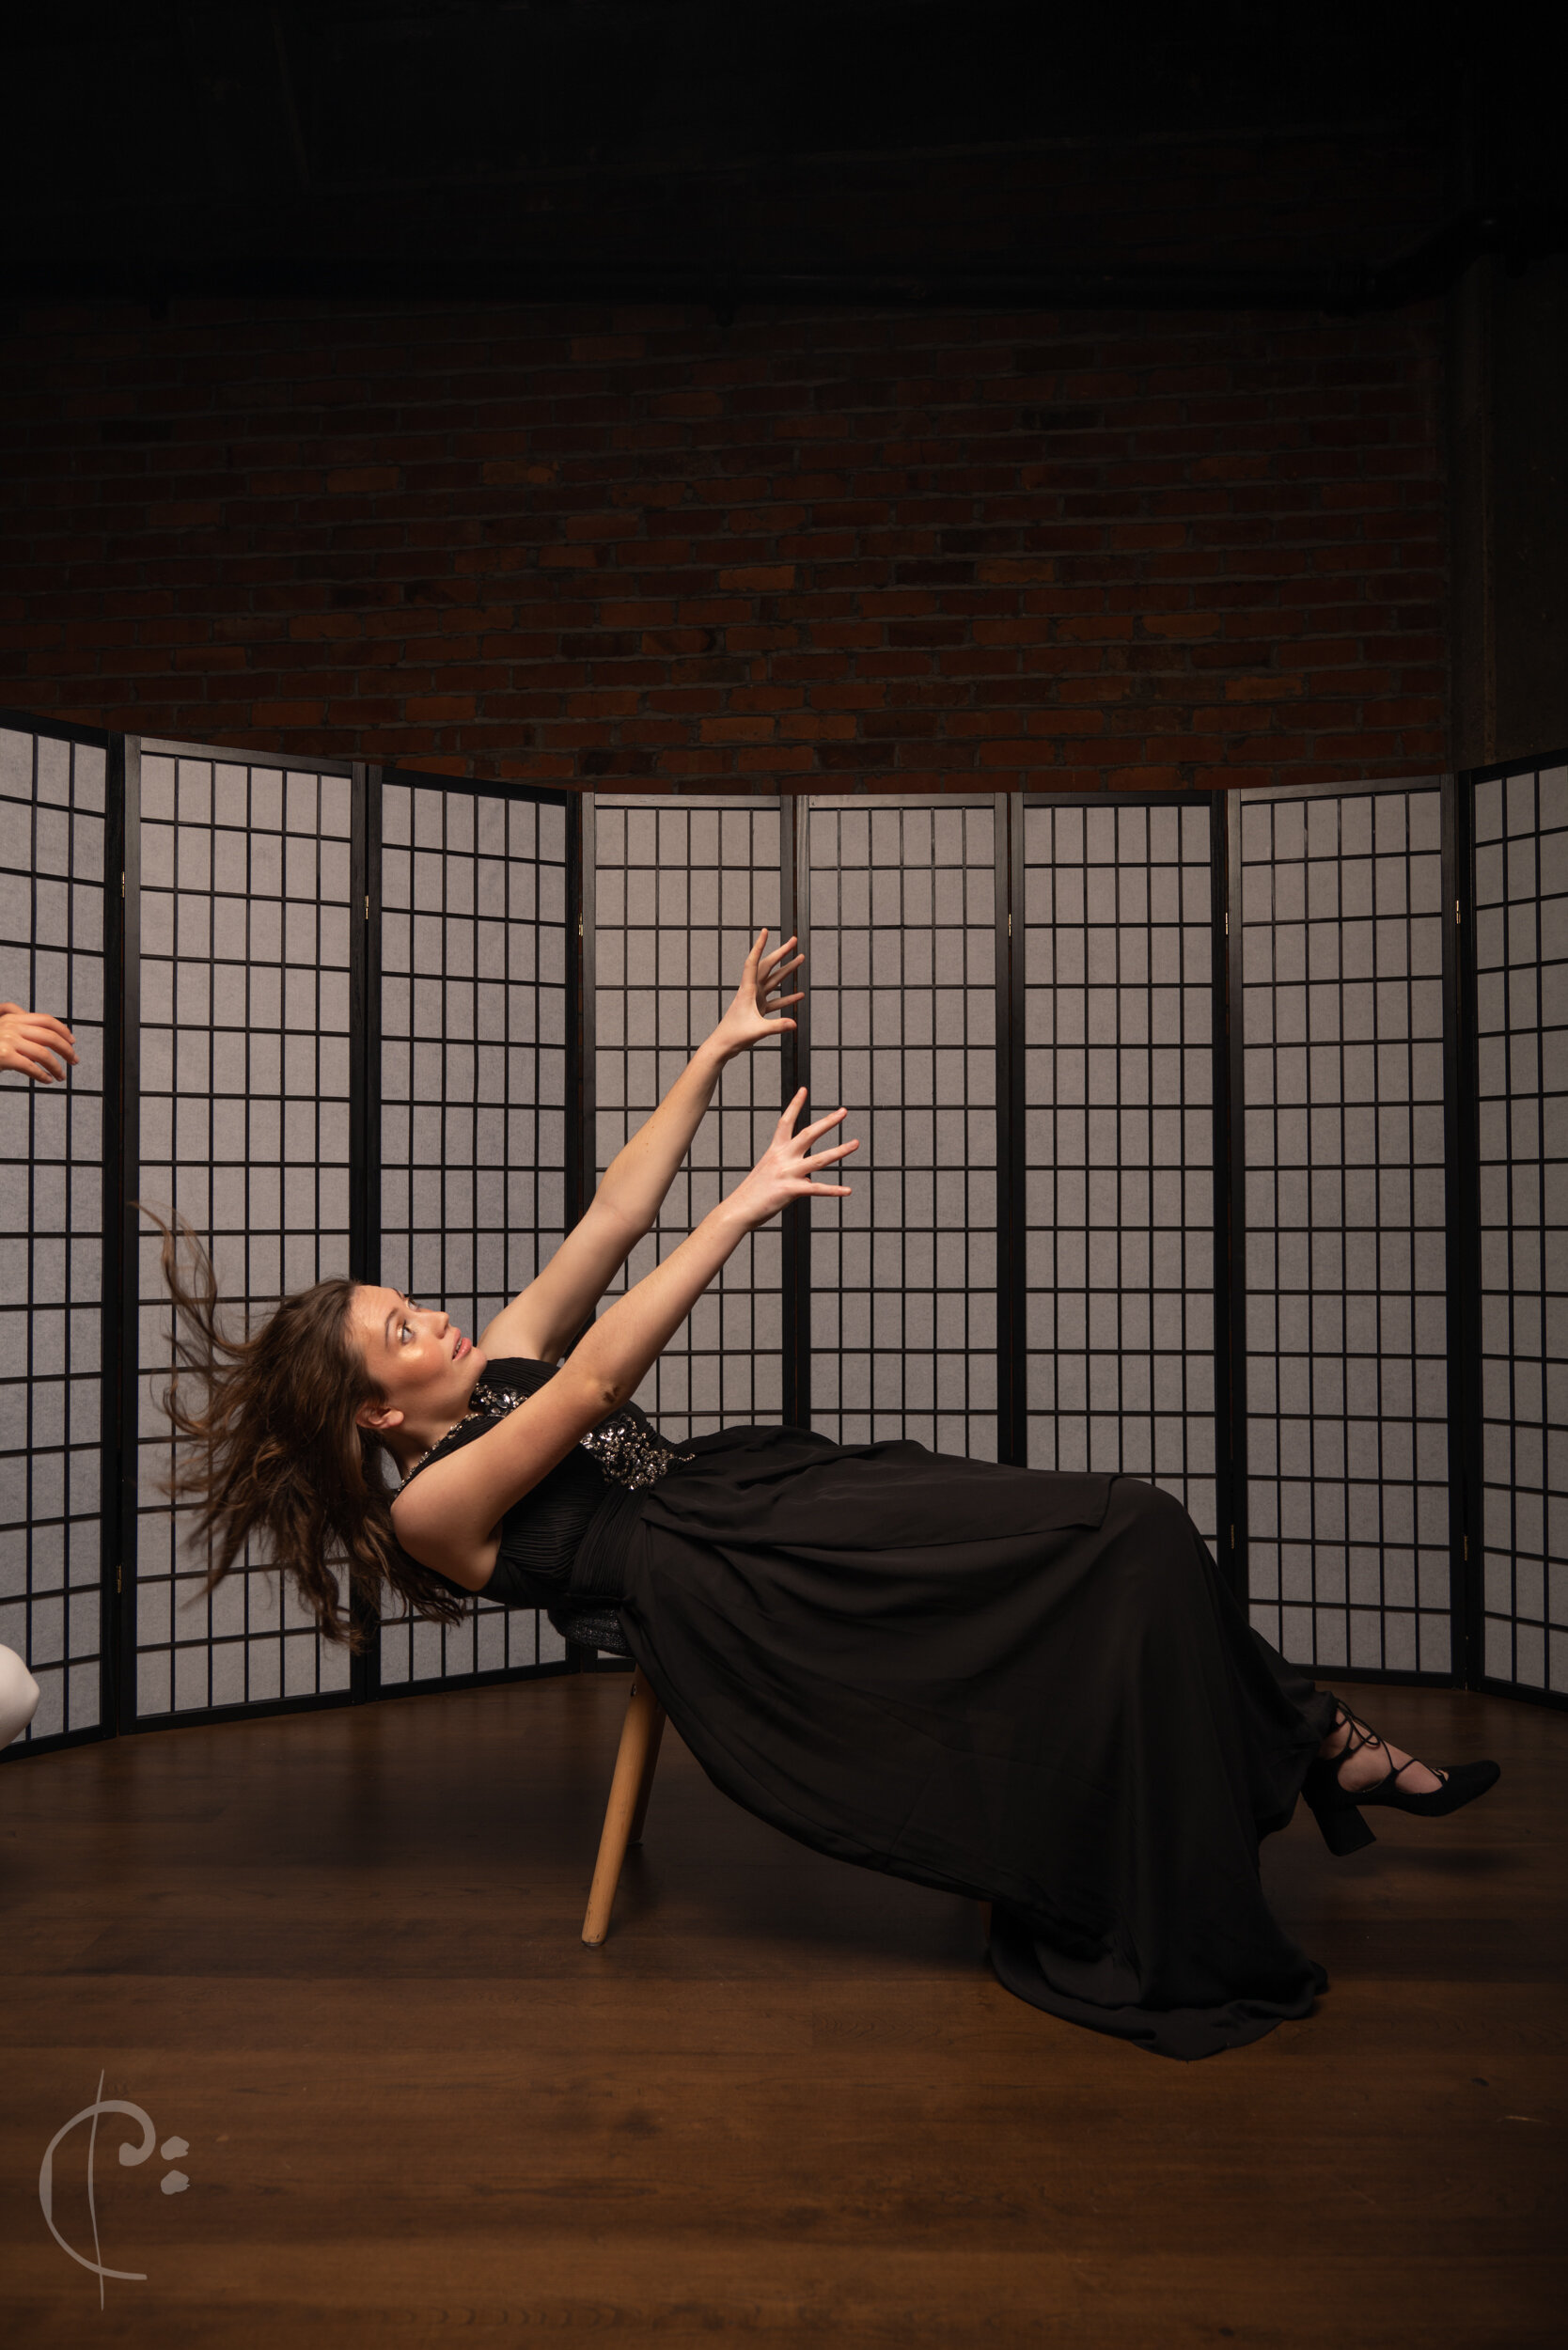
The techniques used to create this are rather simple, but take a bit of practice to get right. They’re usually used to make someone appear to be levitating, but I decided that falling had a more humorous aspect to it and went with that.
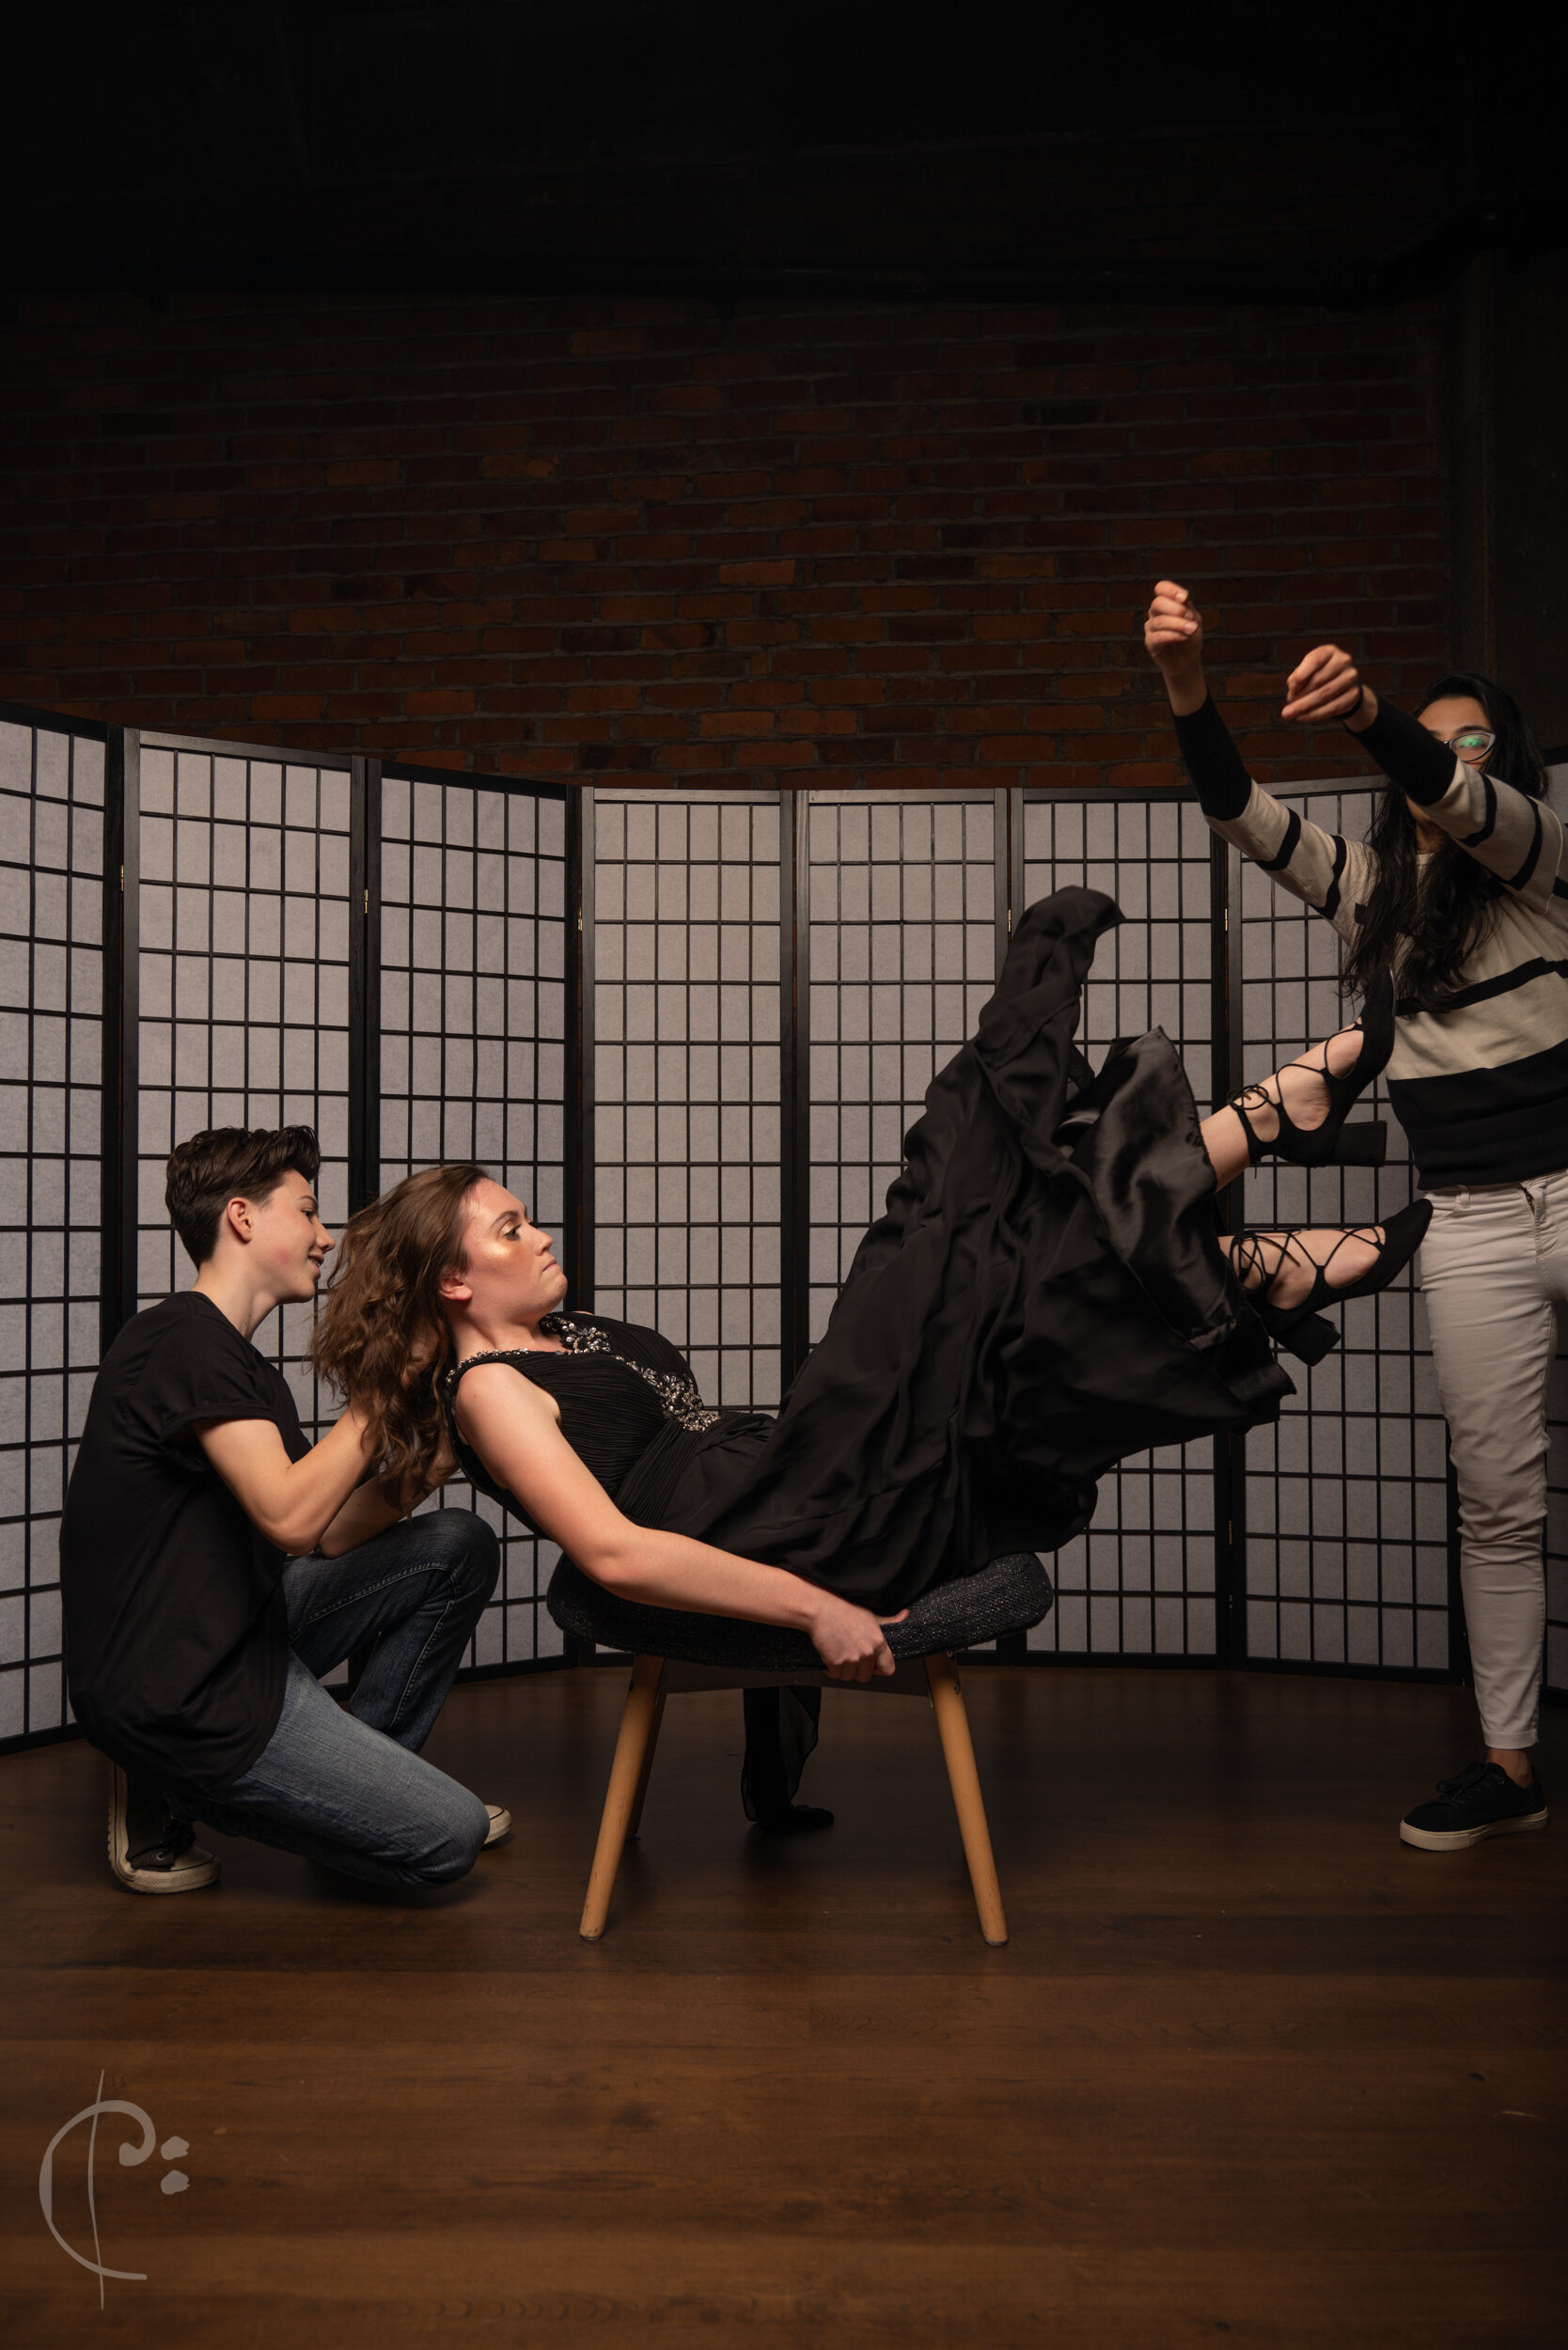
The idea is to take a bunch of different photos to capture different aspects of the final image: The hands, the hair, the dress and the instrument. You then combine them with a blank photo of the background to erase any extra stuff in the photo, such as people, chairs, lights, cables etc.
There are just a couple of important things to keep in mind:
Keep your lighting the same. Once the lights are setup, don’t move them
Keep your camera on a tripod and be careful not to shift your focus
Try to make sure that the shadows of your extra gear don’t interfere with the shadows that the main elements create - this will break the reality of the scene quickly
Keep your assistants away from complex parts of the image like hair or busy parts of the instruments, as that will make masking them out rather difficult
Keep in mind that your subjects will soak up a fair bit of light, so your background will likely be a stop lighter when they’re out of the photo. You’ll need to compensate for this is photoshop.
Beware of reflective floors. That will make your job much more difficult
Make sure your model has good core strength! They’re essentially ‘planking’ for half an hour…
You can see the composite images that made this photo here. Helping out are her brother Damon and my fiancee Yasna (who is in almost every shot I create, yet is always edited out!).
Here are a few more shots of this dynamic duo. They’re some of the most exciting musicians in the country and I’m really looking forward to watching their careers develop:
These were shot all shot on a Lumix S1R with special thanks to Lumix New Zealand.
I used the kit 24-105 f/4 which is an outstanding lens.
Lighting is done with a combination of Godox AD600 and AD200 strobes. They’re the perfect balance of power and affordability for my needs.
I’ve played with levitation photos for years now. Here’s a selection of other shots I took with a similar theme:
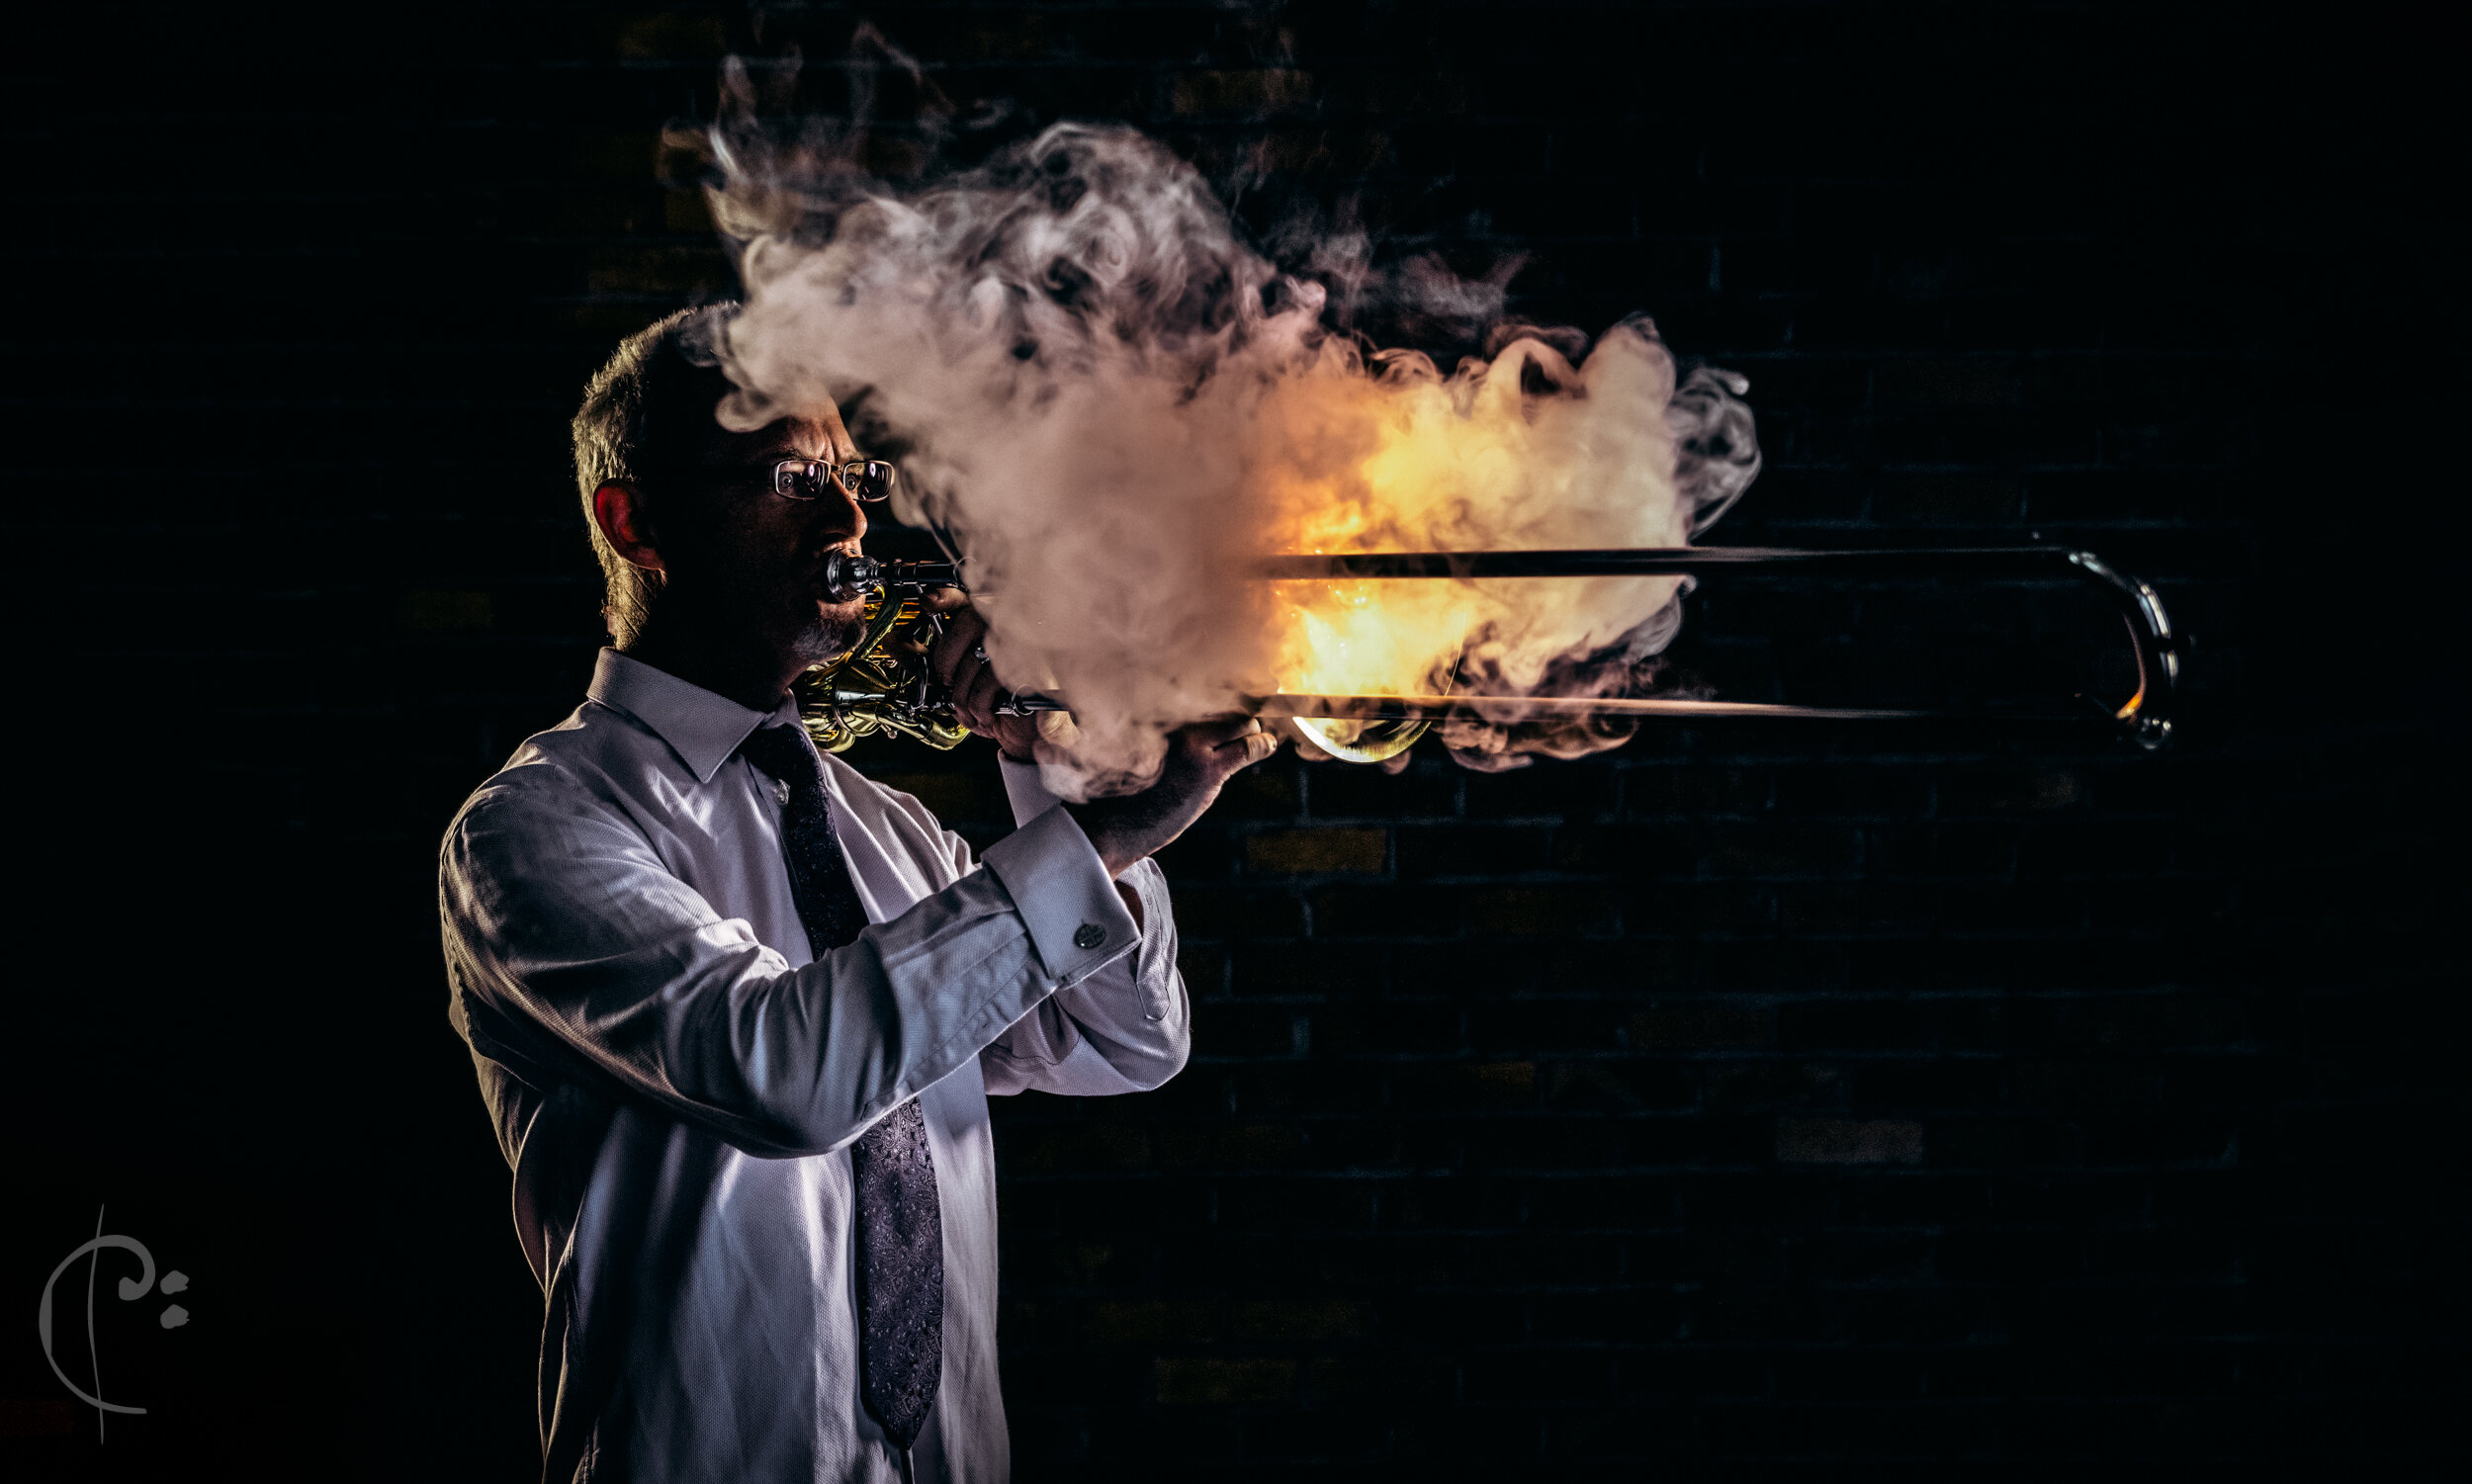
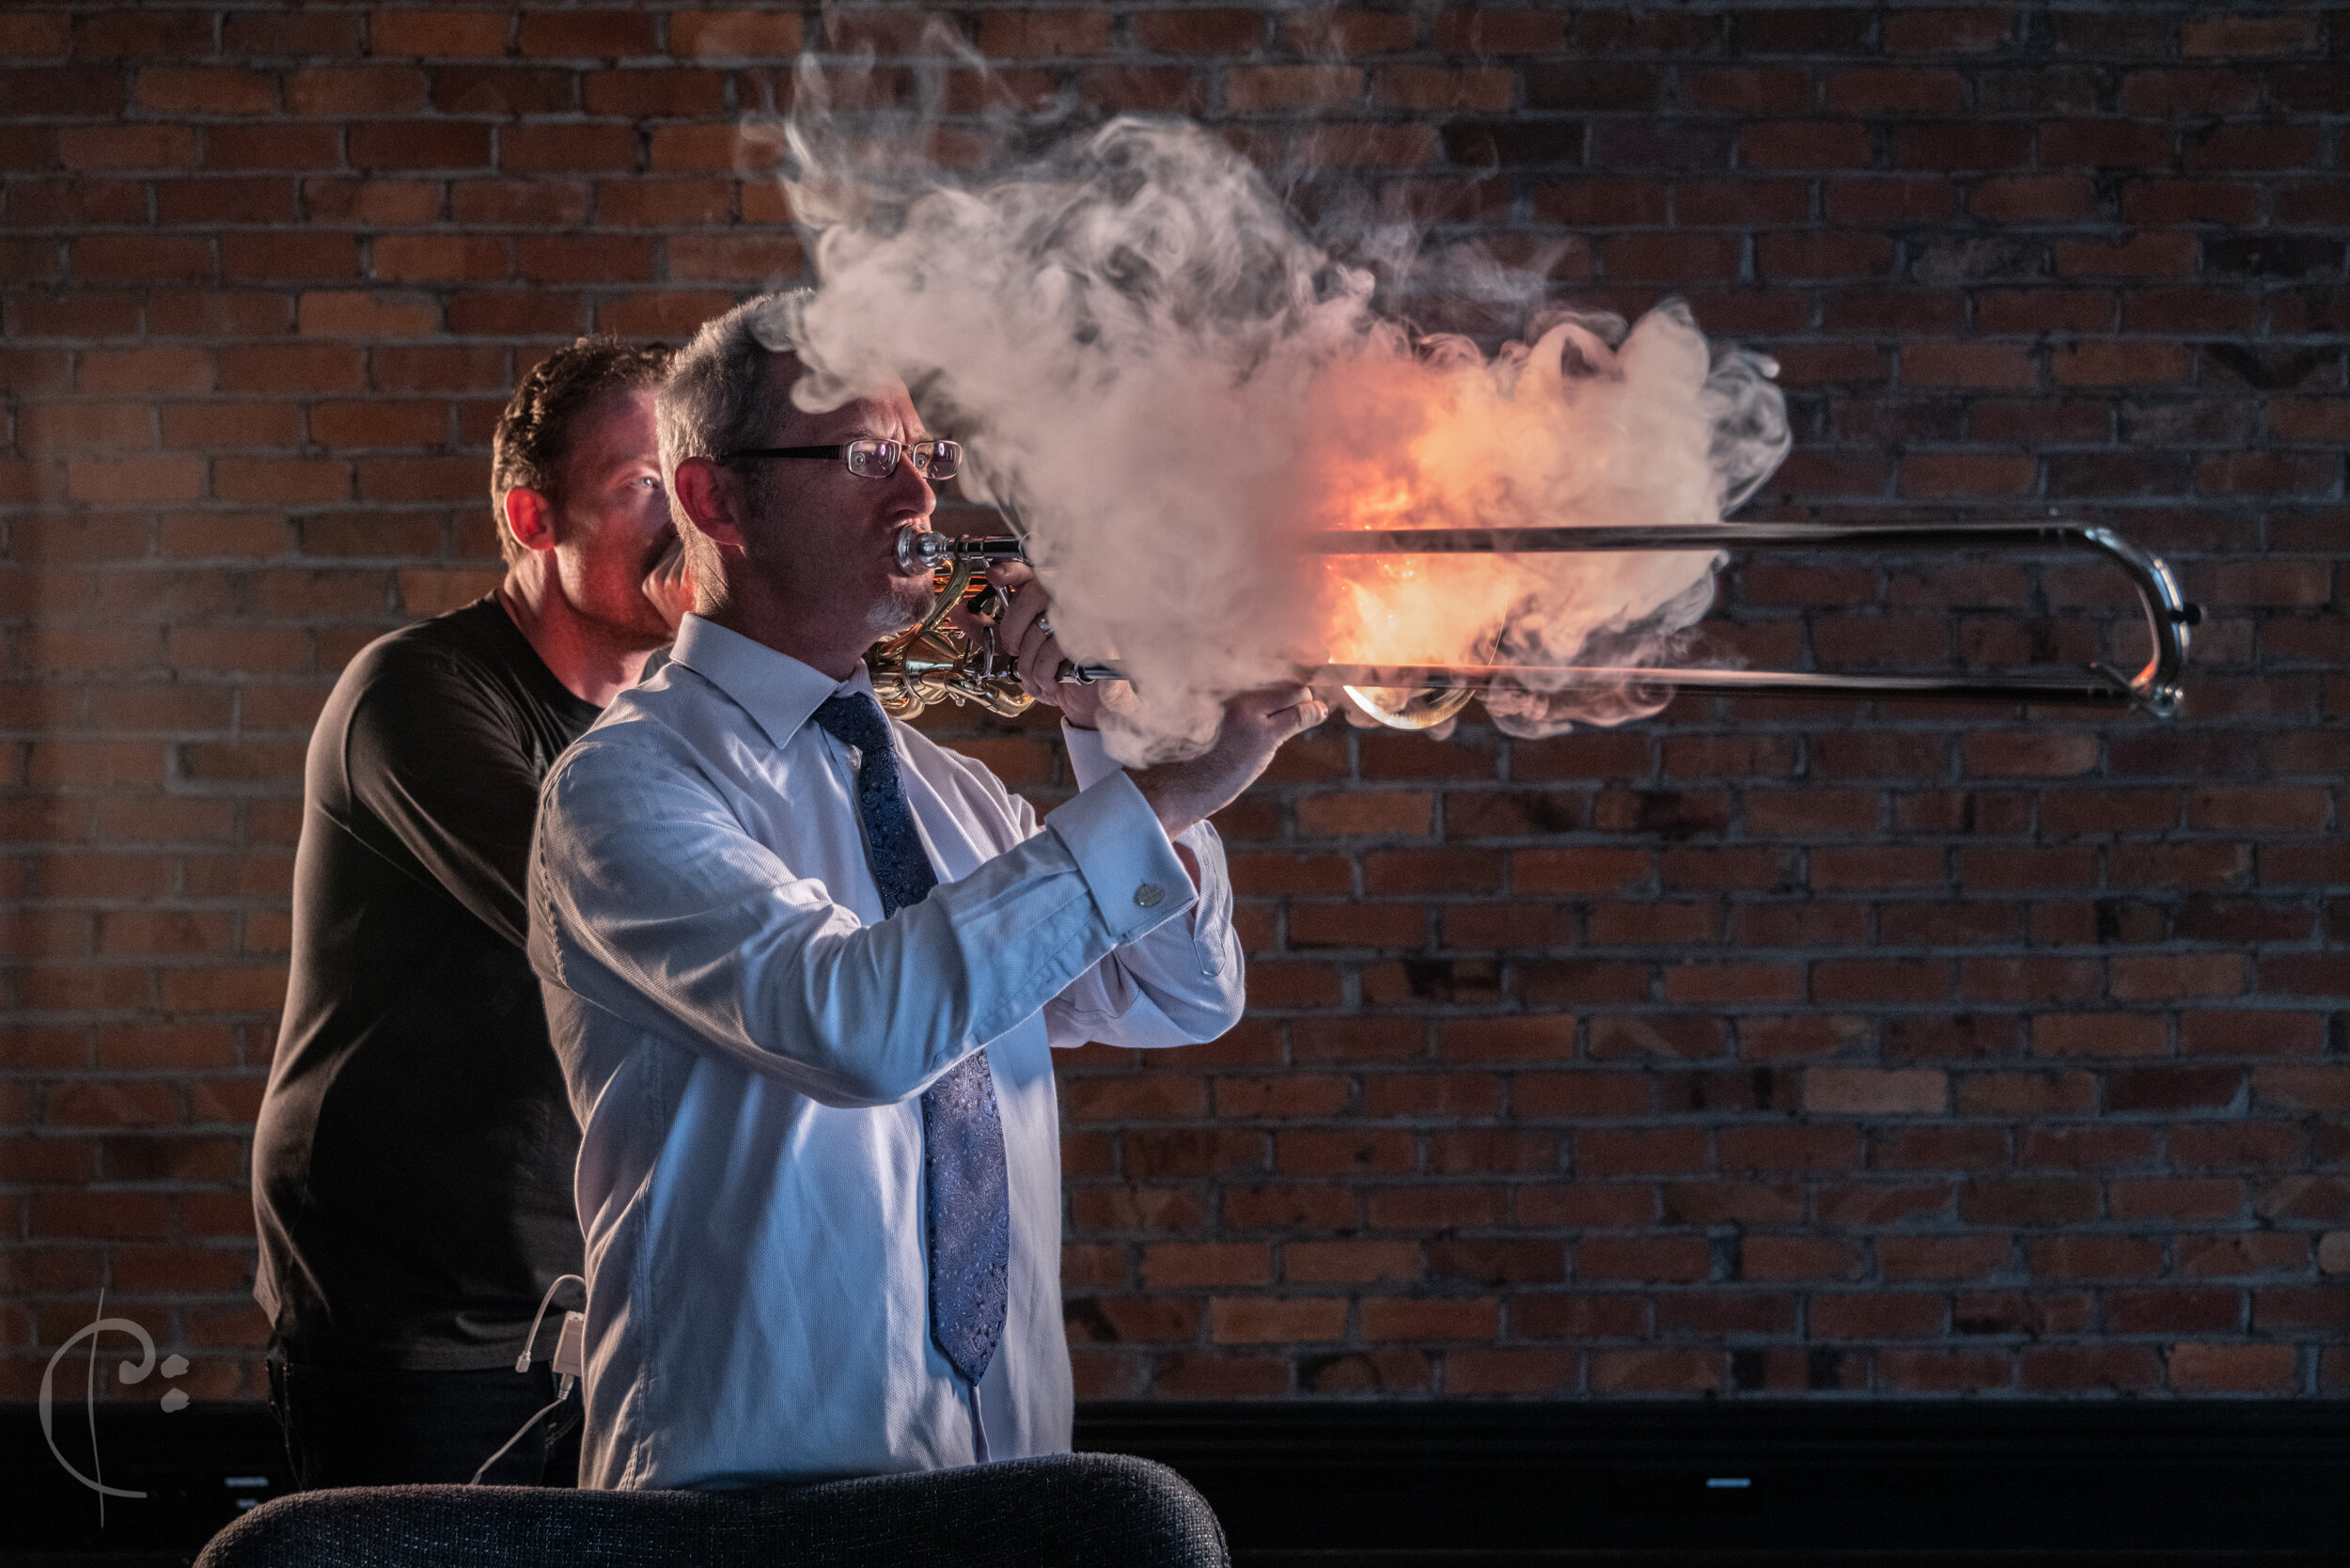
Top 10 2019: 🔥 Flaming Trombone🔥
Steve Taylor bares his soul!
I knew there was a practical use for Vapes somewhere in photography. I’d experimented with smoke machines before, but they’re very difficult to control and quickly fill a studio with mist.
Using an e-cigarette lets you be far more precise.
The setup is very simple, and you wont need expensive gear (although a camera that’s good in low light is preferable, for this I used a Panasonic Lumix S1R, thanks to Lumix New Zealand):
Steve’s trombone has a coil of LED lights stuffed in the bell. We removed one of the valves at the back to feed the power cable through, and that spot is also where I blow the smoke.
In addition to the LEDs I’ve got a softbox setup to the front left, and another light at the rear right. These provide light for Steve’s face and illuminate the brick wall.
I experimented with using flash on these lights, but found I couldn’t balance it with the soft glow of the LEDs - even at their lowest setting they’d overpower it. The solution was to stick to the modeling lights and turn the flash off.
After that it’s simply a matter of getting in a position where you’re hidden from the camera. Taking a big puff, and hitting the camera remote (or getting someone else to do it for you!).
Here’s a video of this exact shot in action, with a little Wagner to get you in the mood:
I want to add a note here about networking:
This was one of a handful of photographs I took last year free of charge. I’ll do this when I have a new technique that I want to test out, especially when I’m not certain of the result.
As it happened Steve’s partner attended the shoot. Debra Chantry (that’s her laughing in the background) is a renowned business coach. She agreed to mentor me and I saw a huge growth in my business in just a few short months. Every shot I’ve done for free has led to paid work down the line. I now consider it a vital part of my business.
If you can’t hide you can always photoshop yourself out of the picture… just make sure there’s no smoke covering the part you want to remove the the translucence makes it difficult.
Unedited image straight from the Lumix S1R
Top 10 2019: The Lindis Pass by Night
The Milky Way over the Lindis Pass. Central Otago, New Zealand.
The “Galactic Kiwi”, Scorpio constellation, and Saturn sit in the center of the Milky Way’s arch. To the far left we can see the Magellanic Clouds, as car trails light up the magnificent Lindis Pass.
Easily one of my favorite astro-photography shots to date. This photo was taken to test new gear by both Panasonic Lumix and Syrp.
Syrp Genie II Pan-Tile (robotic Tripod Head)
For Lumix I was testing the new S1H camera and their 24-70mm s Pro f/2.8 lens (which I purchased as soon as it became available). For Syrp we were ironing out any bugs in the new panorama-grid feature which lets you take massive photos like this very easily.
Lumix S1H and the S pro 24-70mm f/2.8 zoom
It’s a gigantic photo: 21’000 pixels across by 12’000 high.
This photo is comprised of 56 individual frames, shot in a panoramic-grid. On paper the method is quite simple: I take a few rows of images for the sky, being careful to keep the shutter fast enough to avoid star trails:
Saturn and the ‘Galactic-Kiwi’. A single frame from the center of the panorama.
Then I take some longer exposures for the ground to bring out the detail in the grass (which would otherwise be pitch black):
Detail in the ground captured by long exposure. Note the trailing of the stars.
Using a robotic head means that all of these images align perfectly in the stitching software (I use ptGUI, this job is too complex for Photoshop!). Combining the star and ground photos is relatively easy.
What made this one a LOT more complex were the car trails. There were vehicles coming through the scene every 60 seconds or so, all with different lights, changing the lighting of the foreground dramatically.
This meant I had to take a couple of extra sweeps of the foreground to make sure I had lighting that would match from one photo to the next.
Individual photos from the “sky” sweep
There are a lot of fine details to take into account when shooting with this technique. So rather than write them all down I’ve made a video (with the help of the guys at Syrp) that takes you through the whole process.
Make yourself a coffee and grab a couple of biscuits - it’s quite long!
Top 10 2019: The Faces of Maori TV
Tepara Koti, Maori Television Producer.
Since late 2019 I’ve had the honour to work with Maori Television. One of the great flag bearers for kiwi culture.
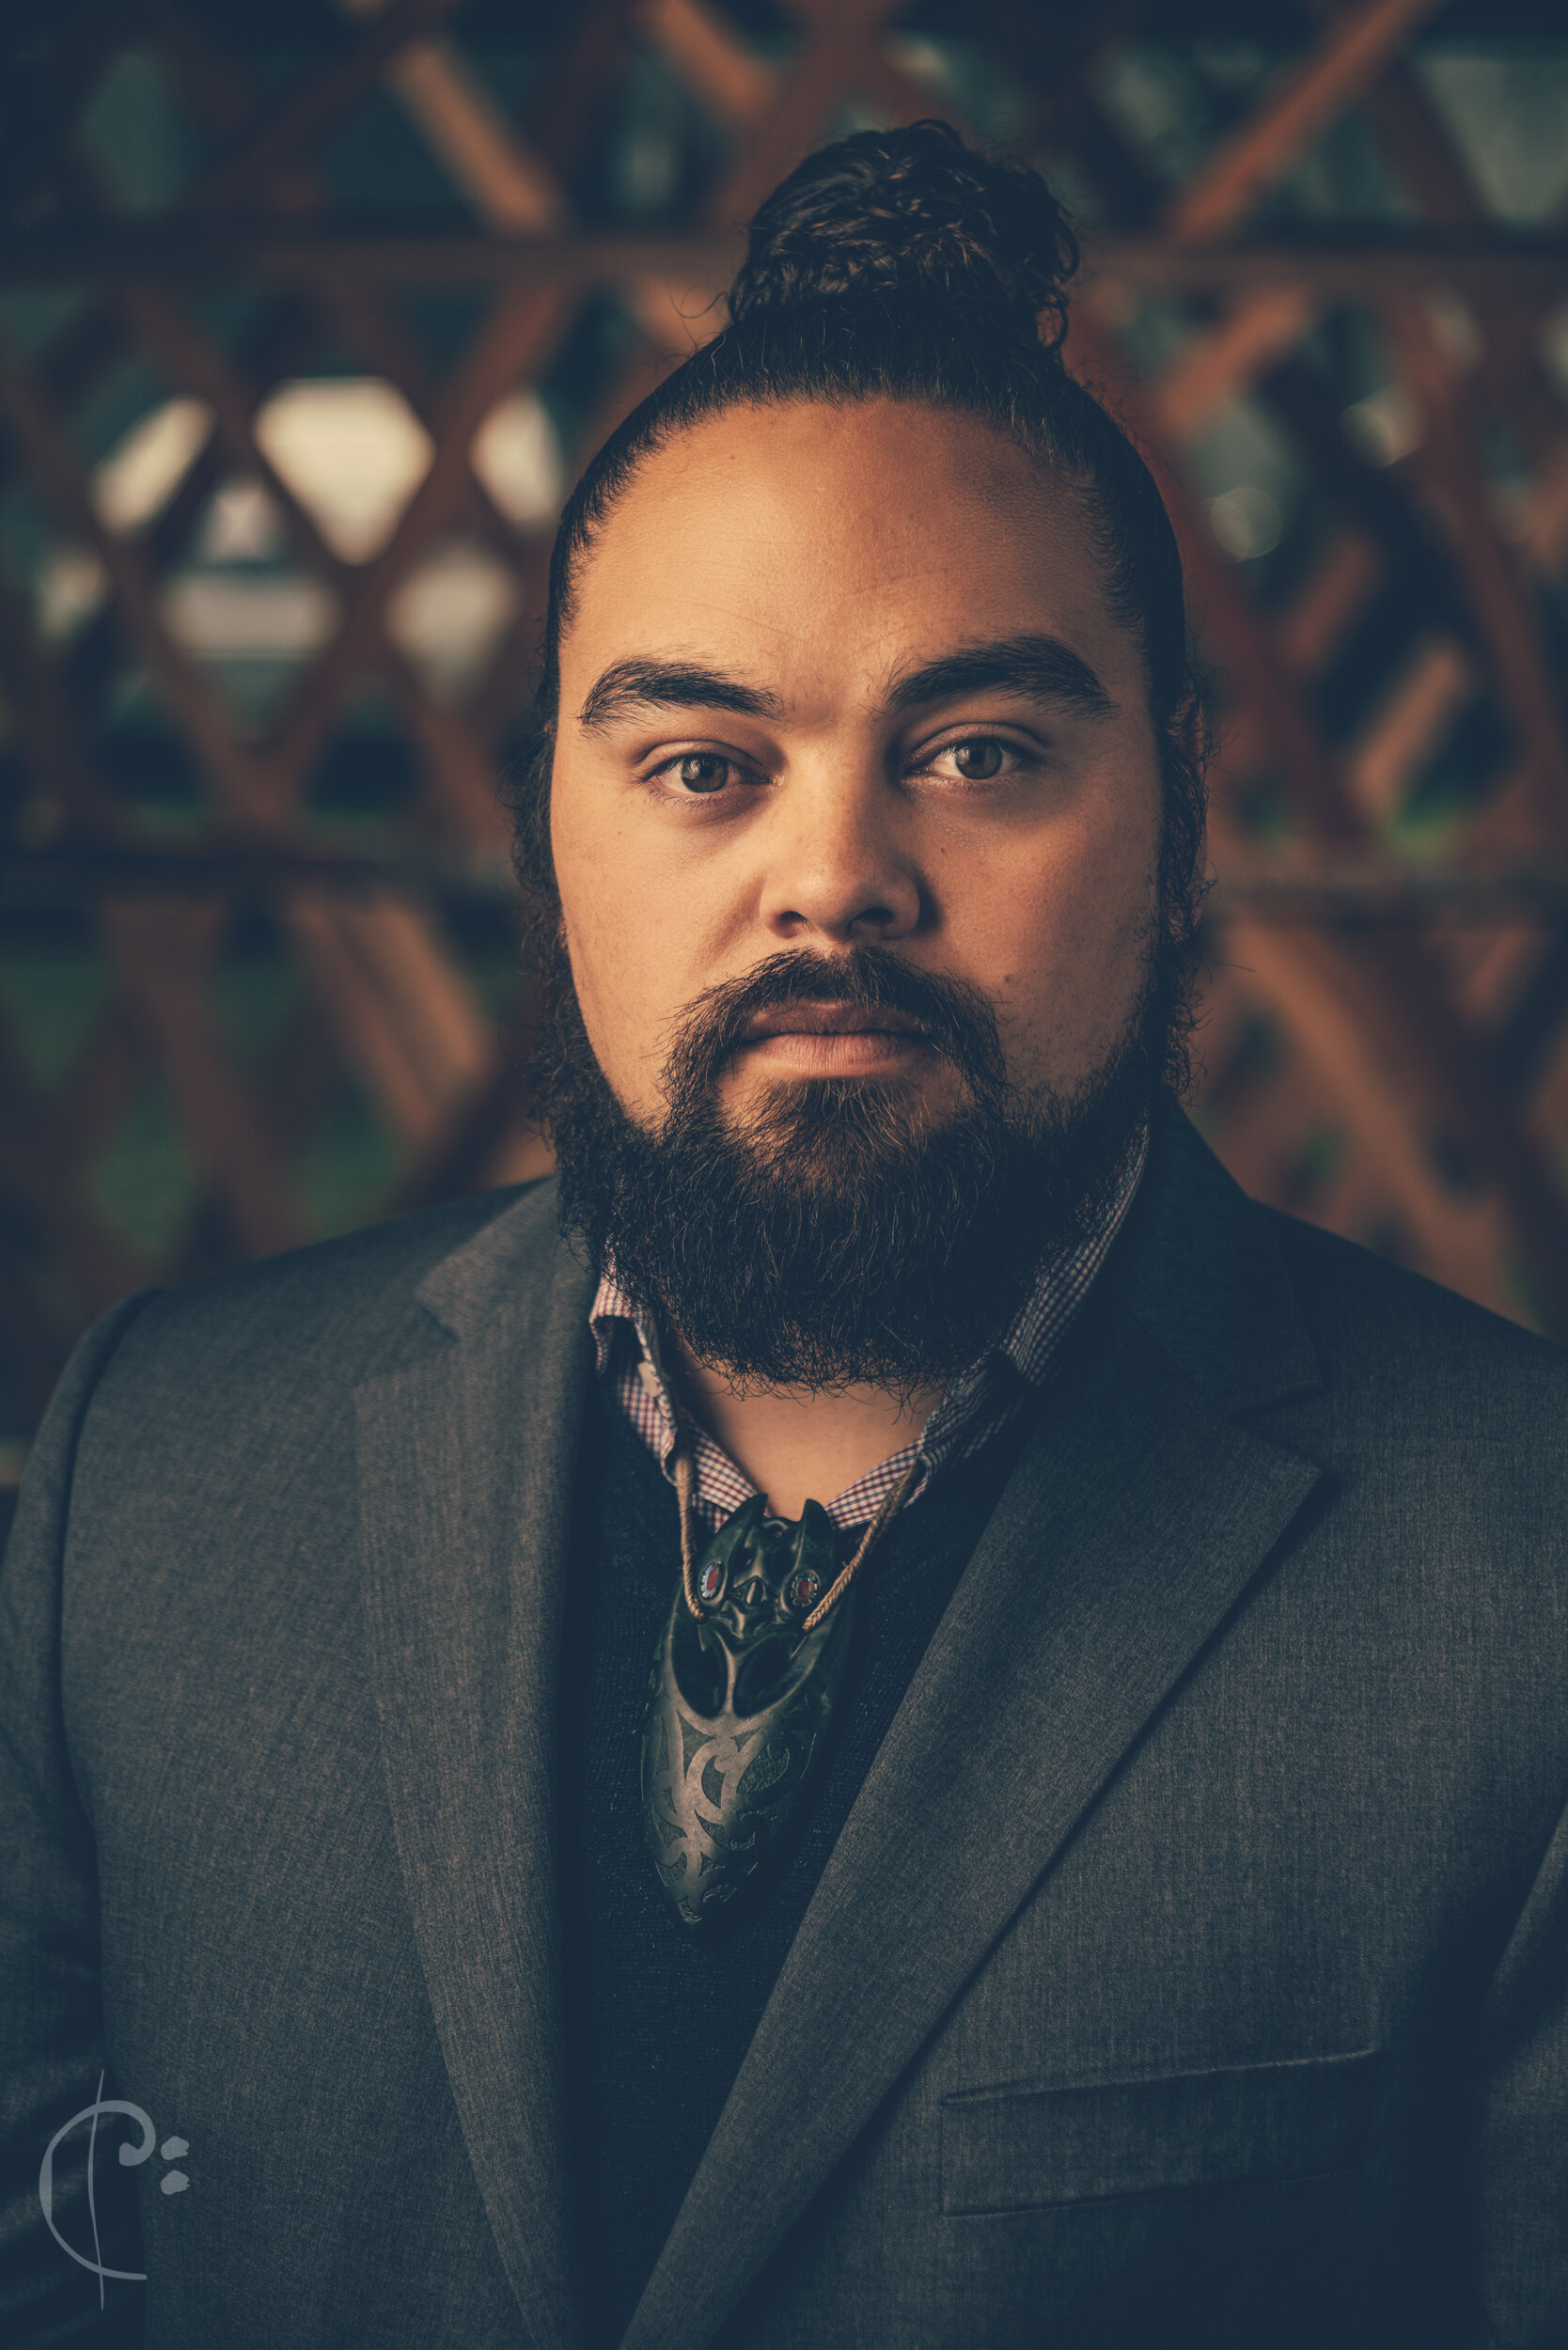
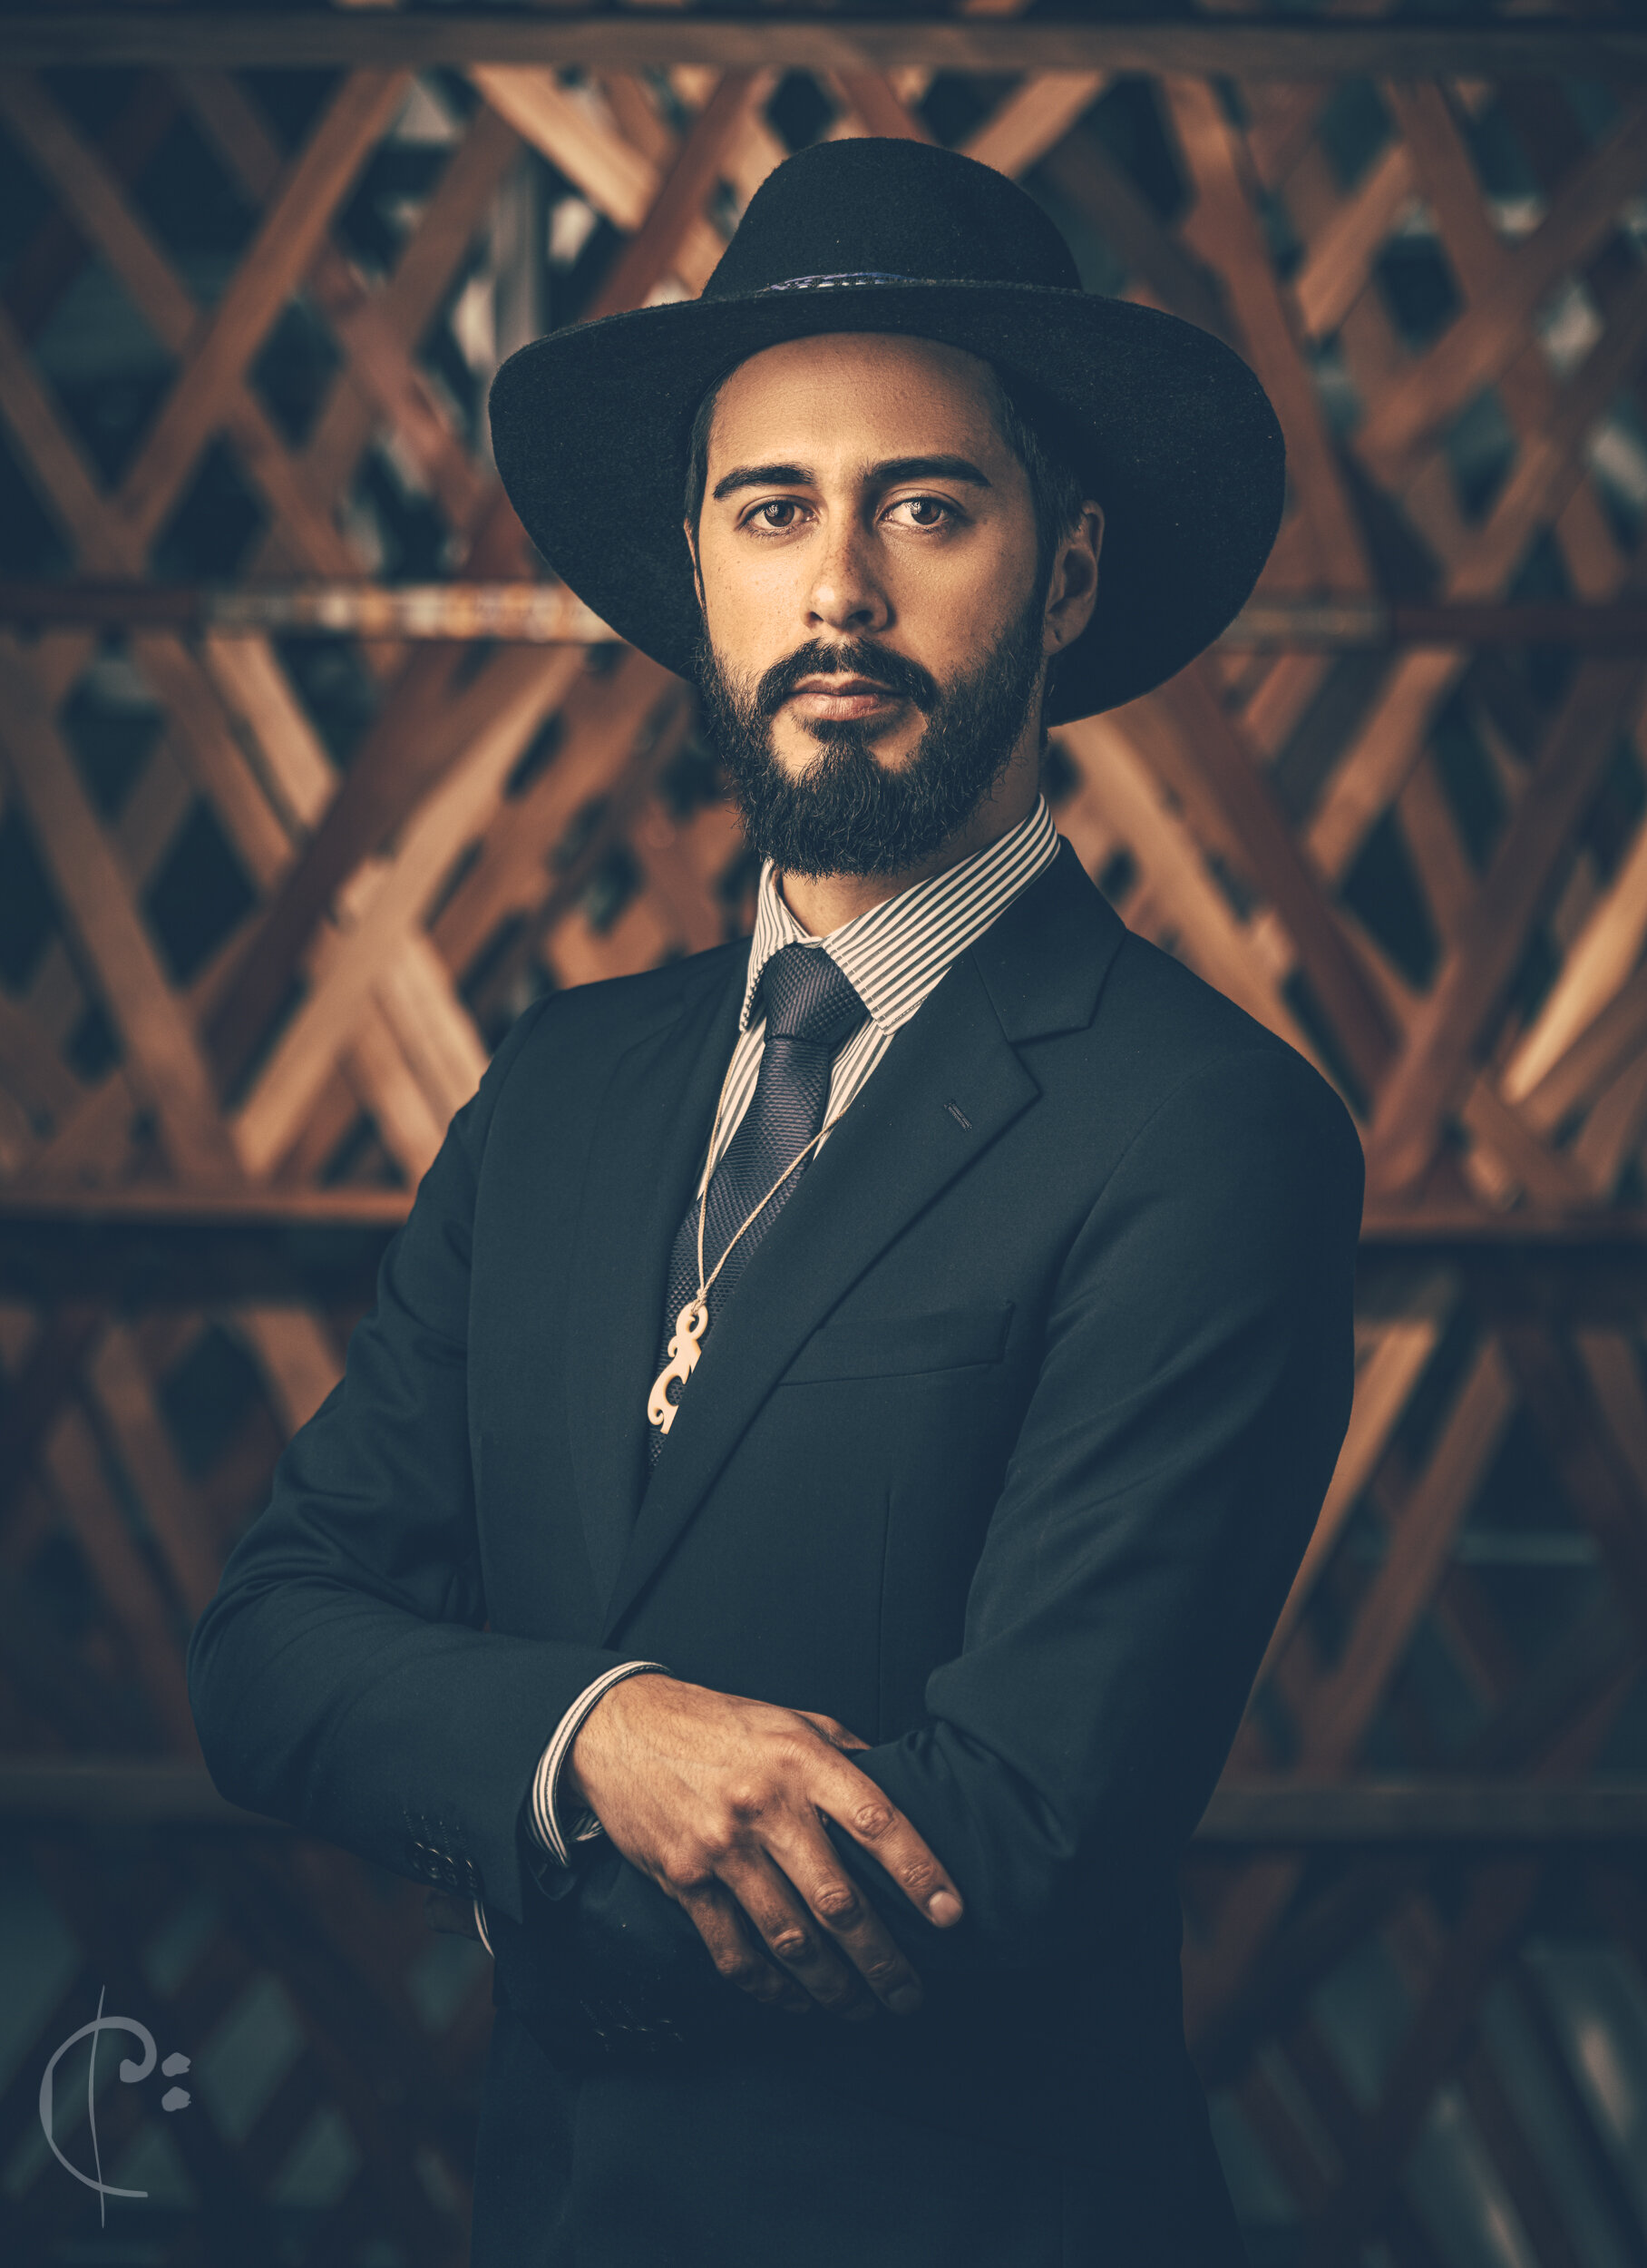
Recently we’ve made a series of still portraits with a couple of different looks for each person. The first inspired by the early 19th century paintings of Lindauer, the second (which I’ll cover in a later post) a more contemporary ‘edgy’ look for the news room.
Painting by Gottfried Lindauer which I used for light and colour references
The setup for this kind of photo is quite simple. I use a very large parabolic umbrella diffused with a ‘shower cap’ to camera left. There’s a white reflector on the right, and a bare bulb flash behind pointed at the background.
Speaking of backgrounds this one is a sculpture in the Maori Television lobby. I loved the way it drew from indigenous flax weaving (Raranga).
Setup showing the background at the Maori TV lobby.
Post-processing was done in a combination of Lightroom, Photoshop, and a favorite of mine: 3D LUT creator, which I used to match the tones of the photos to the original painting.
All photos were taken with a Lumix S1R with thanks to Lumix New Zealand
I used a Lumix S 24-105mm lens, usually between 80-105mm, f/4
The Lights are ad600’s by Godox
Top 10 2019: All things Glow Worms
Of anything I photographed in 2019 these critters were by far the most difficult…
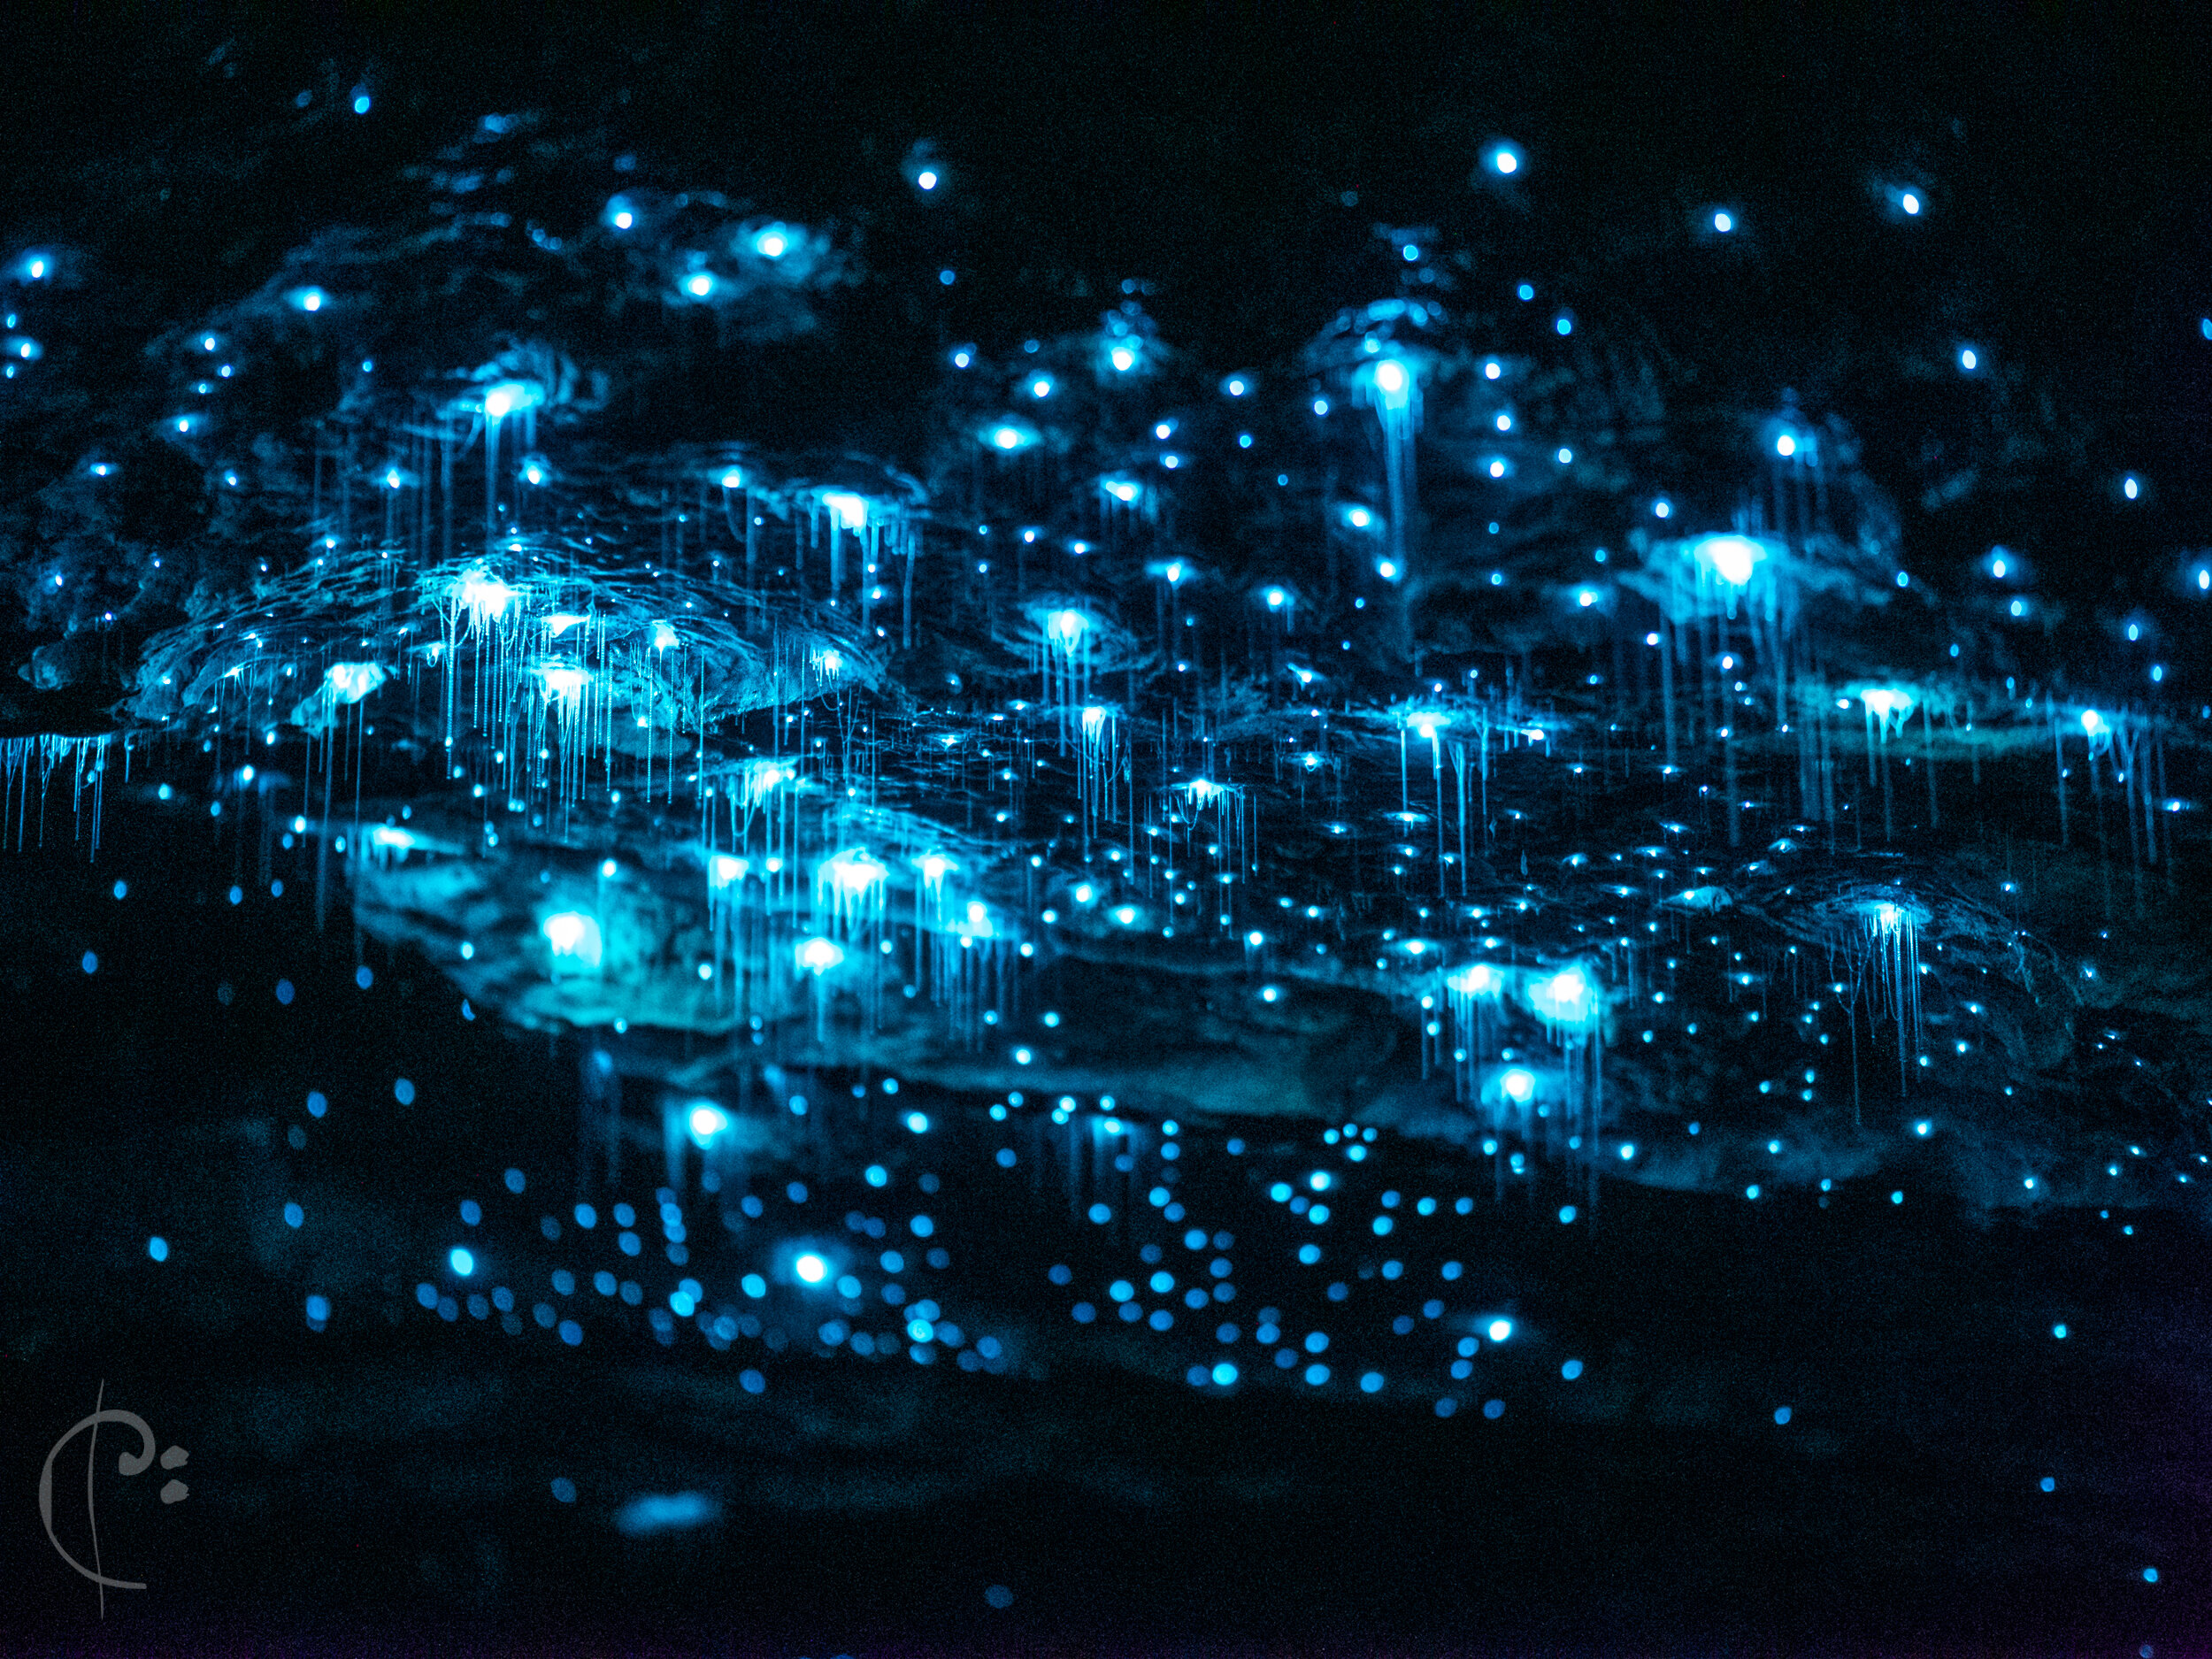
In January I was invited by the Fiordland Camera Club to photograph the glow worms of Real Journey’s Te Anau Cave. This was a rare opportunity as photography in the cave is usually forbidden and staying overnight is also prohibited due to the area being a breeding ground for rare Takahe.
Glow worms in the Te Anau Cave, Fiordland.
To the naked eye it feels as if you’re under a sea of stars, so naturally I dialed my default astro settings into the camera and tried to take a shot… pure black. These guys are far dimmer than they seem, and are testament to how well our eyes adapt to extreme darkness.
Shots like the one below took upwards of four minutes for a single exposure using some extreme settings. I had the ISO bumped up to 3200, and the f/stop at 2.0 on a Lumix GH5s - a specialist low light camera by Panasonic (using a Leica 12mm 1.4 lens)
Like a sea of stars - Glow Worms in Te Anau
In September 2019 I returned to take some time-lapses and still shots for Real Journey’s PR department.
The video at the top of the post is one of these. You can even see two glow worms fighting over territory at the 10 second mark!
That video was shot on new equipment using the Lumix S1H, still in pre-production at the time of shooting, and the Lumix S Pro 50mm 1.4. The video takes place over 2 hours and show how dynamic these creatures really are.
It was shot using a Syrp genie II linear and their wonderful carbon fiber slider (so light!). You can see a behind-the-scenes here:
Top 10 2019: Devil's Violin
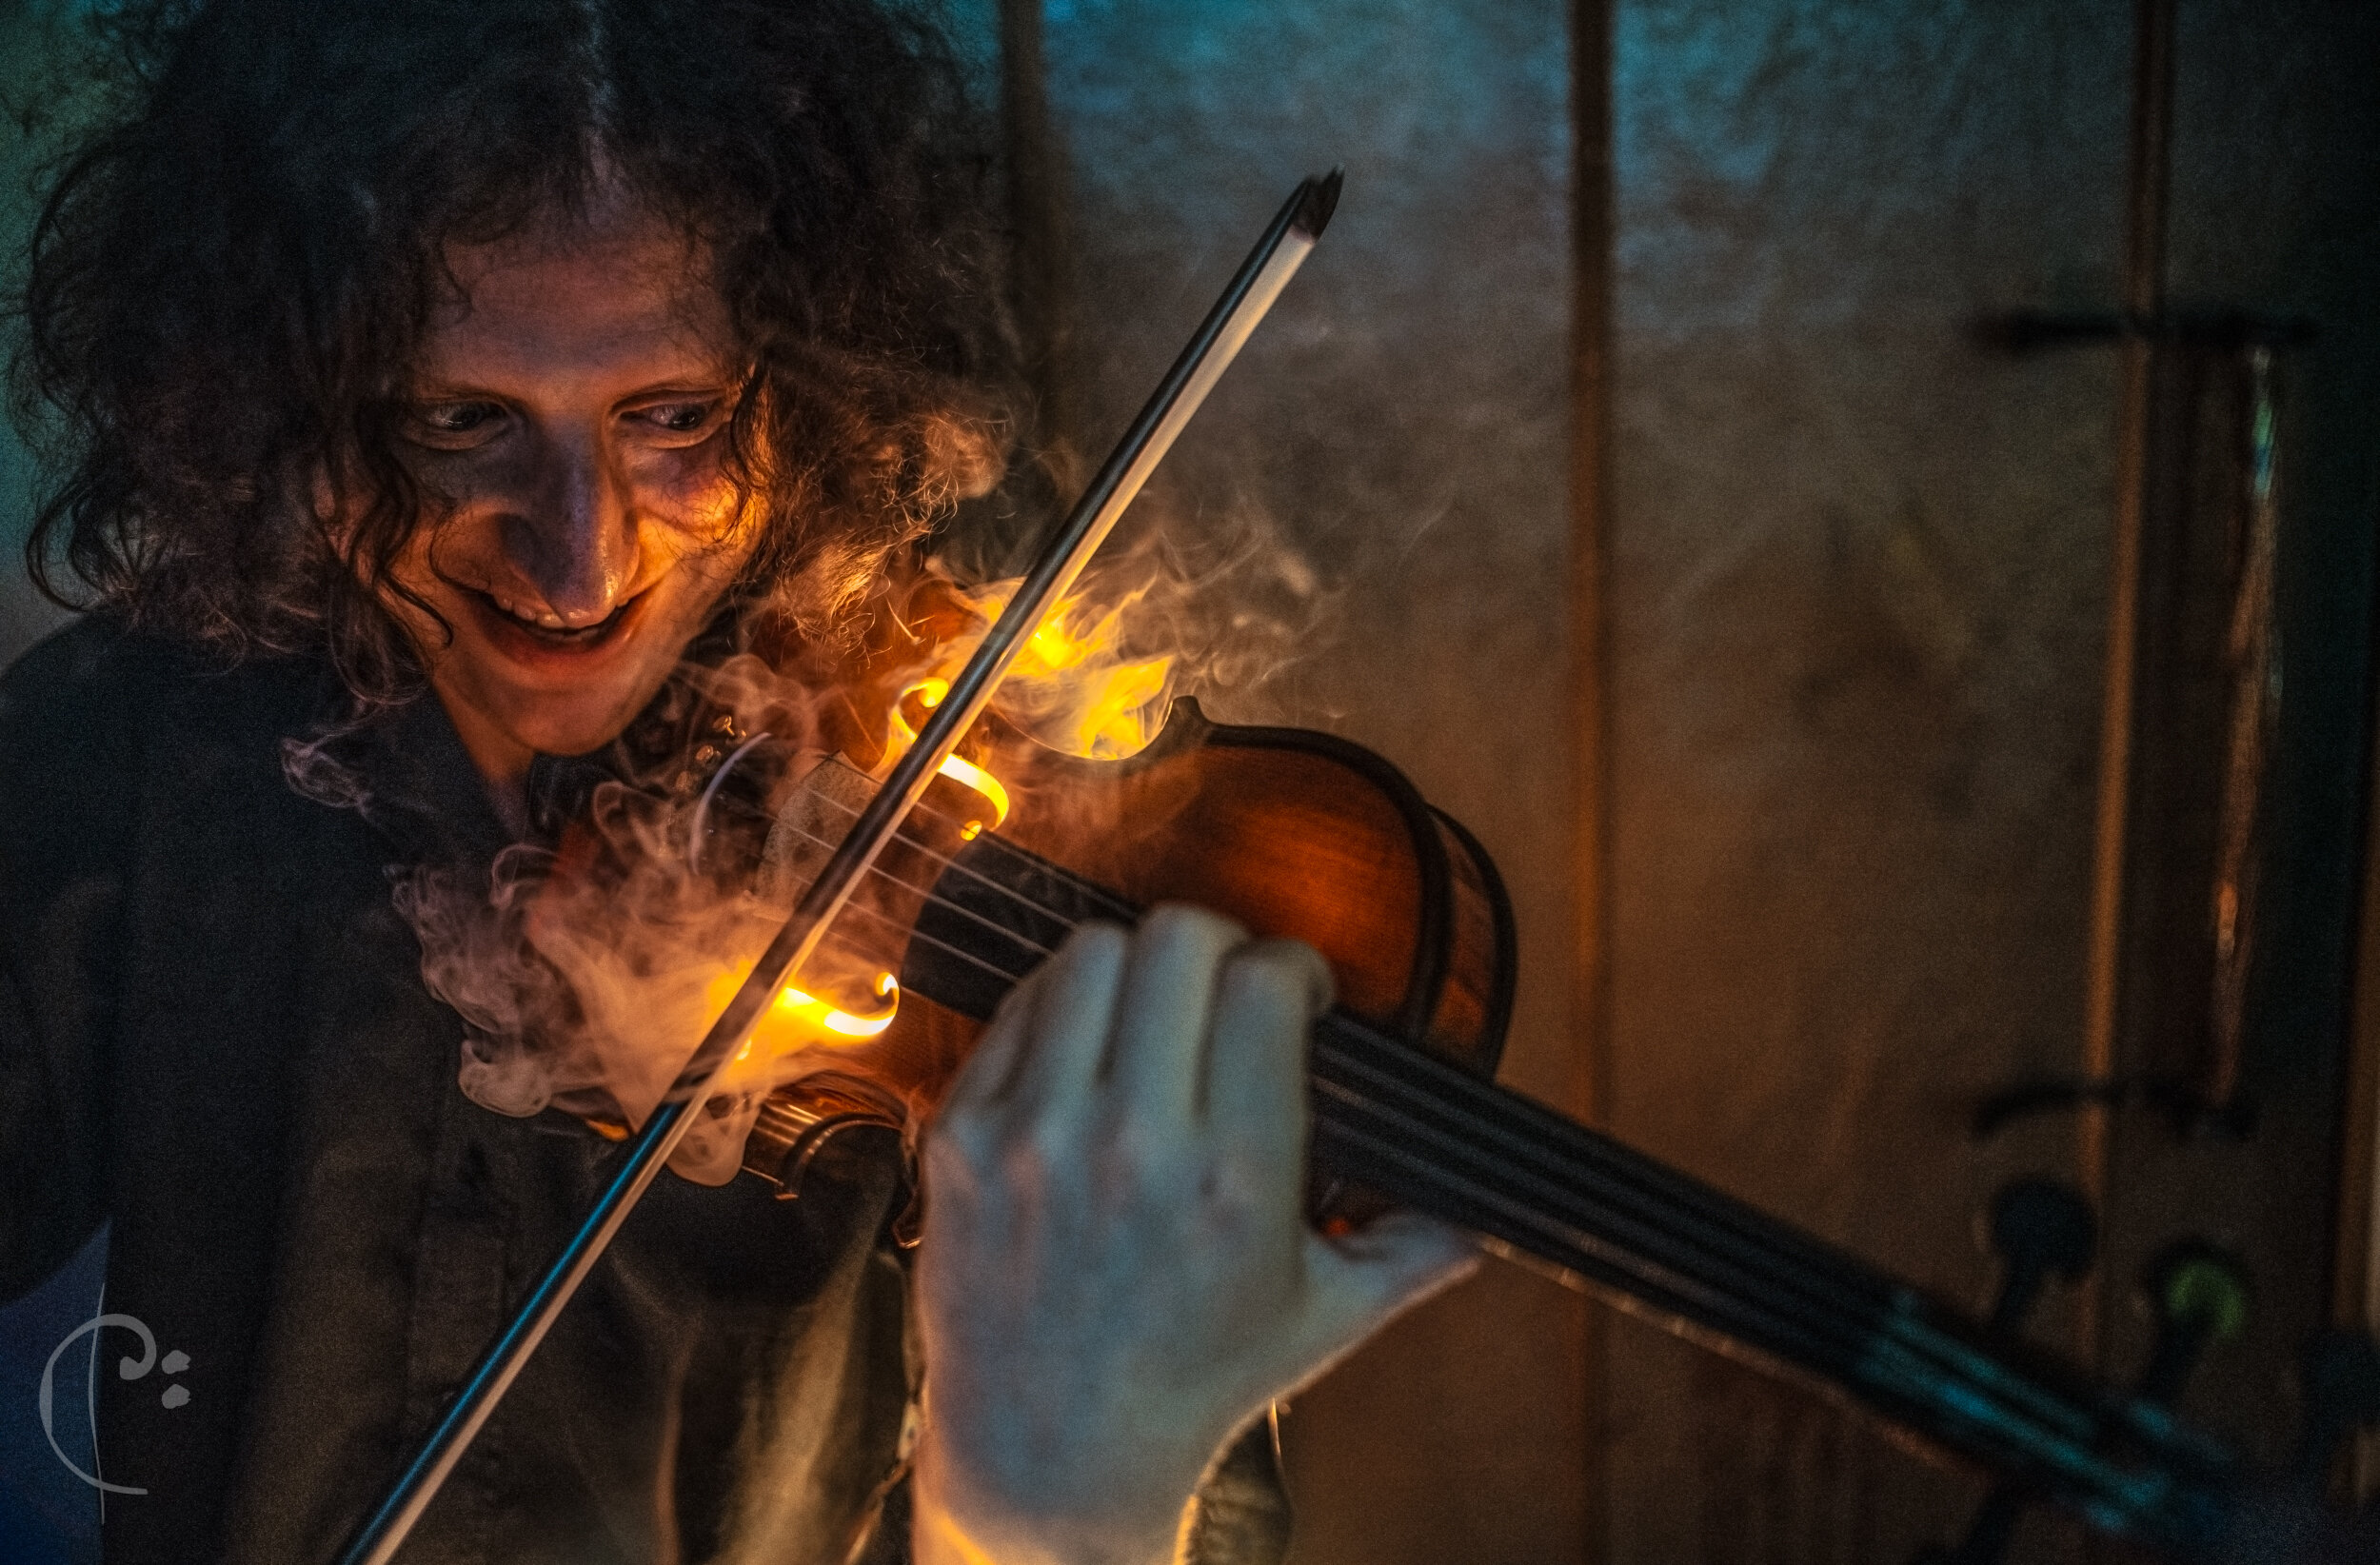
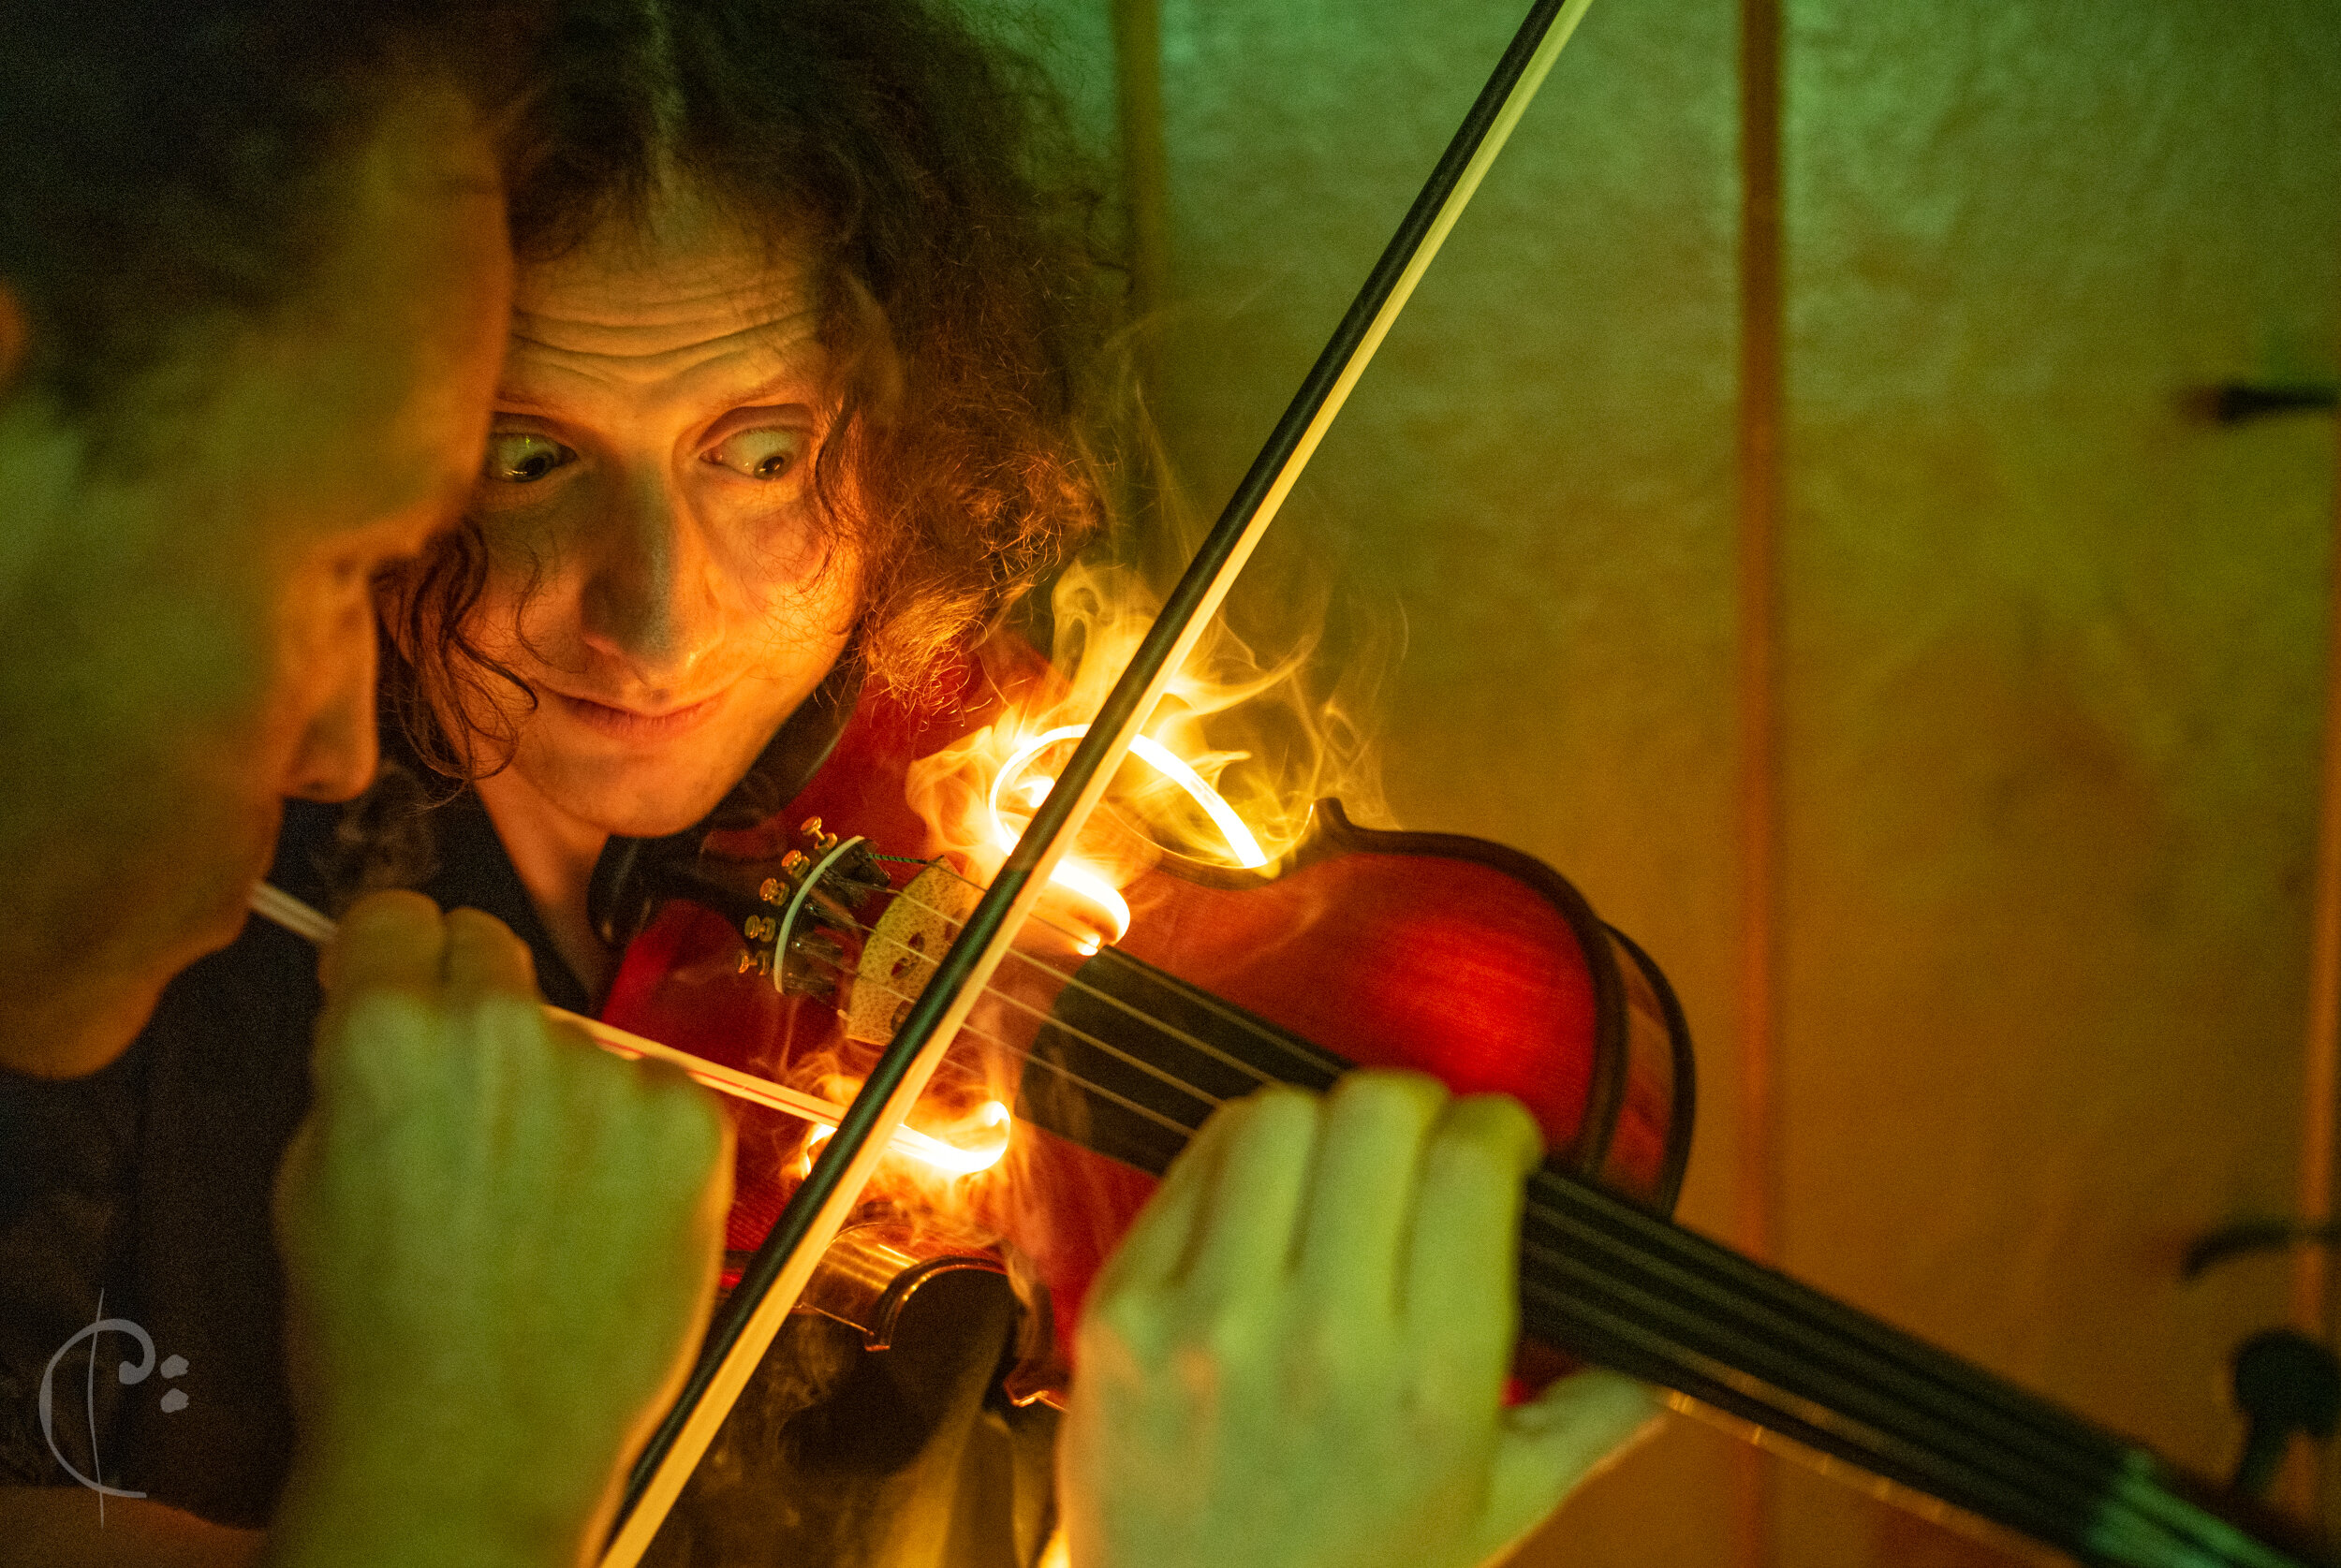
There’s been a lot of vaping this year… This shot of Jazz/Folk violinist Pascal Roggen is the second photo in my 2019 top 10 list.
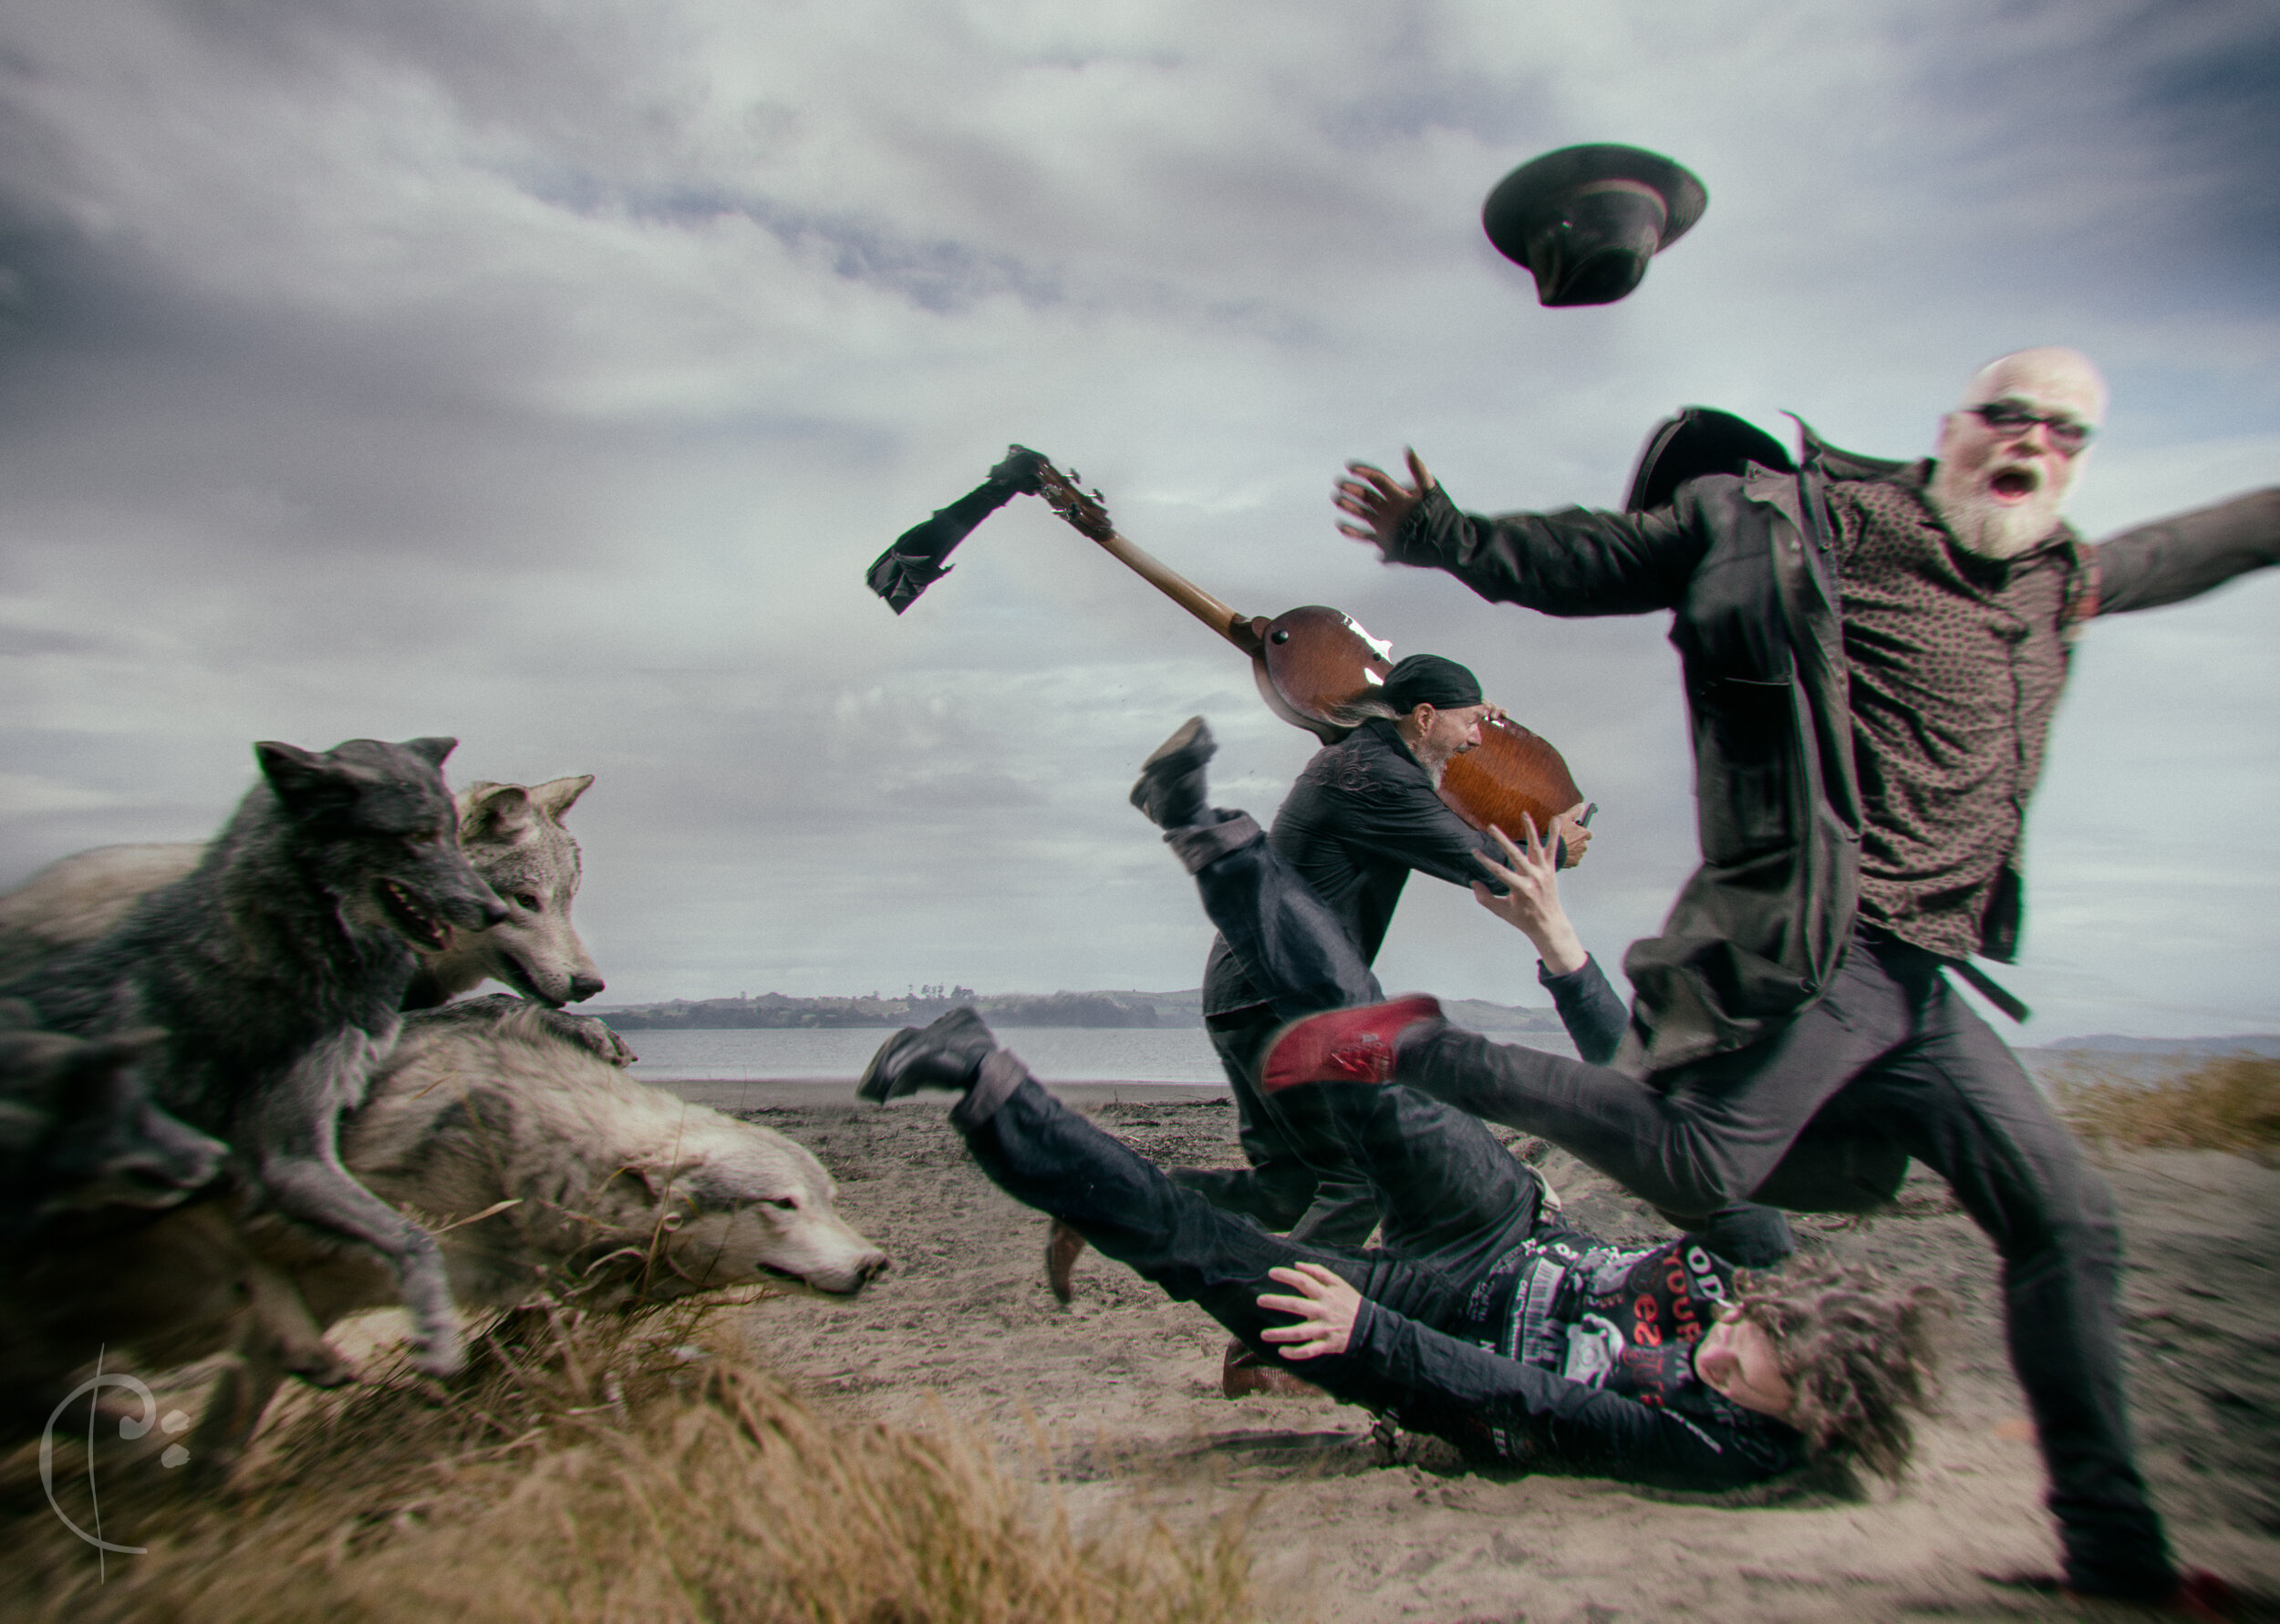
Before I get into the photographic details, I want to talk a little about Pascal. He's one of the greatest musical talents in the country (if not the world). His bio is so impressive that it's hard to know what to pick. Do you talk about his performances at the BAFTA awards? What about playing in Cuba with the Buena Vista Social Club, or his Masters in Jazz from the Guildhall, or his kiwi band Albi and the Wolves? And where does his international ranking in Warhammer 40k fit into this? If you want to read his full biography click here. But the best way to see him is to pop along to one of the Albi and the Wolves concerts.
Back to the photo:
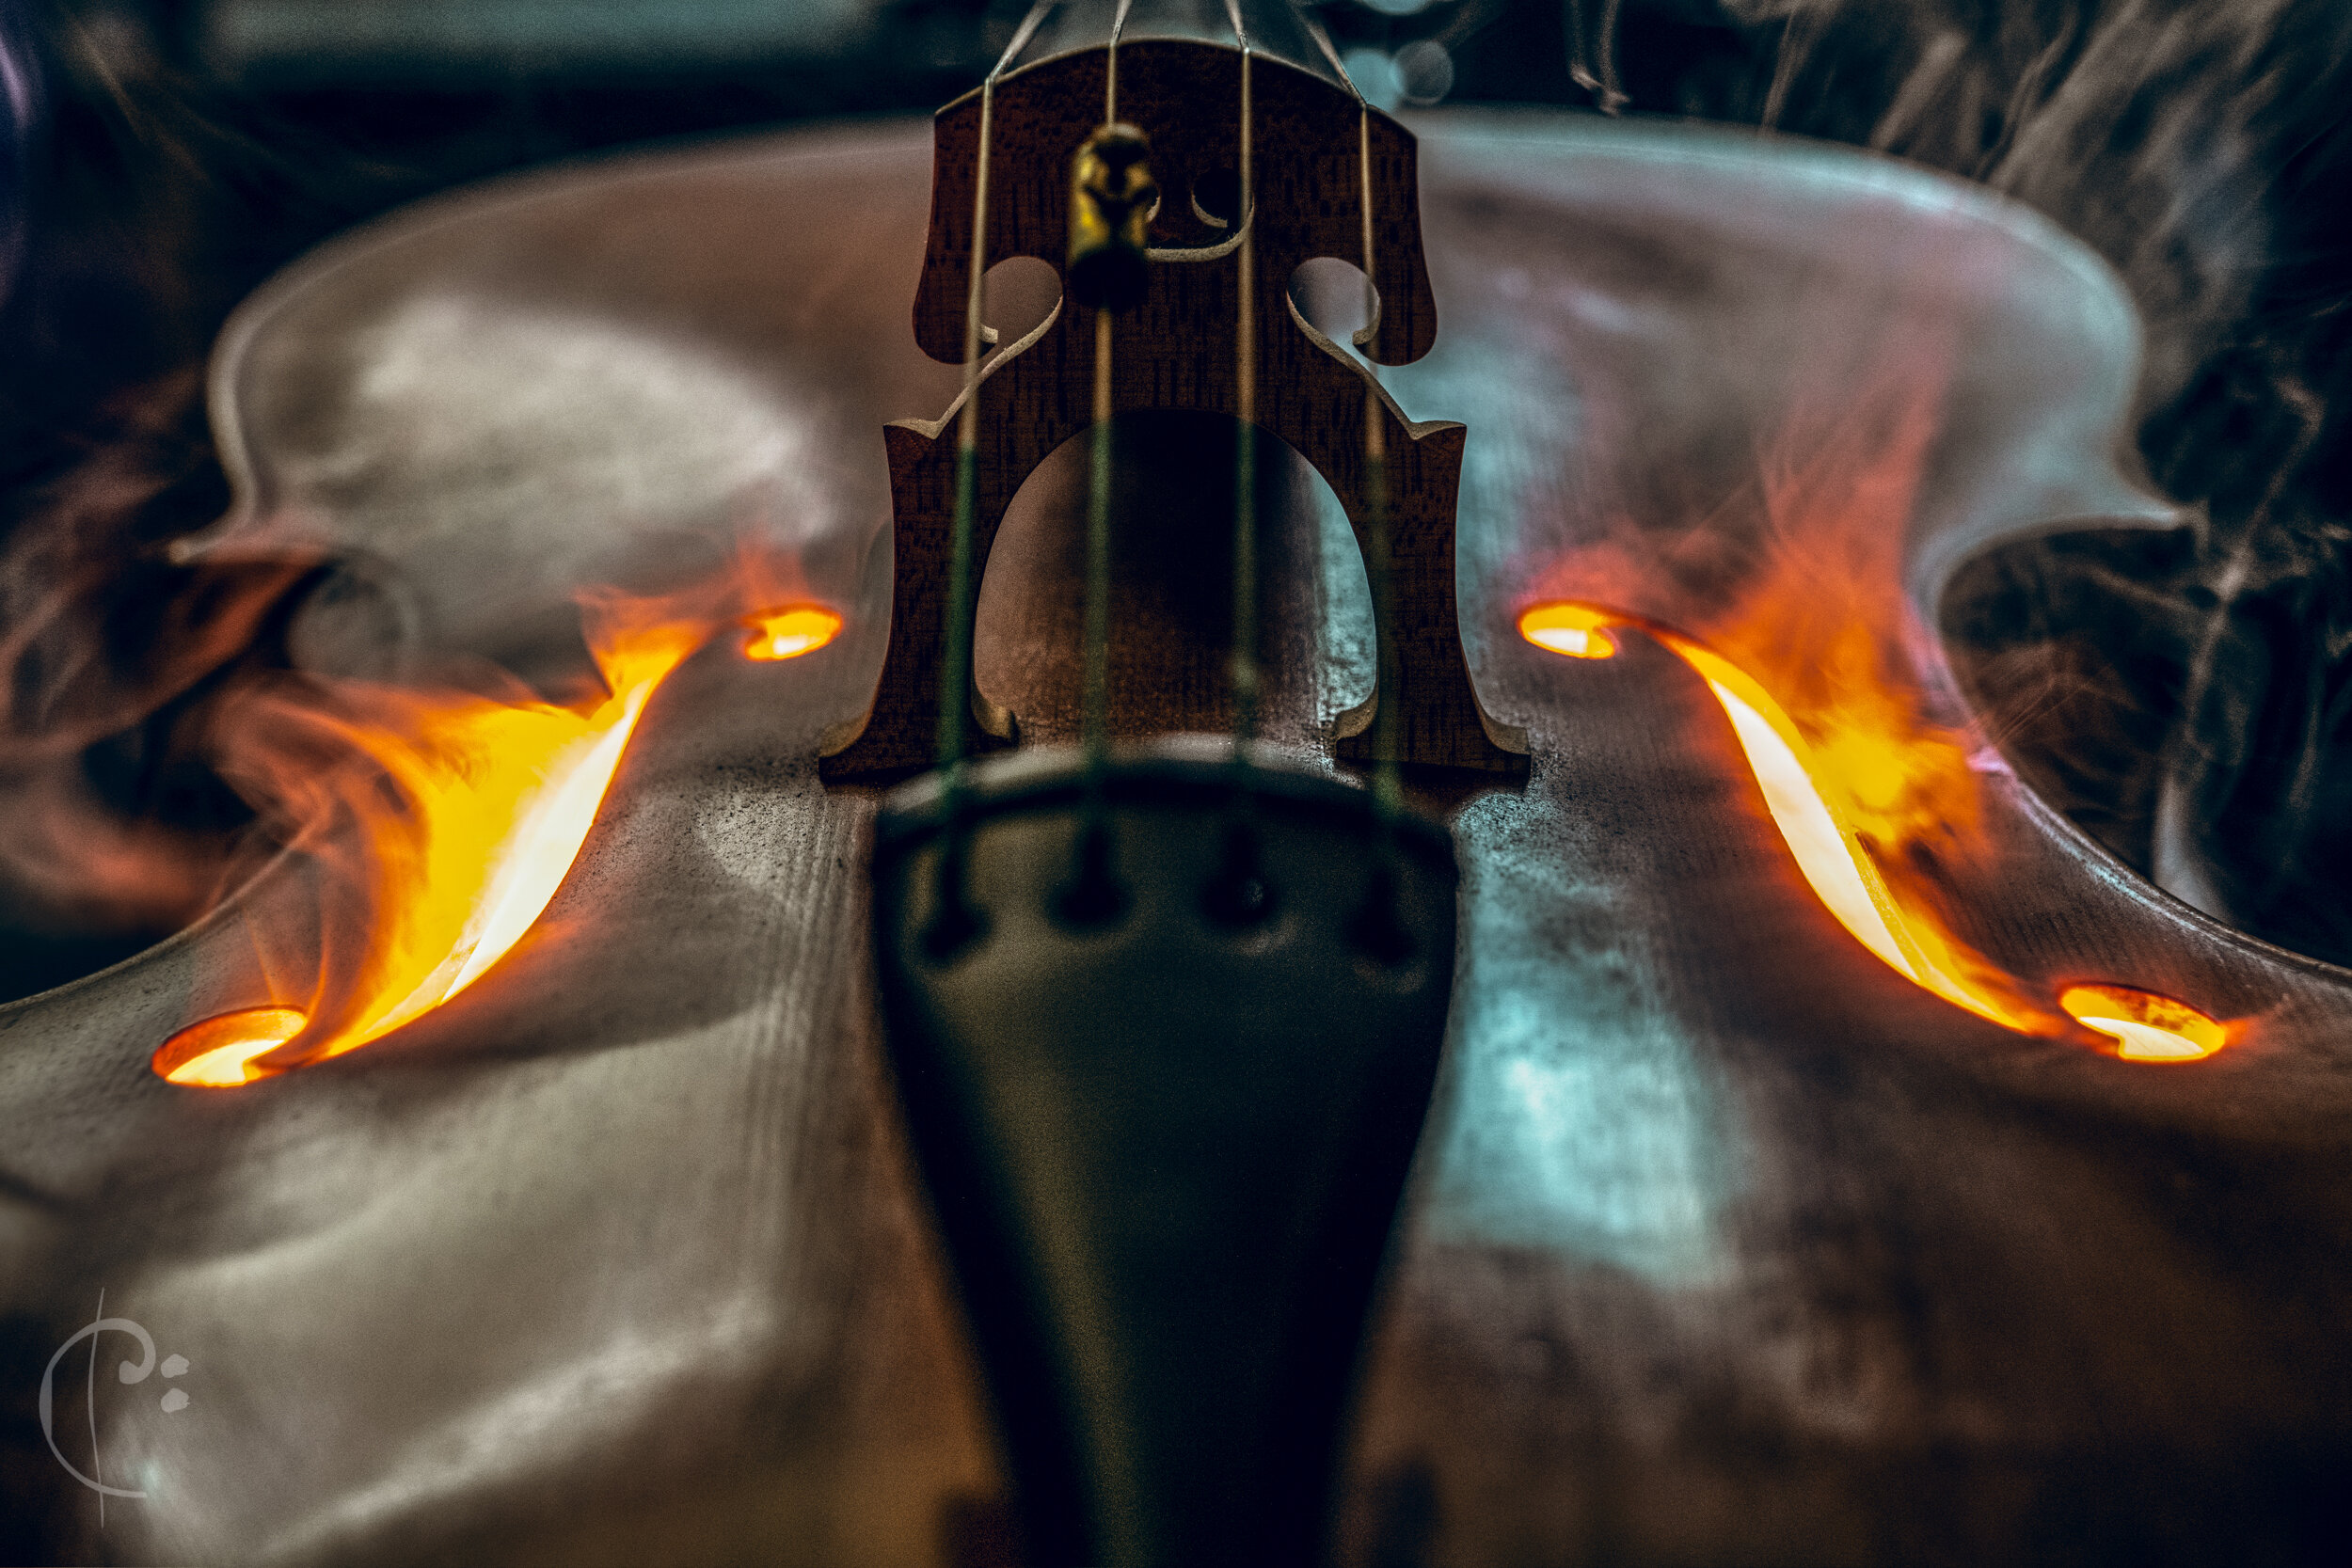
I'd seen a cheap electric fireplace from China that used steam to mimic fire effects. I figured that a smoke machine and LED lights could achieve a similar result.
We soon realized that smoke machines provide almost no control over the vapour, and that they produce far too much smoke. Something smaller was needed. Enter the e-cigarette.
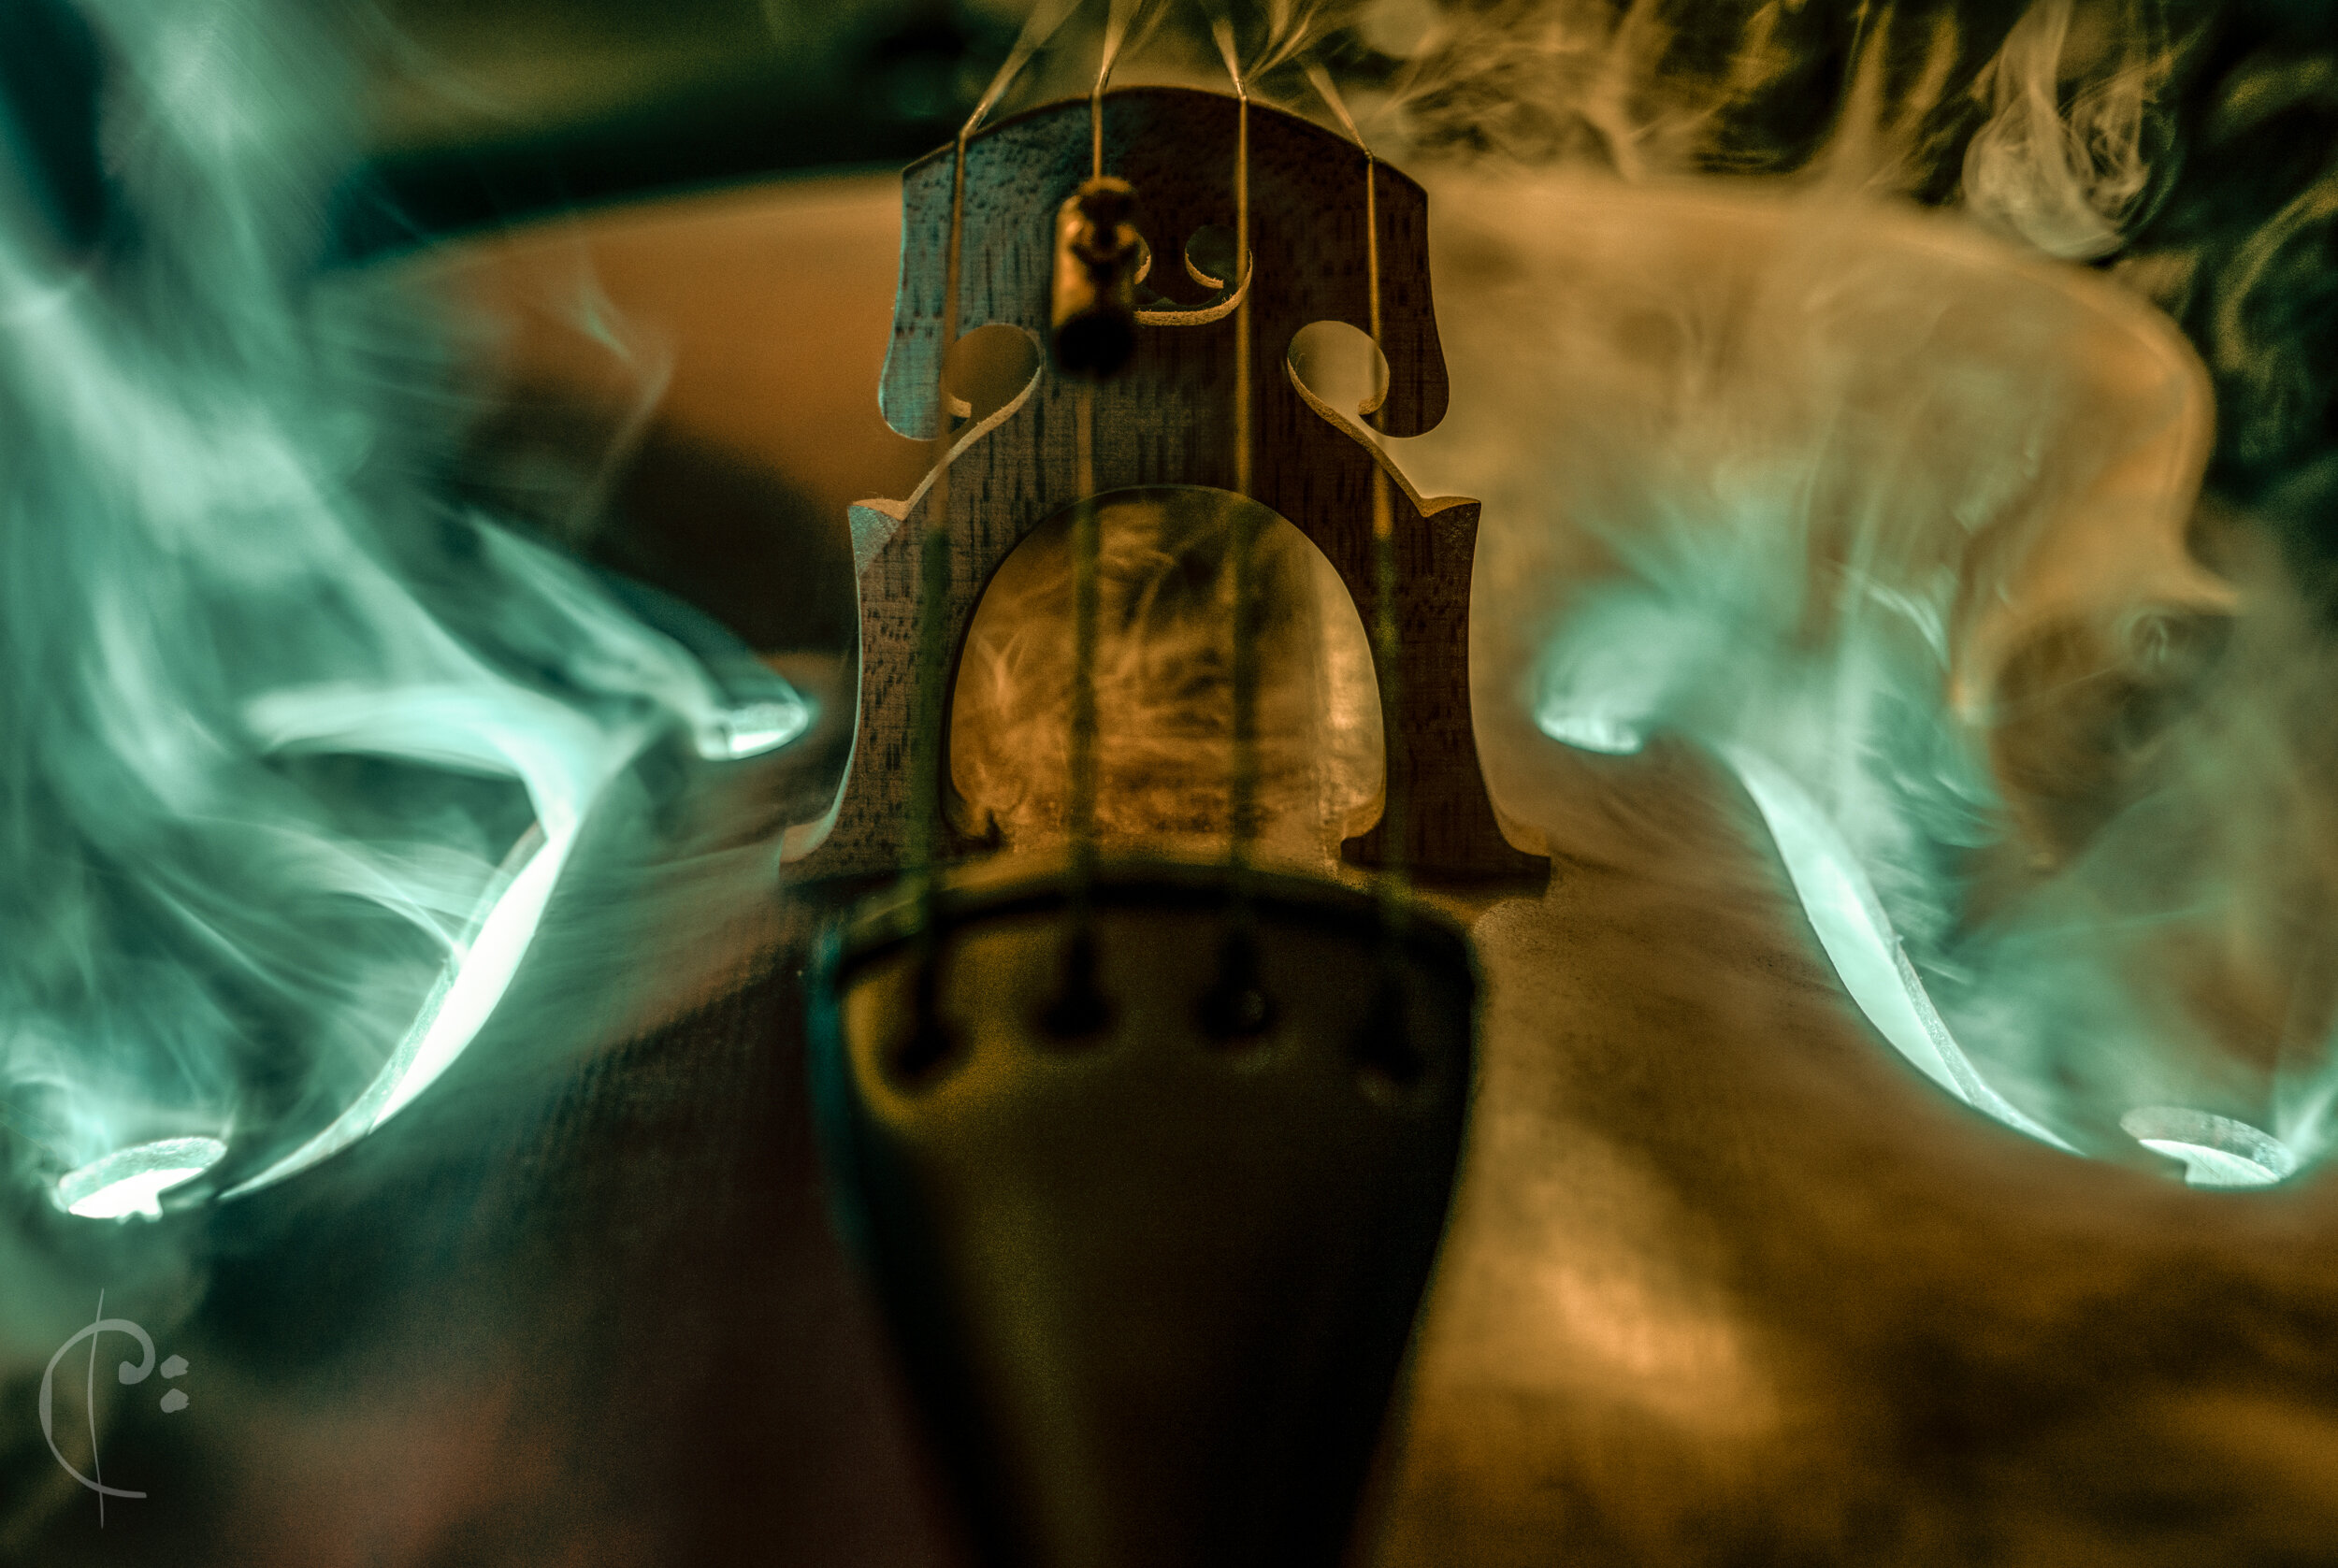
After feeding a string of LEDs into the violin we used a straw to blow smoke through the f-hole. Keeping the violin in place, we'd repeat the process on the other side, then combine the two images.
No other lighting was used as they'd overpower the LEDs. The light was very dim so we had to push the camera's ISO very high. This added noise. But I like the noise pattern of the Lumix S1R, it's very reminiscent of film grain, so I saw no need to de-noise in post.
Pascal’s 5-string still smells of Cherry Lemonade…
Above: My first test using vapour and LEDs, on a cello I have around the house (My former career! I was a concert cellist for 20 years…)
In New Zealand Pascal plays with Albi and the Wolves. Front-man Chris Dent (right) is also in my top 10! More photos coming soon…
Gear:
Panasonic Lumix S1R
Leica Summicron M 35mm with Leicam M-L adapter
#Leica #Lumix #S1R #changingphotography
Top 10 2019: Bevan & Zarchi
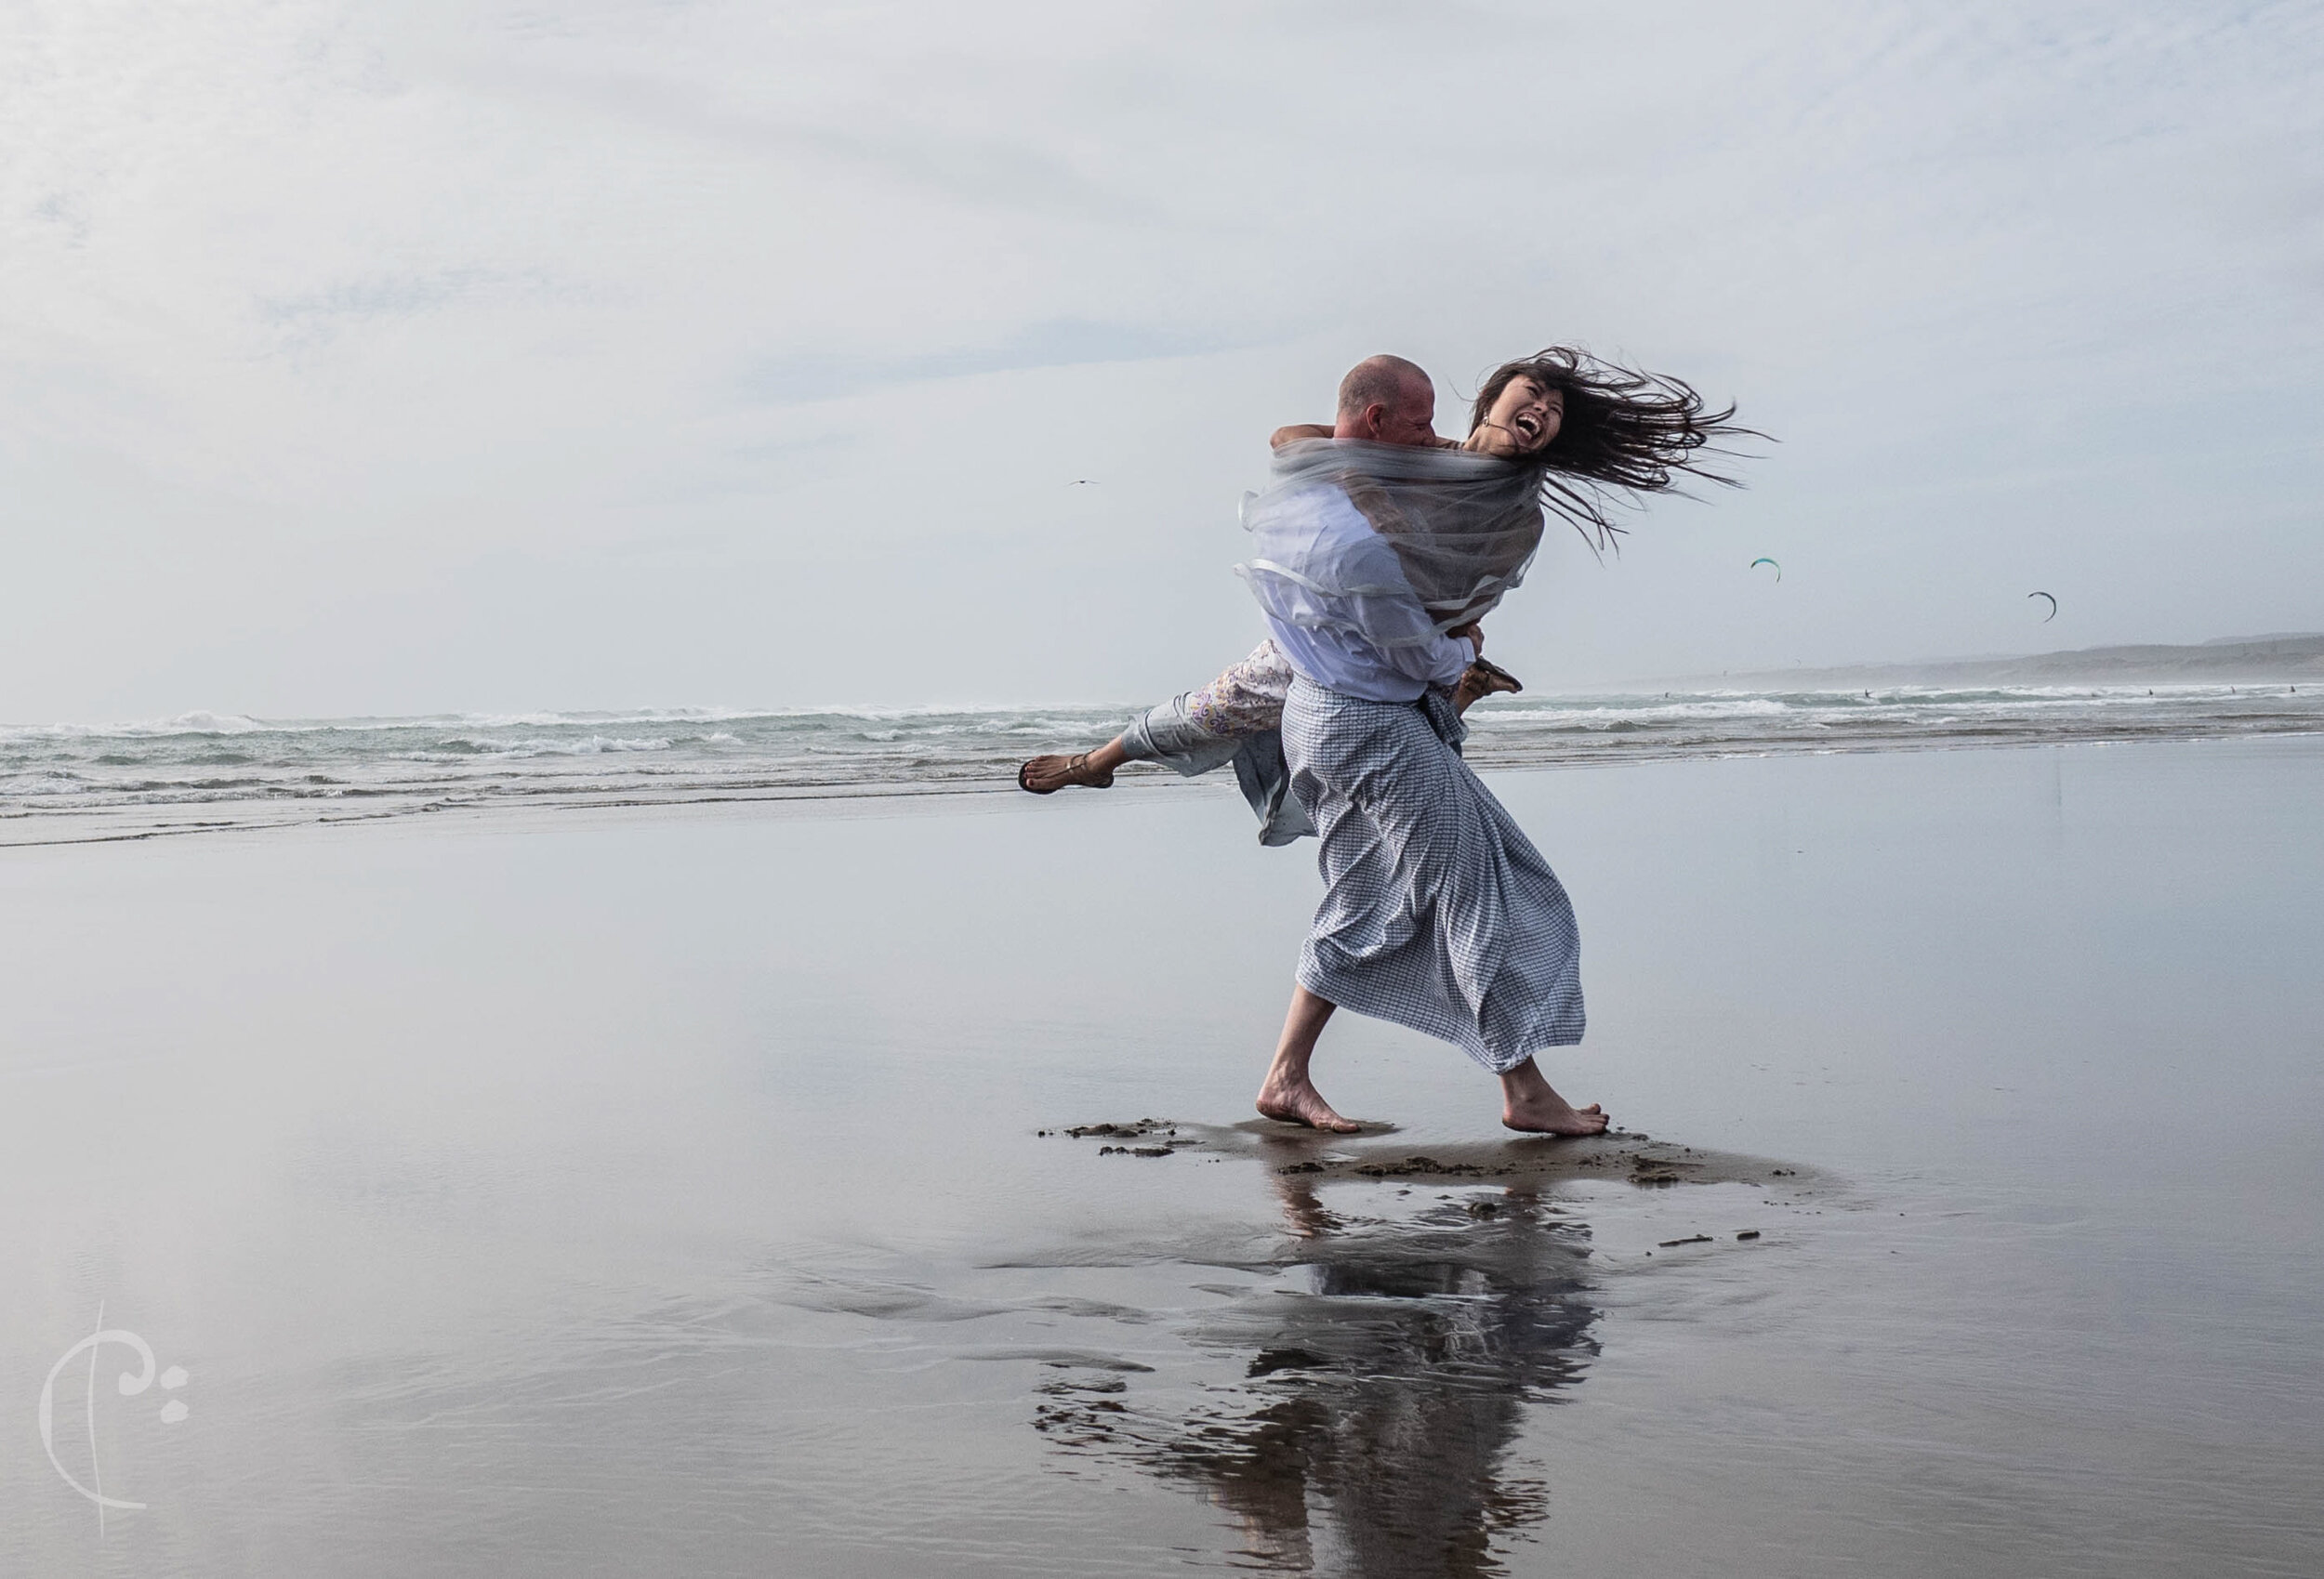
Bevan & Zarchi are close friends. When they asked me to do something I’d promised myself I’d never do (wedding photography), I said no…. But they’re nothing but persistent. I soon agreed to take some ‘pre-wedding’ photos. These are typical of Asian clients (Zarchi is from Myanmar), who have their wedding photos done before the actual event. I actually ended up shooting the wedding also….
This was shot out at Muriwai beach. There’s a not a great deal of technical difficulty in the shot. It's a matter of being in the right place at the right time. Of course that’s easier when you know the area well. Muriwai has an abundance of photographic opportunities. For astro, nature and portrait work, I find myself there quite often.
Iron-rich black sand dominates the west coast of New Zealand. The sand's deep colour enhances the reflective qualities of the water that covers it during low tide. Lining up a shot like this is just a matter of waiting for the waves to roll out, then telling your clients to run! I used a 12mm lens to make the sea look as distant as possible.
Bevan & Zarchi ‘pre-wedding shoot’ on Muriwai Beach
Panasonic Lumix GH5
Panasonic Leica Summilux 12mm 1.4
ISO 200 f/7.1 1/250
We played around with a few different poses styles as the light changed. Some worked:
Bevan & Zarchi ‘pre-wedding shoot’ on Muriwai Beach
Panasonic Lumix GH5
Panasonic Leica Summilux 12mm 1.4
ISO 200 f/7.1 1/5000
Some were less successful!:
Bevan & Zarchi pre-wedding shoot, out-takes!
Panasonic Lumix GH5
Panasonic Leica Summilux 12mm 1.4
ISO 200 f/7.1 1/2000
This was one of the first shoots for which Lumix sponsored me equipment. I was shooting on their Lumix GH5 which is a stunning small camera, paired with a Leica Summilux 12mm f/1.4. The speed of this lens meant I could really push the shutter speed to avoid any motion blur, without pushing up the ISO.
It all starts here!
It’s bothered me for a while that this is a rather static website. So I’ve created this page to show off what I’m currently up to, as well as to show off some of the behind the scenes shots of my more creative work.
I’m not one to hide away my secrets - so feel free to ask me questions!
I’ll be starting soon with a countdown of my top 10 images for 2019.
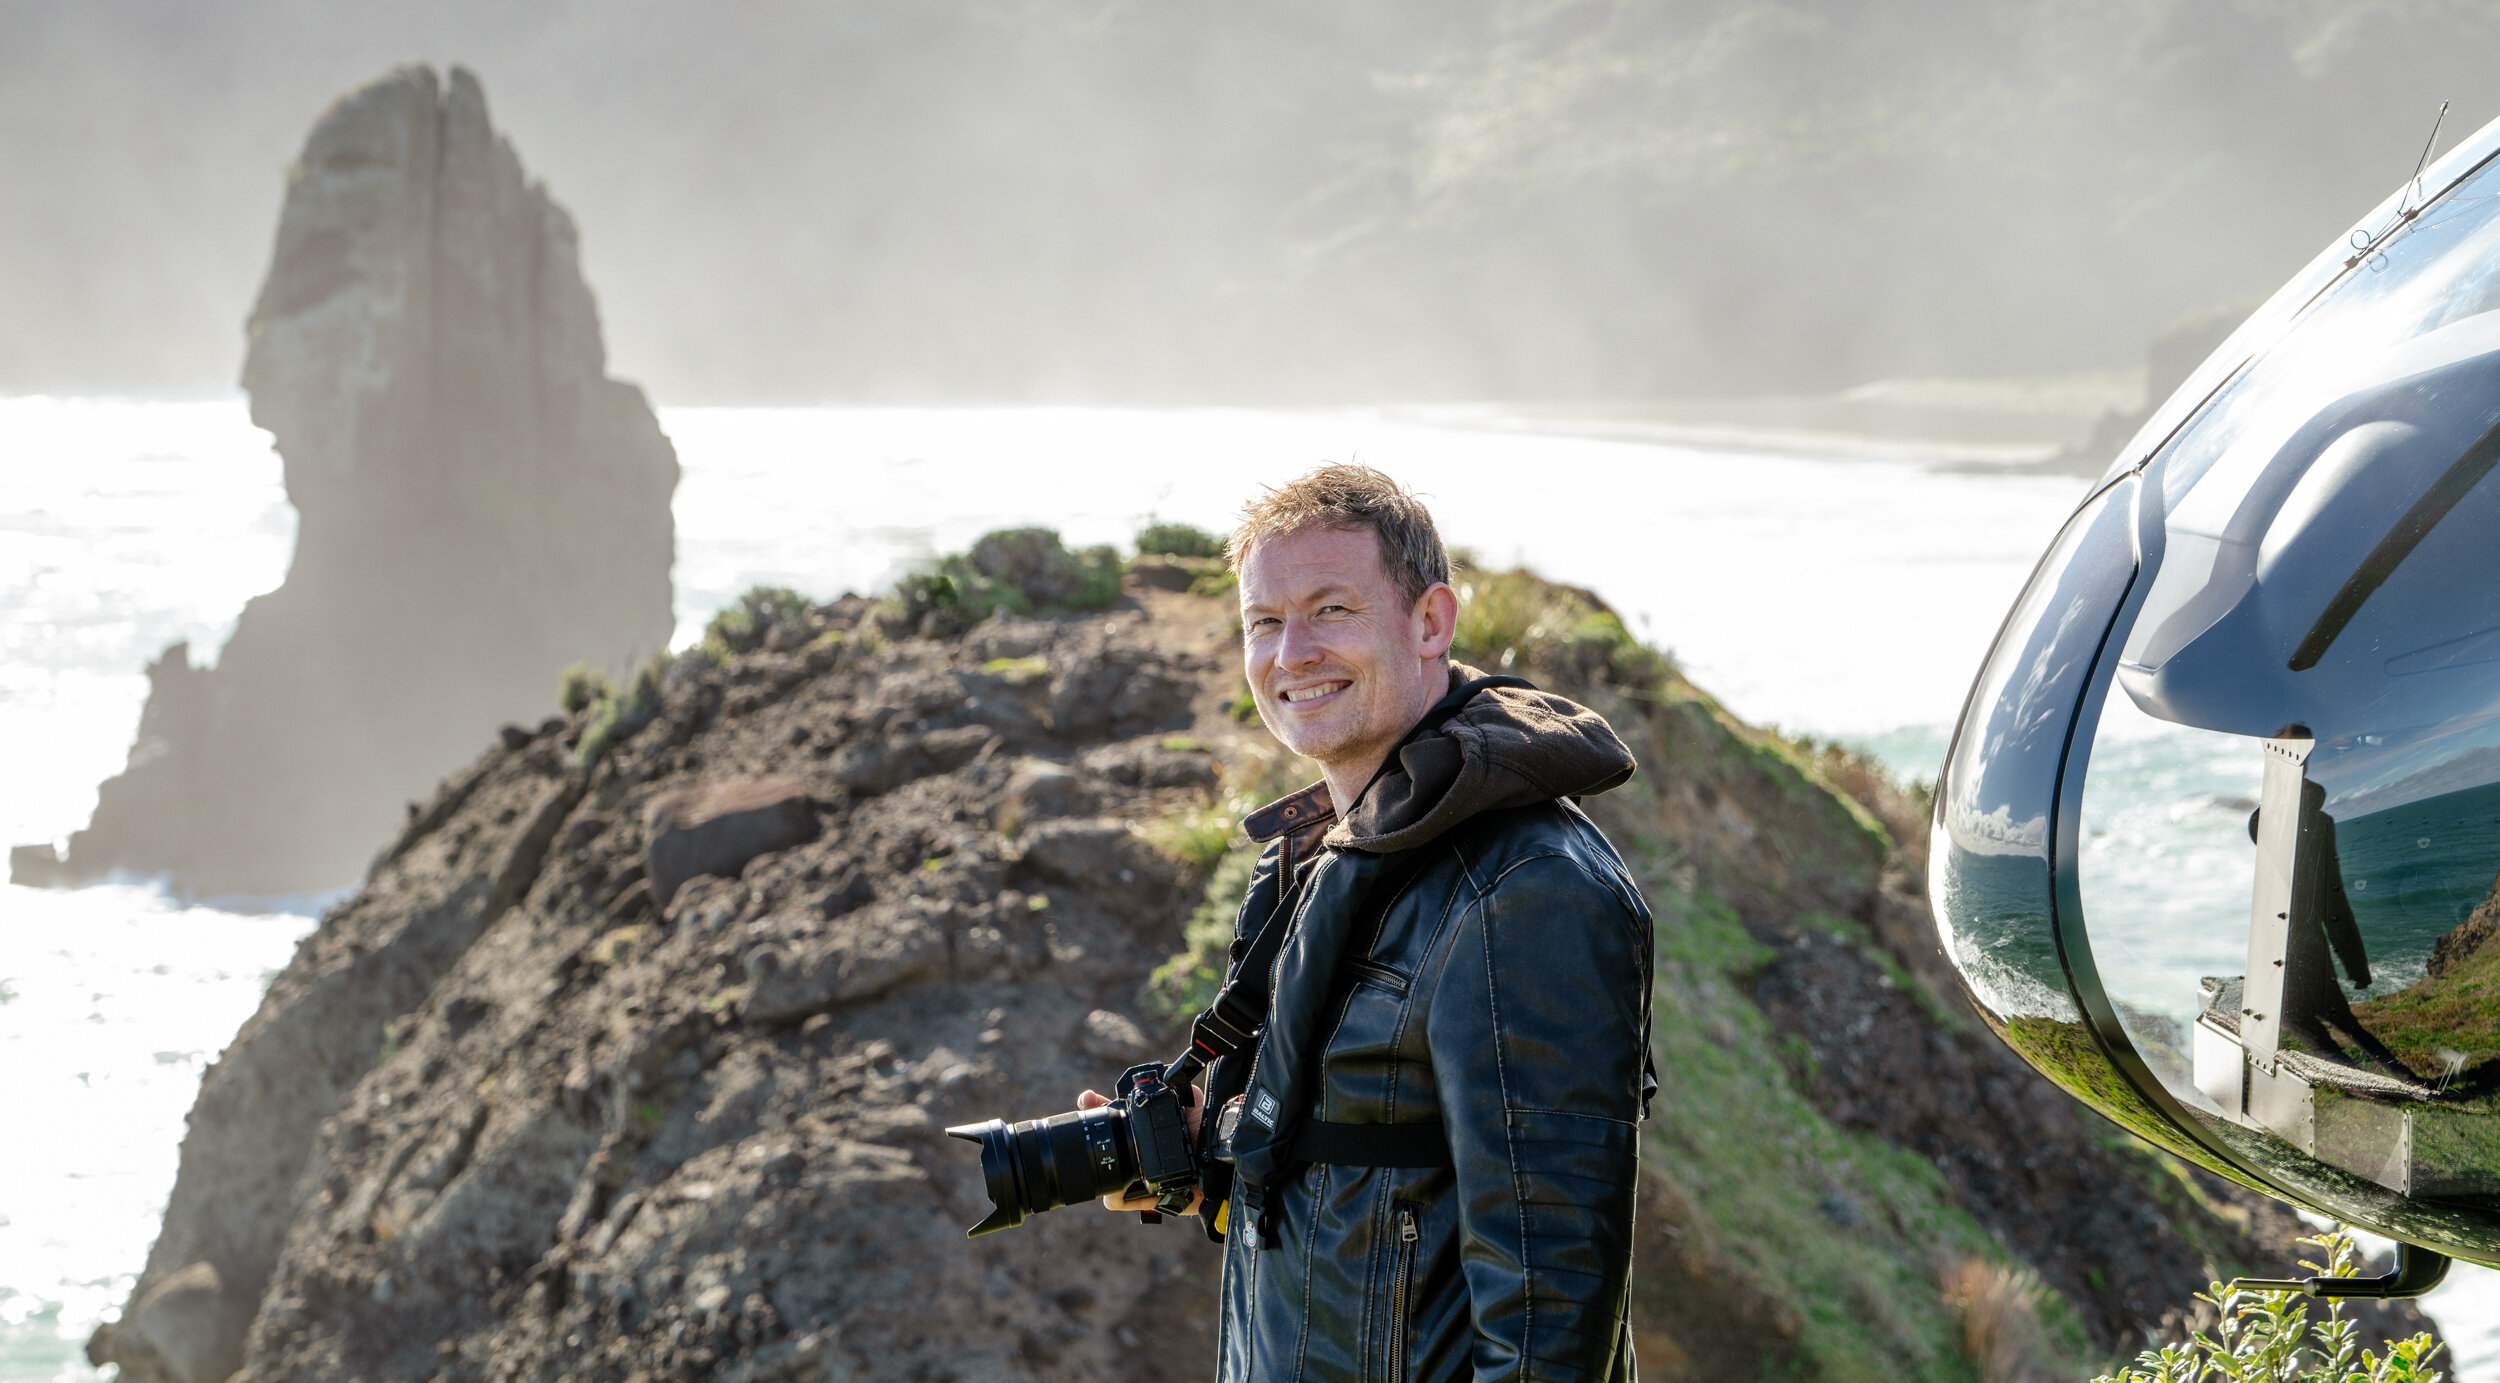
Photographer Charles Brooks doing a little heli-photography on “Proposal Rock” just off Muriwai beach, July 2019.

