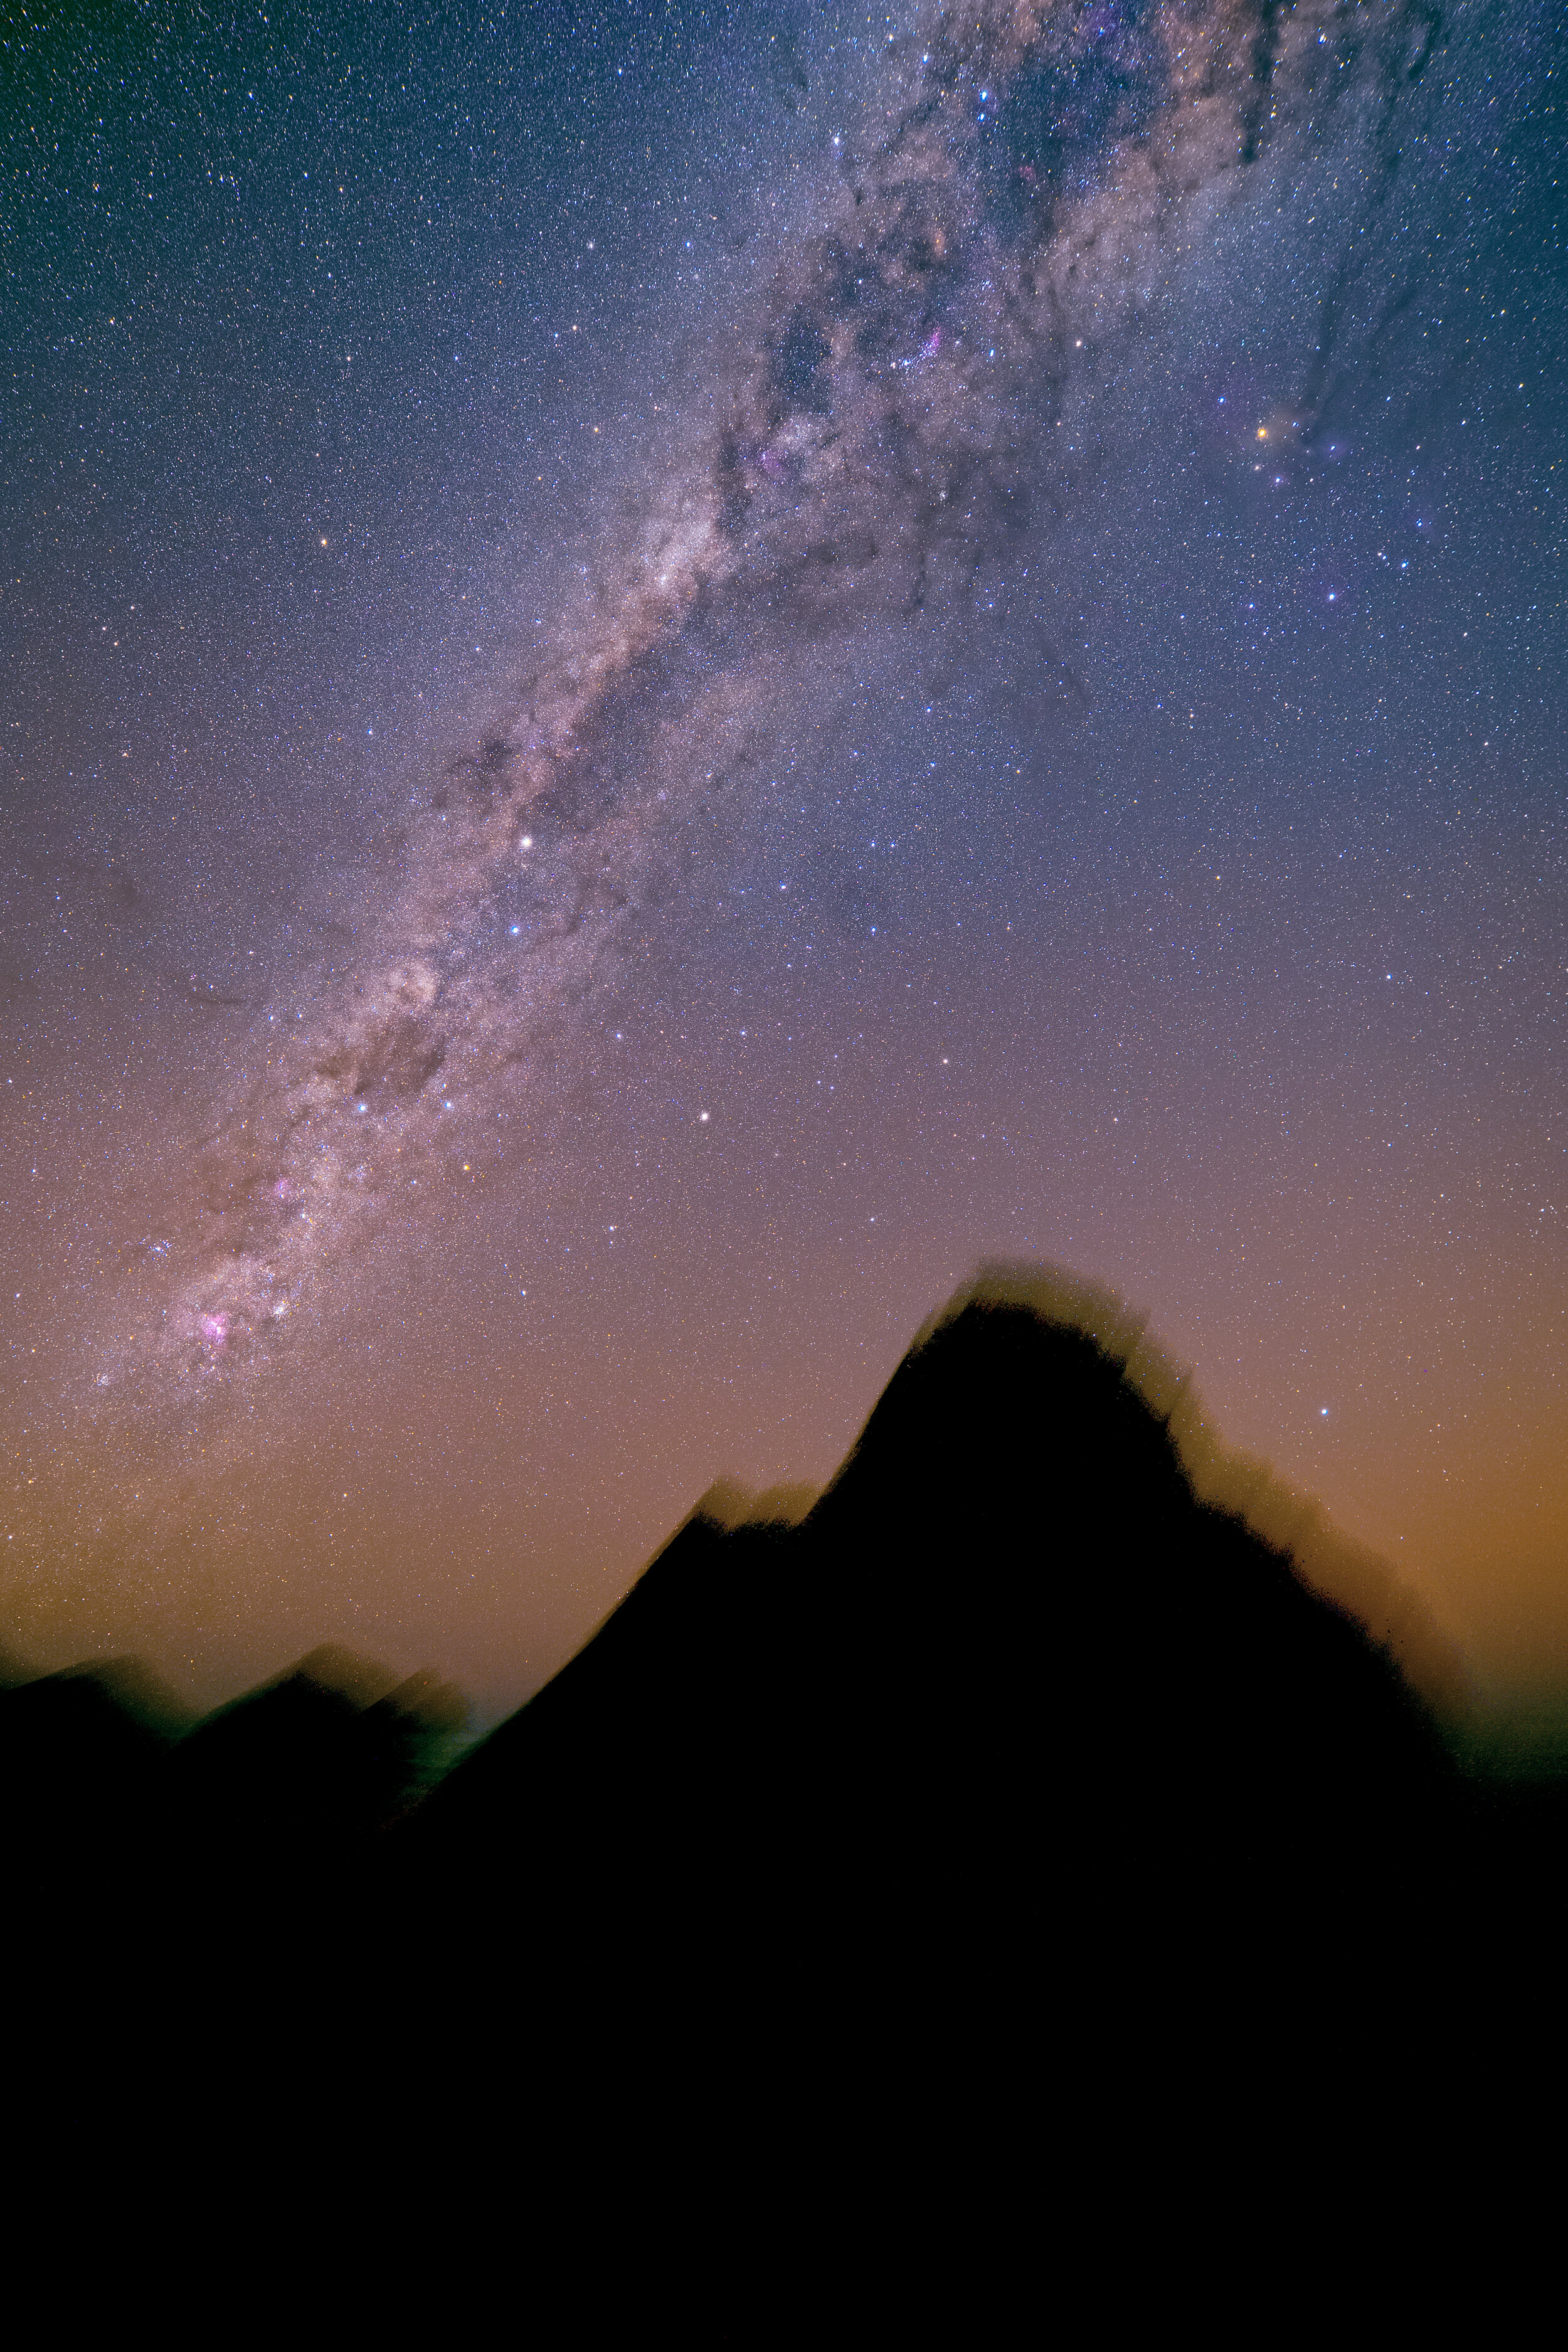
So a few people were asking how this shot was created, and I thought I'd show you some of the steps.
It's a combination of sixteen photos, some tracking the sky and some fixed on the ground.
You could technically do this with just 2 photos, but I prefer to use a method called stacking to help reduce noise and make a clean crisp photo. This involves taking multiple identical photos and averaging them out (since the noise in each shot is random, the average looks much cleaner)
One series of shots is fixed on the stars. I used a small tracker by iOptron called the Sky Tracker Pro for this. You point it towards celestial south and it slowly moves your camera to counter the rotation of the earth.
For the sky I took 8 photos with four minute exposures each. If I didn't have a tracker these exposures would be limited to 15 seconds - the longer exposures let me bring in a lot more colour. The ISO was 3200, and I set my aperture to f/5.6. This is higher than I would use for untracked shots, but it makes sure the stars are very sharp, and mostly free of aberrations. The downside of doing this is that, while the stars remain still, the ground moves.
The Stars Photographed on a Tracker
After that it's necessary to take another series of shots to capture the ground. These were also 8 x 4 minute exposures at the same ISO of 3200, but I opened my aperture to f/2.8 to let in more light (that sand is very black). The lens aberrations don't really have any effect on foreground so a wide open aperture is just fine. When you blend those 8 foreground photos together you end up with quite pleasing star trails as seen here - which can be a nice photo in its own right.
The foreground photographed with the tracker turned off
After that it's just a matter of blending the two photos in photoshop with a little simple masking.
Gear Used:
iOptron Sky Tracker Pro
Kiwi Lens Demister
Lumix S5
Samyang 14mm MkII, canon mount on a Sigma MC-21 Adapter
Benro Carbon Tripod
Big thermos of coffee....
If you’re in Auckland and want to try a tracker we have a few available at our workshops.
see www.highrestours.com for details


